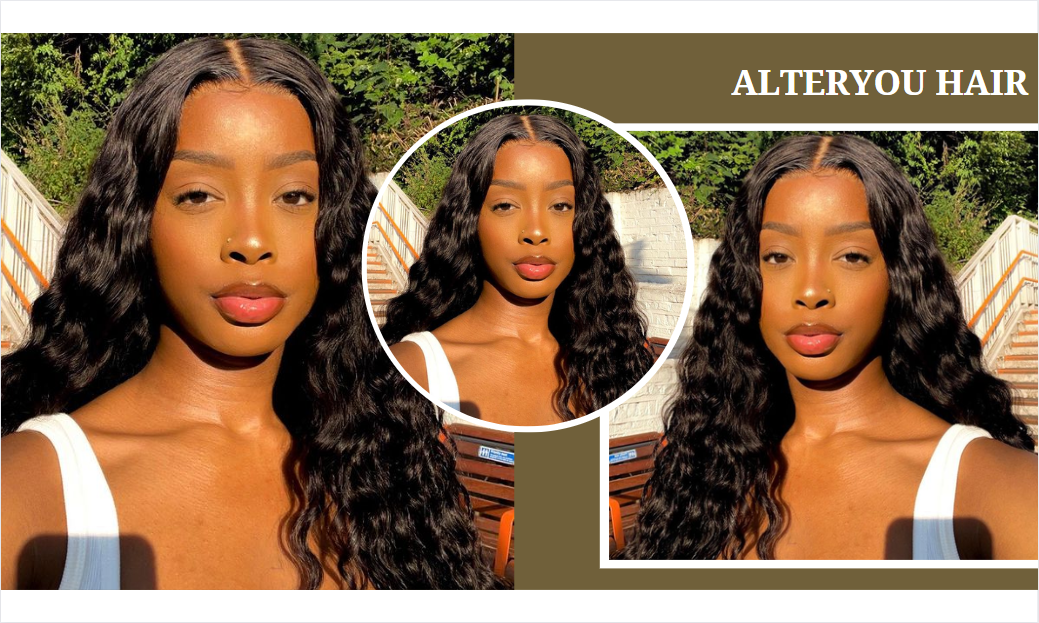
Bellami Lilly Hair Ash Brown Hair Extensions | Review & Installing | Julia Dantas
- Posted on 14 September, 2017
- Clip-in Hair Extensions
- By Anonymous
I'm SO obsessed with my new hair!!! These are the Bellami LILLY HAIR 260G 20" ASH BROWN (8) HAIR EXTENSIONS. When I was buying my extensions I did a lot of research to make sure they were the right colour. Hopefully this video can help you decide on your hair colour :)
FOLLOWE ME.
@juliadantasbeauty
FB: Beauty by Julia Dantas
Snap: juliatiannadxox
Twitter: @jdantasbeauty
DISCOUNT CODES:
**Vanity Vixen Lashes
15% off: beautybyjuliadantas
https://vanityvixen.net/normaleyelash...
*DODO Lashes
5% off :beautybyjuliadantas
** Smile Brilliant
https://www.smilebrilliant.com
5% store wide products: juliadantas
$15 off tray set code: juliadantas
**Shop Blck teeth whitener 10% OFF
Hello, everybody and welcome back to my channel so today I'm gon na be doing a review and had to install the lovely Bellamy Lily, hair extensions. Some of you guys want to see how I got this hair stop. Then please give I'm really important to me to get extensions that were thick enough for my hair, because I hate when you see somebody wearing extensions and they have really thick hair. And then you see like little strands like hanging out. That'S not a cute look, so it was really really important to get thick enough extensions for the thickness of my hair, and I definitely achieve that. So this is the box that it comes in my extensions. I have already taken them out of the box, but I just want to show you at the packaging and all of that, so it comes in this packaging and then it slides out and then it has this little instruction manual. It tells you what you get. It tells you like, before you apply them in your hairbrush them, be very gentle when you brush them and tells you how to wash them and all of that. And then it comes in this little package which I've already taken them out and it's really cool because it has a tester piece. So if you're not sure if it matches your hair, you can use the little tester piece that way. If it doesn't match, you don't have to ruin all of this stuff, so that is probably come in. It'S a really cool box, in my opinion, so this is the hair, extensions and they're really cool, because it has this, like suitcase suitcase yeah it'd, be like a suit case. I guess that makes sense right and it comes with a little hanger, so I've already put them in just to show you guys how cool that this looks and it's a great way of making sure they're, preserved and lasts really long time and keeping them nice and Clean and tidy and out-of-the-way and organized you know it's a cool idea, so I'm going to take them out. I'Ve never actually put them in my hair. Yet so we'll have to see, and then it has a little Bellamy hanger, which is really really handy, because if you're like curling your extensions and you don't have somebody to hold the extensions, you can hook this in a door and actually curl the exception. So I actually love this idea. They'Re super super thick. So these are the 260 gram hair extensions, which is great for my hair, because I got a lot of hair. I would rather more than less it's just gon na be more thick and more volumous. So I'm all about that, so I'm gon na go ahead and take these off. So this is in the color 8, which is ash brown which matches my hair really well. Actually, I had a really hard time deciding what color to get I was like. Should I get on Ritchie to get balayage, I didn't really didn't know so I watched some tutorials actually which then that's how I matched my hair to these extensions. I feel like in the pictures it's kind of hard to tell so do your research watch your tutorials, because that is really how you're gon na get the real, true colors, so I'm first gon na be starting out with the very top piece. So I want this to be pretty high up in my head, so we are going to grab pretty much like the crown of our hair and twist this up, and I want to start out at the top just so I can get the placement down and we're Gon na use our very biggest extension, so the one that has four clips in it and we're just in apply this at the back of our head. If you guys have really really silky smooth hair, it helps to tease the root of your hair that way they're. They won't slip out, but since I have kind of like coarse hair, I don't have to really worry about that. So this is how they look in my padded. Okay, and also a little trick is if you have kind of like the bullion very thing going on. You can rather this like root touch-up spray. I don't know if I have it down here and you can just spray the extension roots, so they kind of blend in a little bit better. But I still I work. I don't know how I'm gon na do that. So now I'm gon na just grab a little bit lower up layer, and since this is the first time I'm applying them, I like starting out this way and then once you kind of get the idea of which ones go where, then you can apply them from The bottom to the top, but when it's the very first time you bring them in, it's really important to apply them from the top to the bottom, so that you can get the placement down correctly around your face. So we have another four one, I'm going to apply that the exact same way how I applied the first one we're gon na go again, we'll do the side two after so pretty much. I put the two biggest ones of the crown of my head and now I'm getting pretty low down. I'M gon na put the one with three in now, so the biggest part of your head has the most clips and as you get further down, it's gon na be less and less clips. Obviously so I'm lifting up a right underneath my hairline, I'm gon na apply the one with the two clips so that I have a lot of fullness around my face and if you do have short hair, you also want to apply them pretty high up so that They blend in with your short hair, there's still long pieces close to your face. We'Re gon na do the same thing on the other side, here's money. So now we have two more bands with three prongs on them: I'm gon na stick those right up the side of my head for some fullness so like halfway between the crown and the bottom of my hair. This sting goes in right here, the very first time you apply your extensions you're, just kind of getting a feel of where you want them to go, and you definitely want fullness at the sides of your hair. So that's why I'm really focusing the hair at the sides. So since I want really big voluptuous loose Beach waves, I'm grabbing a one and a half inch curling iron and instead of actually curling my hair, I'm just gon na wrap it around. So it has a really nice like beachy look, so you can either divide your hair up and do it layer by layer. But since I'm going for a really really loose messy, look, I'm just gon na grab certain pieces and do those little curls with them, because I don't want it to look perfect. I want it to look like I just got into the pool. I just got out of the ocean, and you know these are my natural curls kind of thing. So we'll do the front pieces first, so I'm grabbing this curling iron and I'm curling away from my face and then I'm leaving the tail and leaving the tail is gon na. Give it a really beachy wavy. Look because naturally that's how curls usually look. They have little kinks in them and then the tail is usually left on kro. I'M gon na just continue doing that throughout my hair and then I'm kind of sliding it down. It'S also really important to. Instead of wrapping like this like really tightly around the curling iron, you want to really loosely wrap it, because that is going to make them look a lot longer and loose and be cute, and since the hair is so long, I'm just kind of like slowly sliding It down, since I do have my actual hair right here. I don't really want to accentuate that. My hair is that length long gimmick just leave that piece and curl it all the same way, so I'm curling away from my face on either side. Okay. Moving on to the other side, we're gon na do the exact same thing, but we're curling away from our face again. So this time we're gon na hold it up high and just wrap around the opposite way from thanks leaving the bottom l you see, it just gives it like a really nice relaxed. Look. So here is the finish result, I'm absolutely so obsessed with how this looks. Has literally took me like five minutes to curl my hair, it's really Lois and beachy, and messy and imperfect - and I feel like this is huge right now, just like effortless beachy hair waves. So if you guys liked this video be sure to give it a thumbs up and subscribe to my channel and if you guys want to see more reviews like this or hair videos, let me know in the comment section down below I actually in my hair stylist As well, so I do makeup and hair. So let me know if you also receive more hair videos and until next time I'll see you guys in my next video bye


Comments
Angela D'Amico: You make everything look so easy, thanks for giving us this video on hair extensions
Alexa Brennan: this was super helpful!! I just ordered bellmai extensions last night and I'm so excited!! I am however worried that the color will not match. I also got the ash brown because the chestnut looked too dark!! I am glad that you showed that they include a test strip because I was nervous about not being able to return them if I opened them up. any pointers for finding the perfect color? thank you !!!
Elisabeth John: can you do a simple wedding guest makeup look?
Elisabeth John: wow thats how hair extension work
Naga Malayali Couple: I really like ur hair colour. Is it really a ash brown??
Twee: oh no i ordered this color. looks too light :/
Josefina Lawag: Like your hair..
Naga Malayali Couple: Please reply me am looking like your hair colour so am asking u what actually your hair colour? There are so many ash brown colour but i like your hair colour. Please tell me.