6 min read 0 slot online Tren Game Slot Modern: Dari Grafis 3D hingga Animasi Sinematik Laila Safira July 23, 2026
11 min read 0 slot online Pasaran Bola Terlengkap dengan Analisis Pertandingan Terkini Laila Safira July 18, 2026
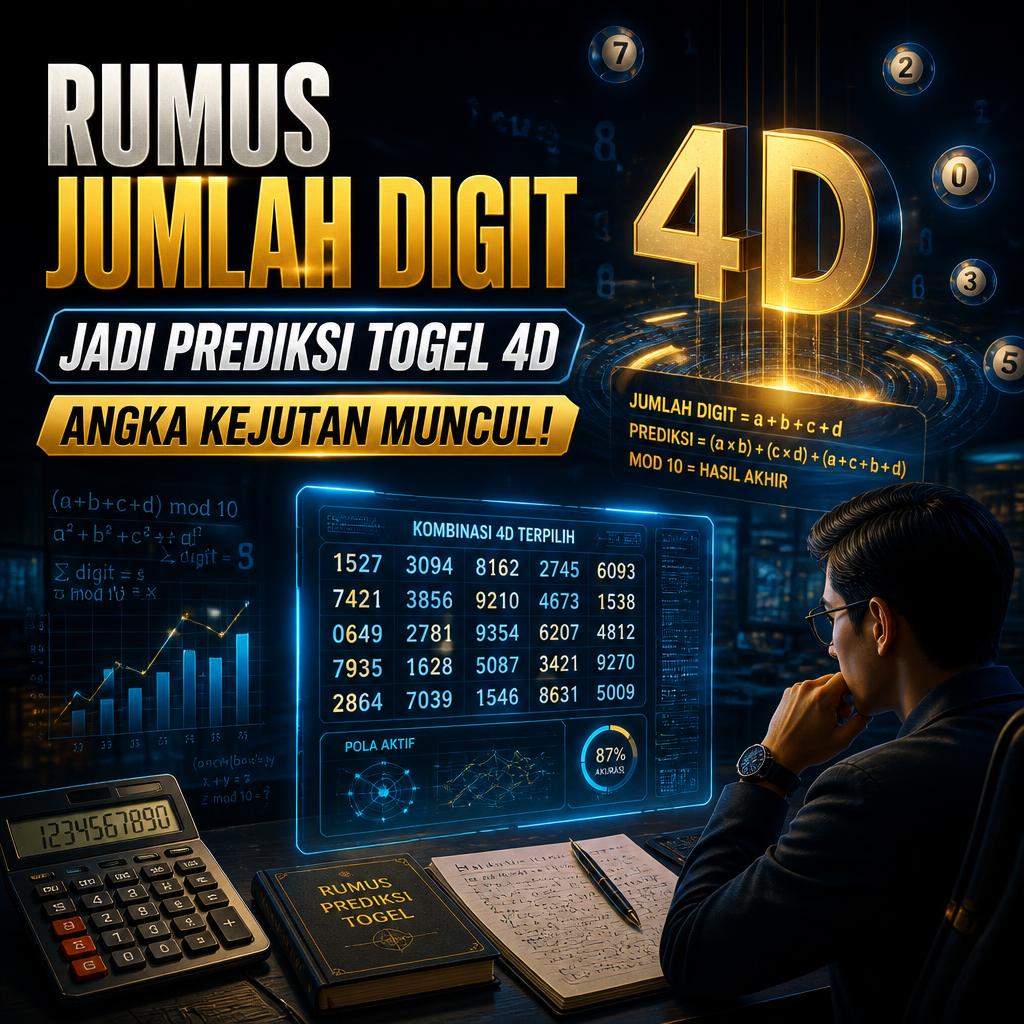
5 min read 0 togel online Rumus Jumlah Digit Jadi Prediksi Togel 4D, Angka Kejutan Muncul! Laila Safira July 16, 2026
5 min read 0 Live Casino Fenomena Game Live Casino 2026, Mengapa Semakin Banyak Pemain Beralih? Laila Safira July 13, 2026
5 min read 0 slot online Daftar Slot Online Cepat di EXABET88 dan Raih Peluang Maxwin Laila Safira July 9, 2026
6 min read 0 togel online Ramalan Angka Jitu Togel Mengungkap Isyarat Misterius Hari Ini Laila Safira July 9, 2026
6 min read 0 Live Casino Bongkar Rahasia Situs Bola Modern dengan Layanan Terbaik Laila Safira July 8, 2026
5 min read 0 slot online Bocoran Slot Hari Ini Bikin Penasaran, Ada Pola Baru? Laila Safira July 7, 2026
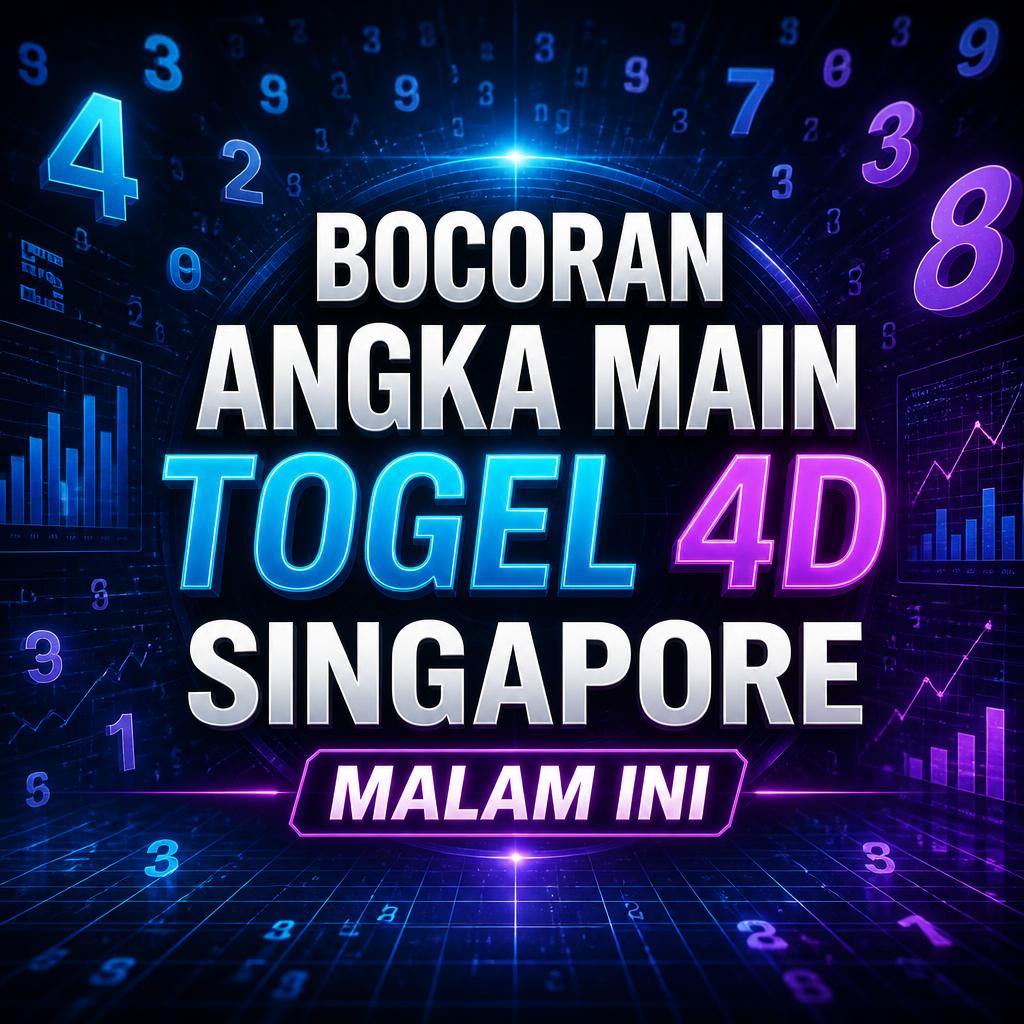
4 min read 0 togel online Bocoran Angka Main Togel 4D Singapore Malam Ini: Analisis Pola dan Persepsi Angka Laila Safira July 2, 2026