S2 360 Wig! Easiest Way To Make 360 Ponytail Wig
- Posted on 11 November, 2022
- Bob Wig
- By Anonymous
#bob #braids #bridal #bridalhairstyle #bridalmakeup #bride #cornrows #curlyhair #extensionhair #eyemakeup #geletutorial #wigs #hairhacks #hairstyles #humanhair
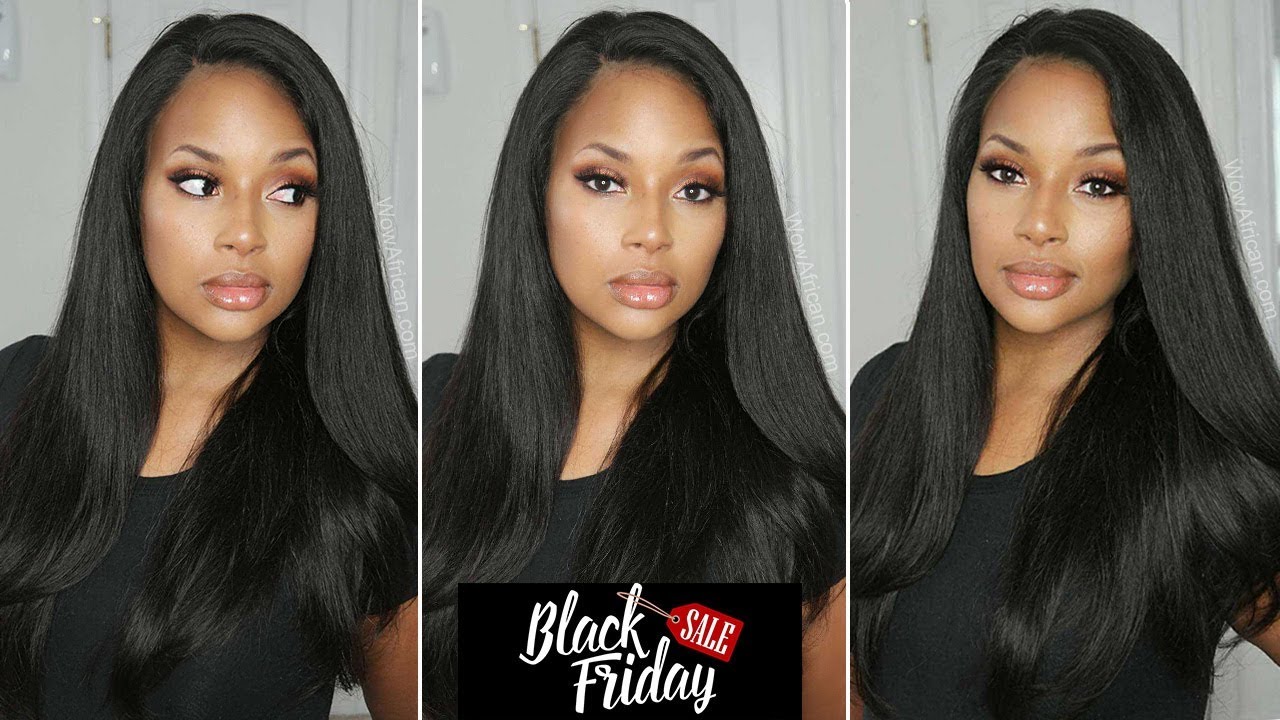
Foreign, so today I'm going to be showing you guys how to make these 360 wig the easiest way you can make this wig so guys. The first thing I'll do is to sow my Nets. This is a sewing net, but this sewing net is very good for Wig making. So the wig cap I'm using, is that of dumb wake up so I'll just place the net from the back. Then I'm not going to allow the joint to be at the front. Make it to be at the side all right, so the next thing I'll do is to sew it, I'm not going to so up to the front. I'Ll just starts from one year side to the other, after that that particular place where I joined them together, I'm going to start the and I'll sew it up from that up, I'm going to go around again this time around, I'm going uh in 360 form, so Just watch you understand better, I'm going to take my time to explain this video for you guys so that you understand it very well all right. So when you sew you get the up, you have to sew it around after sewing each round, I'm going to go ahead and use my scissors to like cut off the inside net. I'M not cutting all the Black Knights just be watching. So you get what I am doing hello guys as you watch, if you have not subscribed to my channel kindly do so right now and turn on all the notification Bell, so that whenever I will drop a video you'll be among those kids, the notification. Thank you guys, and God bless you. So I'm done now. The next thing I'll do is to cut off the inside next, I'm not going to be cutting all the inside Nets. Just watch. You will understand better foreign foreign foreign guys, the name of the hair. I used is Amaya, so this is three pieces and a closure. The closure we have there is not that uh original closure, but at least you can use it, and I advise if you want to do stuff like this, you should just get yourself a good closure and because I'm just imagining when you do this with a data Closure, the result is going to be wow, so I'm just for a tutorial sake, I'm using this particular one. So if you want to do it, I just get a good closure and it's going to give you that uh, perfect. Look so guys. The first thing I'll do is to start my sewing from the black Nets, so I'm just going to keep sewing it around until that particular uh. One bundle is finished. So when I'm done, I'm going to start another line, just watch you get what I'm doing better. Thank you, foreign. Thank you. Thank you, foreign. Thank you. Thank you. Thank you, foreign, so guys this is the final path. Uh, like I'm, not saying that the wig is done yet, but this is the when it comes to sewing round this particular one is the final one, so we'll move to another stage. Now, after I pack the hair I like to comp it because I don't want uh stress I just when I fix uh first stage, I comb. So here is the closure that comes with the wig. What I'll do now is to pass the closure very well, because I want to divide it very well after that, I'm going to cut it into two um, so just be watching you get what I'm doing so. I'Ve already patted it very well now I'll use my sizzles to divide it into two, so make sure you divide. It very well divide it with your scissors at the very center of the closure, so I'm going to what I'll do with this uh collusion now is to place it at the very front. As you can see on the screen, I'm going to measure it to make sure that it's at the front so because the closure cannot go round I'll, just use it at the front. So just think of it. When you have a good closure and you place it at the front, the result is going to be wow, so guys I'm going to place it very well and use my pins to pin it down. After that, I will go ahead and sew it. This particular one now the front I'll sew it down. Then I'm going to do the same at the back, sew it as well, then we'll move over to the next stage. Foreign foreign. Thank you. Thank you. Thank you, foreign. Thank you, foreign. Thank you, foreign foreign, foreign foreign, so guys I'm done, fixing the closure. I faced one at the front and one a day back and I'm done working on one side of the week. So this side now is where I will use to show you what I did on the other side. So the first thing I'll do is to start fixing. I will fix until I cover the elastic band. You are seeing at the front of the wig at the front of the cap. Sorry, then, after that, we'll now move over to the next level and the elastic band at the back is what will make the cap to be secured on your head. Thank you, foreign. So guys remember, I told you guys that you are going to fix and cover the elastic band. You have seen at the front of the cup. So when you are done, you just have to follow the line of the closure. You sew at the front all right. The closure you sewed at the front, then you follow it, just leave a small space where you will crochet so that you can cover it so that the edges will not look um rough. So that is all for this week. This week is supposed to be stress. Less wig making it's not going to stress someone. If you have enough closure, you can just use the closure to sew ground and your wig is ready to be rocked so guys if you enjoyed this tutorial, give your girl a big thumbs up subscribe. If you have done subscribe share this video with your family and friends - and you know, support me in your own little way by dropping a comment in the comment section. Let me know what you think about this week. Can you rock this week? Can you make it to yourself if you have any questions, let's meet in the comment section as well. Thank you guys for always supporting your girl foreign. Thank you, foreign. Thank you, foreign. Thank you, foreign, all, right, foreign foreign. Thank you. Thank you.


Comments
Florence Amaraegbu: Nice one, simple and beautiful
Tevina Vintage: I love this Good job ma
Susan Francis: Nice one
janice sykes: ❤❤❤❤