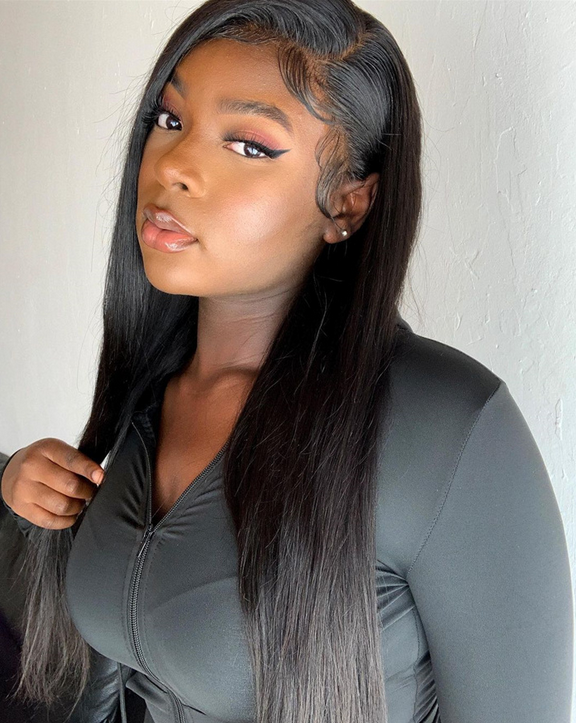
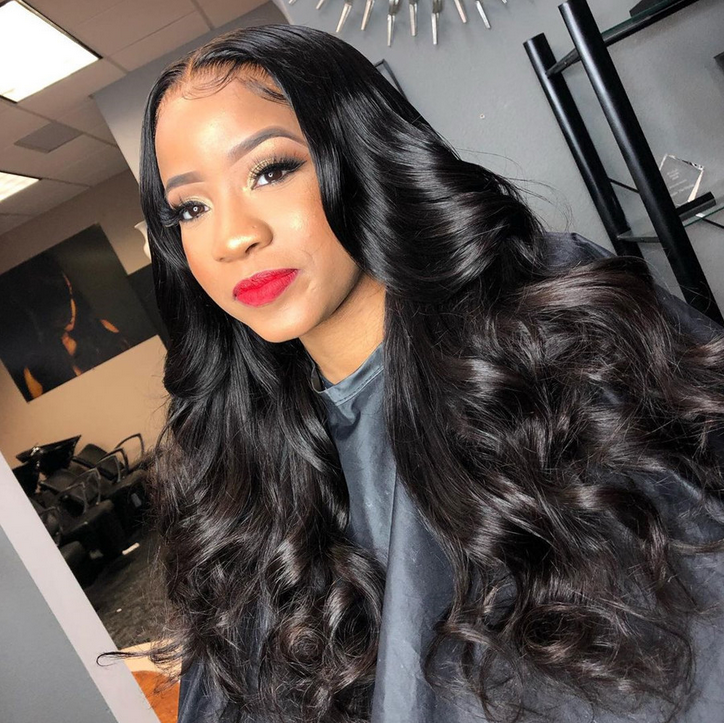
How To : Make A Hand Made 6X6 Lace Closure Wig **Beginners Friendly***
- Posted on 18 May, 2020
- Lace Closure
- By Anonymous
BeautyByDinah
Hey beautiful people thank you all for stopping by and checking out my latest tutorial. Continue subscribing and supporting this channel. I love you all
Business email: [email protected]
Snap Chat : Dinahgrace78
Facebook: Dinah Grace
Instagram: BeautyByDinah_
#6x6lace #613wig #howtomakeawig #laceclosurewig #wigtutorial
Hey you guys welcome back to my youtube channel. My name is Dana. Today, I'm gon na be doing a tutorial on how to construct a lace closure wig using a six by six lace closure, as you guys can see. I have a small-sized head, which is a 21 inch circumference. I purchased this mannequin head off of Amazon. Now, I'm just gon na be using my spend dome style, wig cap. This is the only wig cap that I use because of the fact that it has a tight band and the dome cap fits any size of head. It doesn't matter. If your head is up 24 inch, circumference or a 21 inch circumference, it fits any size head. That'S the only reason why I use this and it's so stretchy. I just love this and I always use it all the time as you guys can see, I'm gon na show you guys it does stretch. Now I'm going to be showing you guys that I am gon na be using my t pins to make sure that I have the full stretchiness of the cap so now listen carefully right. I cut out a little piece of the cap that I'm gon na be using to make this wig. You guys can see it's elastic. It has very good stretch and I'm going to be taking my needle and my thread on the head and cutting a little piece of the elastic. And then I'm going to cut the spandex, the spandex material off the elastic and you guys can see that it is stretchy and then I'm gon na show you guys the elastic as well. It also stretches so the elastic band is just rubber, so you guys can see it stretches. I'M gon na show you guys right here, you're, seeing it literally stretches right. So I'm going to take my thread and I'm going to sew through the elastic and through the spandex right, and this is what happens when you do that. It does not stretch. That'S the thing it doesn't stretch, which means your wig will be very tight and it's gon na give you a headache. You guys can see the other side stretches and then yeah. It'S just basically stretches it's much more secure. It'S much more. You know free and then this side don't do that. That'S a no-no do not ever make your wig super tight like that. This is what you do right. I'M gon na show you guys the spandex. Now, I'm going to be sewing the spandex, where I'm gon na be sewing through the spandex okay. This is what I always do. I sew through the spandex, which gives the wig so much more space, and it's just very like stretchy. Look at that always go through the spandex. Do now go through the elastic band, so remember, do not go through the last band through the spandex only go through the spandex only so through the spandex. Now, let's get started with the tutorial. First, one placement of lace closure: you weren't going to pull the lace closure down, pull it down, half an inch but make sure it is centered Center. The lace closure to the middle and then you're going to bring it slowly down half an inch below the cap. Then I'm going to pin it down so that I can be secured, I'm going to turn it around, so you guys can see that I'm gon na pin down the closure in the back. There is a band around the closure that I'm pinning okay. I will be calling this the ribbon through this tutorial, I'm going to pin down the ribbon on that side and I'm gon na also try to pin down the ribbon on the other side. You want to make sure that the front of the closure it is flat. That'S the main thing the front has to be flat and then I'm going to go back to putting T pins on the other side and yes, there will be a space, but it's okay, you're going to sew that down. I'M going to be using my nylon thread. I normally show with a curved needle because I'm more comfortable with that, I'm going to be putting the needle putting the thread through the needle and then tying a knot just like that. So guys, my sewing method is pretty much very easy right. So what I'm gon na do is sew through the spandex and then put the needle through the ribbon and tie a knot. Okay, so I'm going to put the needle through the spandex through the ribbon and then I'm going to turn over the thread, and that makes a loop which makes a knot. Okay, I don't know how much to explain it again. I'M gon na put the needle through the spandex through the band and tie a knot yeah and I'm gon na continue to do that. As you guys can see, there is a opening through the closure, I'm going to press the closure down, so I'm going. It basically helps me while I am sewing the closure right. I'M gon na use my four fingers or my five fingers to just make sure that everything is laid down super flat right. You don't want any lumps or bumps or humps in your closure, because that's gon na make a break the week, as you guys can see. I'M literally struggling so close this down, so I could be able to sew everything down right, yeah like it's! It'S just you just have to have patience. Okay, this is a 6x6 closure. So it's pretty big right. It'S not your standard at average 4x4 closure, so you got ta, have some a little bit more work with it, and then I am done. I'M done with that side, I'm gon na cut the thread and then continue the that same process on the other side of the lace closure. When I'm sewing, I make sure I saw at the edge of the lace closure in the beginning at the edge of the lace closure, so that it could look very nice. You know you don't want any leg or ribbon sticking out. You don't want any band sticking out, you don't want any of that, so you saw on the edge and I'm gon na continue to do this. Remember when you're sewing you sew through the spandex, not the elastic through the spandex. Let'S go! Oh yeah, I told you forgot one thing: while I'm going, i remove mighty pins, do not keep your t pins and while you're you know continue to soul and yes, don't keep your teen hands in, take it out and then you are done and then we are Done and then I am it's uh, I'm not arresting something when we stop Naomi y'all, I'm not a saying so. I'M gon na tie a knot and then cut the excess thread and then that's it. You got a popping. Oh look at that. If you follow my steps, your lace closure, it's gon na look like this. Okay, look at that neat, stitching everything, nice everything flat flat; hello, part, two placement and sewing method of the bundles. I went ahead and use the sign essentials. Gentle balance, sulfate free, nourishing shampoo for my bundles, so I'll apologize you guys, because the next 60 seconds of this video will be non focused. I apologize, but I'm gon na explain to you guys what I'm doing so, I'm going to lay down my first track, while I'm laying it I'm going to show at the edge of the beginning of the track. I am also sewing through the weft here. I also sew through the West, like I said before, and now I'm going to be sewing underneath the way right. I'M gon na hold my thread and then I'm gon na pull the needle through to make a loop which makes a knot right. You always always. So I always try to hold the thread so that it or automatically creates a loop. So I'm going to be flipping the track over. This is called the flip over method. It'S easy because you don't have to continue to cut the tracks and it prevents shedding. So when I flip over the the track, I'm so at the edge of the track, which makes the track flat, you want your wig to be flat. I'M gon na continue to so, like I said before, I'm going to hold well hold the beneath the thread pull the needle through which creates a loop which creates a knot, got it got it good so guys when you're flipping over the track. Make sure that you are sewing at the very edge of it, so it can be very flat. Don'T skip this because you want you, you know what you're doing this you want it to be really flat like you want your Wiggly flat flat. Okay, this is the first bundle that I'm doing and now, as you guys, can see it's kind of different because I'm actually going through the tracks. Now right, I was the first row I was going underneath the tracks and I'm going through the tracks. I feel like it's much better to go through the tracks, because it's much secured and yeah like who don't want to go through the tracks. I also ridiculous. Don'T pay romance me. Yeah nope --, like pay attention pay attention seriously. I just want to show you guys with using the T pins. It makes my line so much better. Now, I'm gon na continue to go side by side, and then we are done with the first bundle. We'Re done so you guys can see. There'S a disconnecting line. It'S just so it's okay! We will correct that when I am done tying this knot. Okay, I just want to show you guys something that, within the first bundle and within the rest of the wig, I am going to be spacing out the tracks one inch apart. Right so I want breathability um and yeah like it's just much better. Like you see it looks, it looks like it's not spaced out, but it is it's literally one inch apart, which is a good thing. You know so now I'm going to be going through the tracks and then I'm going to put the needle through the spandex right. This is another method that I do too just to mix like it much faster yeah like you, just want your the tracks to lay really flat, so you always want to sew at the edge of the track. All we saw at the edge of the track and I will continue to sew through the tracks from yeah like yeah. I will continue to sort through the tracks and remember the disconnecting line that we had before I'm going to connect it with the second bundle. I'M going to make sure that I overlap that bundle to the disconnecting line, and then I'm going to continue to do the flip over method. I just want to let you guys know that I use all four bundles within this week to make this week. I used all four bundles, so this will be the first track that I cut throughout this wig and yeah. So why not cut it? I'M going to sew at the edge of the track, because now it makes it the tracks open which creates shedding. So I'm gon na solve through the edge of the track. Now I'm going to continue to do the same thing to the other side. This is the second track that I've cut throughout this whole entire weight. So I only cut two tracks in the whole, entire width. So basically you want to this is the last track of this wig, so you want to sew literally a little close to the ribbon, which is the band of the closure. I'M going to be connecting just like a little bit, though I'm gon na be connecting the tracks to the band around the perimeter of the closure right. You don't want to sew on top of that band, because it's not your closure is not gon na lay flat. So you want to try to avoid doing that, so you want to slow so like just a little close to it right and then after that um, I believe we're we're done we're we're physically, like done with the way. Oh, I forgot. This is the third third trunk that I cut, so I want to cut three tracks. Sorry, I cut three tracks in this whole entire wig and I'm going to remember, sew the edge down to prevent shedding from happening. You don't want your wig to shed. So you have to slow down your tracks, make sure your sewing the edge of the track to close it all up, right, slow it down, slow it down, so that track down baby girl, step 3, cutting the spandex out of the wig right. You want to turn your wig inside out, and you want to be very careful with this due to the fact that you're going to be cutting the open part of the wig, you are going to cut around the closure right. You don't want to cut too close to where the threads are so you're going to avoid doing that right and then your wigs look like this and then we're done. Thank you guys for watching and see you guys on my next coloring tutorial, bye,


Comments
Maame Yaa Kwah: I love how detailed you were explaining how you see your wigs it does help those who want to make their own wig. So thank you
Sabrine Ashley: This video just saved my life, my closure is finally laid after trying 3x , thank you ❤️❤️❤️
Felicia Collins: Omg. I made a wig using this video yesterday. I’m 2 hours. My first time ever making a wig. This video was so detailed. I’m never going to a salon again. My wig is bomb. Thanks so much
Bookie: Love this! This video should have more views!!!! Added to favorites!
98 Deeds: How is the hair holding up ? & do you remember what brand canvas head you ordered ?
Valcarter Edwards: ❤️❤️❤️
Golden Love: Where did you get the hair from ?
Valcarter Edwards: How did you get 4 tracks with out double with the tracks or did u like sew it really close together
Merv Philip: Is this hd or transoarent