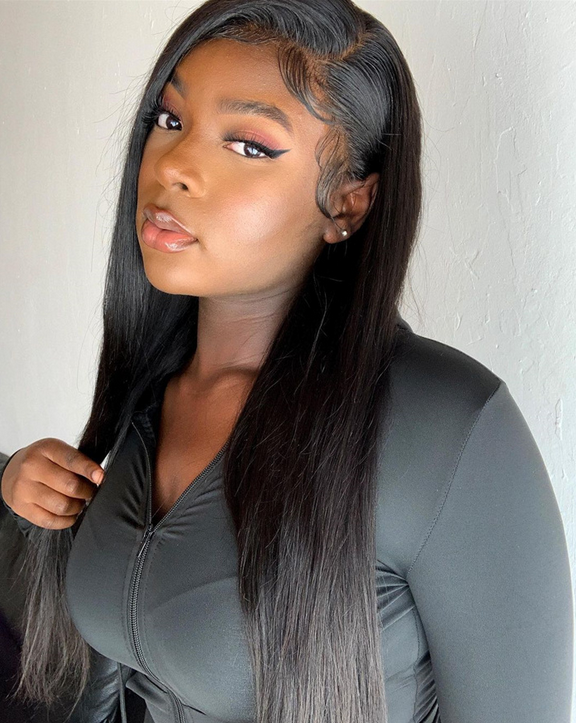
How To Make Braids Wig Cap || The Most Realistic Wig Ever
- Posted on 15 April, 2020
- Lace Closure
- By Anonymous
DIY How To Make Bob Braids Wig cap || The Most Realistic Wig ever
Hey guys,how are you all doing
In this video i did a tutorial on how to make this braided wig cap which is beginner friendly too
I hope you like the video and enjoy the while process
Please stay save and stay at home
Items used:
Darling braids (6 packs)
Crochet hook
stocking cap
Scissors
Lace closure
Instagram @www.instagram.com/__maameabena__
Snapchat @maame.abena
Facebook page @maame abena
Business Pages
Instagram @www.instagram.com/evyglow_makeover
@www.instagram.com/evyglow_hair
Email: [email protected]
For sponsorship/product review
Email: [email protected]
#crochetwig #braidswig
Hey guys welcome back to my channel and welcome once again to yet another video, so in today's tutorial I'll be showing you guys how to make wake up les braids wake up. So in today's video I'll be showing you how to make breaded wig caps using a lace closure and as you can see, I went ahead to sew my lace closure on my stocking cap. So I have here two stocking cap. This is the first one, and this is the second one, and then I have some push pins in order to help make the hair stay in place for that closure. I'Ve already used it before I had it lying down, and during this period I can't go out to get a new closure, so I started to make use of the old one. That is how come I've cut off the Nets, and then it was kind of beached here. You would also need these. That'S a crochet hook, hair pins and a pair of scissors. You would leave some hair as she will be giving this side to beautify the hair. Your braiding hair, this one is from Darlene, that's what I use in my other previous video. This sends me a couple more, so I'm going to use this for this tutorial. I don't know how many packs I'm going to use but I'll, let you guys and of course, some band. You know that to you know, make the head steady ones. I wear it, so this one will also come in handy. So with that being said, that's all we're going to use for this hair stop. So to begin, I'm going to cut my hair into three separate paths once I have it like this, I'm just going to brush like so because we're doing a workgroup, there's no unique to feather this hair. So then the progress of I I went offline to break most of the hair before I come back cuz. I want to save time so these that progress over these lines right here at chalk mark. I did that in order to help me nope, I'm supposed to do the next grade, so they don't both. These are the sections. How I make my sections the thickness of paper and with these I'm going to separate it into three equal parts, starting with a smallest and I move one step pickets and then in that direction. So by smallest, I mean this much because this is what I'm going to crochet onto the Nets before we stop grading. If you put some more hair through this, let's remind mind you, this is a stocking cap and it might tear off so we're trying to make it pieces. So for this bridge I apply the feeding, braids method on that cap. That'S how come on having it tight like this, so it won't come off, so I'm going to slightly pushing hoop and, as you may see the holes in between so as I'm breathing and wouldn't please like one right here - I'm trying to cover this gap here. So I'm going to crochet here and then when I get it to outdo each other side to cover what's beneath it. So what I have is who done like this? I'M then going to pull one string out like this. So I have two separate ends on fat and the one I'm going to do is I'm making one pot shots and the other party longer. This is what I mean this one is shorter than this one. I get to the bottom like this one, even though these are XS I'm going to cut off anyway. I tie it off here, so I need a longer piece so enable me make this tie like nuts when I get to this side. So that's how come I make one part longer than the other. The second thickness also does have a looks like. If you see it looks a little bit bigger than what we create in. So that's what I'm going to use to bring so to braid. There'S nothing special so in here this is our natural hair in case you're, breaking your natural hair and just being to put this one across the like this, bring it to the bottom, bring this one here and then reading. As I said, I'm applying the feeding breeds method here. This is my second piece underneath then I'm beginning to breed, and you don't want to break all the way down. So as I'm breathing, I'm going to stop here and measure with what I have here to see. So I'm almost there so, as you can see, I'm on the same level with this one. So I'm going to make my nuts right here and the longer is that we did here is it's just means to wrap it like this, I'm sales. So now I hate ready and it's acute, so I kept repeating the same steps through out till I finish this entire hat. So, as you saw me doing previously, if you were taking notes, you realize I was sliding the latch who does the crochet hook through the stocking cap, and then I had such a tiny bit of her shoe, wait and then making sure that one side is longer Than the other begin before I began reading and then once I started braiding, I was finding in their head little by little as well as doing feeding braids. So that's the method I used in order to achieve this beautiful week up right here. Please forgive me guys if this part is too fast for you. I had a lot of footage guys like a lot of footage to edit, and I realized, if I put in everything, slowly and detailed, I would end up doing a part 1 and part 2 of this video and I'll require each part to be about 25 minutes To 30 minutes long years, I had a lot of footage, so I had to cut a lot out fast forward some parts also so that I can fit in a lot of footage. That'S why I tried my best to explain what I was doing at the beginning of the video. So if you jumped it the place, you need to go back leg, roots, okay and once we're done, I moved on to my favorite part guys. This side was so difficult to breed the closure hair. Oh my god, it was so slippery and soft I wasn't lying down. I had to add some hair gel in order to keep it in place. As you see me doing, it was like all over the place. It wasn't easy breathing the side, but the help of this hedge or I was able to tame it down and work my way out so before I breathe, I pick up some hair in front. That will be my baby hair pulled out aside before I began breeding and each road. This is a limited closure, so each room I was able to great four braids if that makes sense so yeah and as I did, a feeding brains at the beginning of the head, I'm seizing that same feeding, bridge method, hope you understand other side, so I'm not Breathing it's once because the hair was slippery. I tried different method before I was able to come up with this one and realized this one was like. I was comfortable with this one, rather than the other one that I was doing previously so mind you in case you doing this. I just want to give you guys an and hint that this side is really difficult, and it's sleeping so I kept doing my fitting brains all over this closure net yeah and it came out really nice. If you had the Front's out that'll be perfect, like your head will come out really nice, but if you have a clue that you don't move it all those pieces are seen in between. Don'T worry because I went over again to cover them up, so it wasn't showing so here I'm just cutting off the excess hair and then bending that top with the candle, because I don't have a lighter. So I used candle to burn off that tip and douse it. I didn't dip this hair in hot water. I didn't do anything because, if I did, the ends would involve if you dip it in hot water, I won't poke. It would look straight and that wasn't the look I was going for so I just used the candle to burn that tip, and I said I didn't do anything so they have and I then moved on to cut off the Nets dolls at the closure side cuz. I wanted my path to be more visible, so I went off to cut it off and I bleached my net, so it's really matched my skin color. So here you go. That'S how it looks like girl. This head is so beautiful. It came out really really well and I went on to adore some hair band to kind of make the hair stay in place. When I weigh it - and this is the final look guys you


Comments
marie palacio: Looks beautiful❤️
faustina martey: Love it ❤️
Cynthia Stephanie: Lovely.. How long does it take you to finish the whole unit?
Azariah Adjei: I love it
Folasade Adisa: Hi, I was wondering if you used same length attachment all through or were the length of the attachment at the back shorter than the one at the top
Chan's house of beauty: Wow great, what type of closure is advisable for this
Vivian Idowu flecia: Beautiful ❤️❤️
Cecilia Baidoo: Very beautiful
Victoria Dadson: Hi....can you do the braiding before attaching it to the net
Miss Bernice: Good job.
rebecca quarshie: How did you fix the hair band
Victoria Etuk: Pls how many packs of attachment did u use