How to DIY your own tie dye
- Posted on 28 October, 2021
- Trending
- By Azra Kassam
Is it just us or is tie-dye popping up everywhere lately? Whether it's the infamous tie-dye sweatsuit (or as we like to call it, home office attire) a baggy t-shirt, socks, or even your bedsheets, tie-dye is the new black and we're here for it. Although you can certainly purchase your own tie-dye apparel, most of the fun in tie-dye is that it's DIY, and you can create a totally unique garment on your own. Let's face it...we know you have the extra time on your hands.
To help us with this tutorial, we've enlisted the help of Lauren Geronimo a.k.a. @sweatcolours, who has mastered the art of tie-dye loungewear, to share her tips and tricks to the perfect DIY tie-dye. But first, a brief lesson on the history of tie-dye.
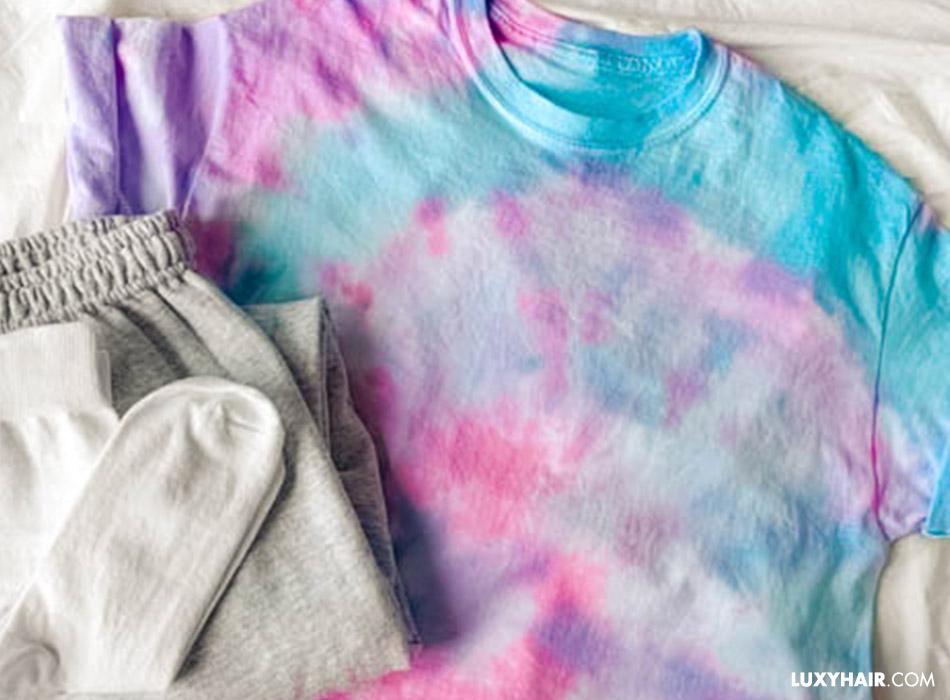 Image by @sweatcolours
The history of tie-dye
Although tie-dye is synonymous with 1960s and 70s hippie counterculture, it actually can be traced back all the way to 4000 BC. The oldest known form of tie-dye is Indian Bandhani (rooted in the Sanskrit term "bandh" which means "to tie"). In this traditional "tie and dyeing" technique, women would pinch the fabric with their fingernail and tie it off with thread, creating tiny bindings—some as small as a pin head! The fabric would then be dyed, resulting in intricate dot patterns. Tie-dye can also be traced back to Eastern Japan, with the Shibori technique of fabric manipulation. Although different techniques and varieties of Shibori exist, the end result is large, geometric designs and patterns on the fabric, not unlike Western tie-dye today.
During the '60s and '70s, tie-dye became a symbol of counterculture in America, due to its emphasis on individuality, creativity, and a direct rejection of capitalism and materialism. Closely associated with psychedelic rock music and and hippie culture, tie-dye became the unofficial print of peace and love.
So how did tie-dye, a print that once represented youth counterculture, later becoming a backyard activity for kids, resurface in high fashion and on our Instagram feeds? In Spring 2019, tie-dye began to take over runways with designers like Prada and Stella McCartney refreshing the once dead print with elevated fabrics and silhouettes. Although once a symbol of rejection against The Man, tie-dye today is much more mainstream, with mass market stores like Urban Outfitters and Old Navy carrying collections in the psychedelic print.
Now that you're caught up on the ways of the dye, let's get into how to tie-dye at home. Pre-warning: this may get messy so be sure to do this outside wearing old clothes you don't mind staining.
How to tie dye shirts, sweatsuits, socks, and more
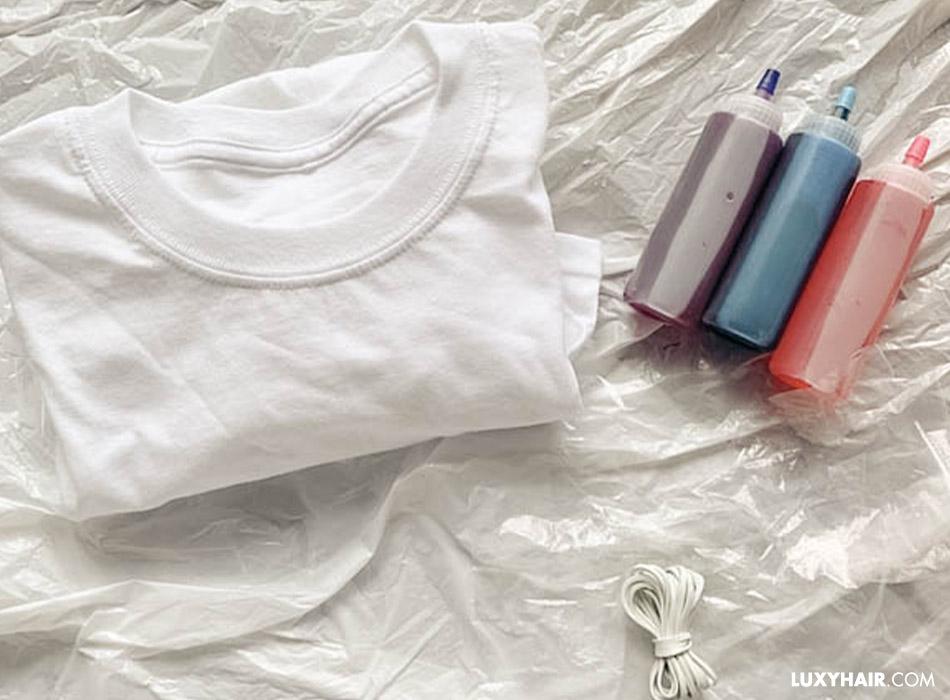 Image by @sweatcolours
Step 1: gather your tie-dye stuff
You will need:
- White piece of clothing
- Dye (we're using three different colors for this tutorial)
- Elastic bands
- Plastic tarp to protect the floor (or grass if you're outside)
- Plastic squeeze bottles for dye
- A pair of gloves
Step 2: prep your space
It's important to clear a space for this project, and to make sure you have everything you need within reach. The last thing you need is to run through your house with dripping dye to grab something you forgot. If you're inside your home, be sure to lay down a plastic tarp that's thick enough to protect the floors from dye and staining.
Step 3: prep your dye
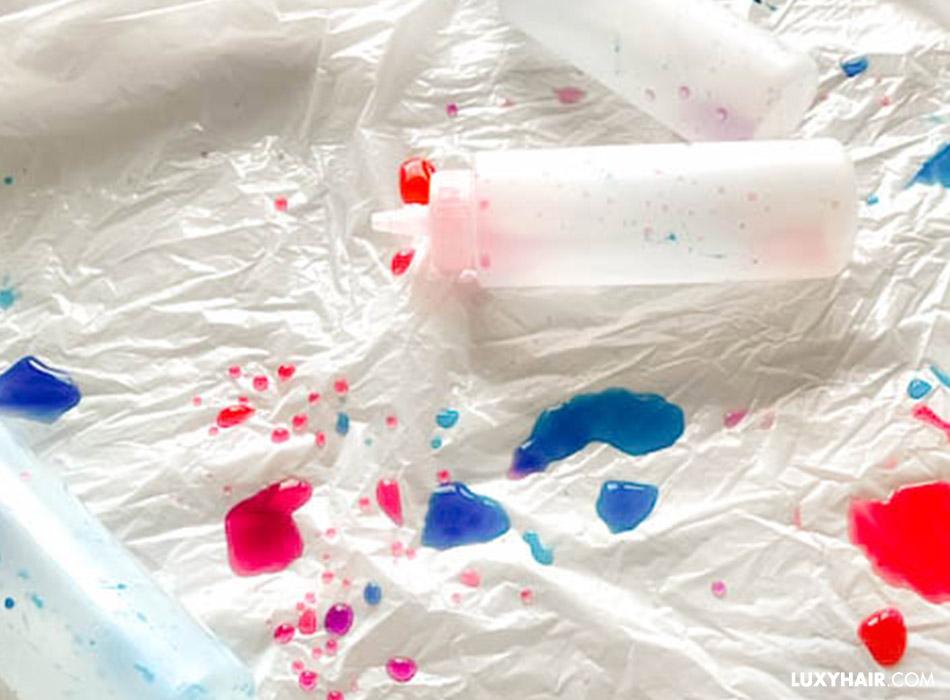 Image by @sweatcolours
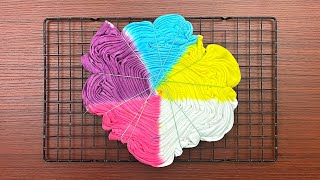
Put your gloves on, add each color of dye and warm water to a squeeze bottle, and shake well to mix. For darker, more saturated colors, use less water. For pastel shades, dilute the dye with more water until you're happy with the shades. We've used three colors for this tutorial, however, you can use one or two. There's no correct way to tie-dye, which is the beauty of it!
Step 4: twist the shirt
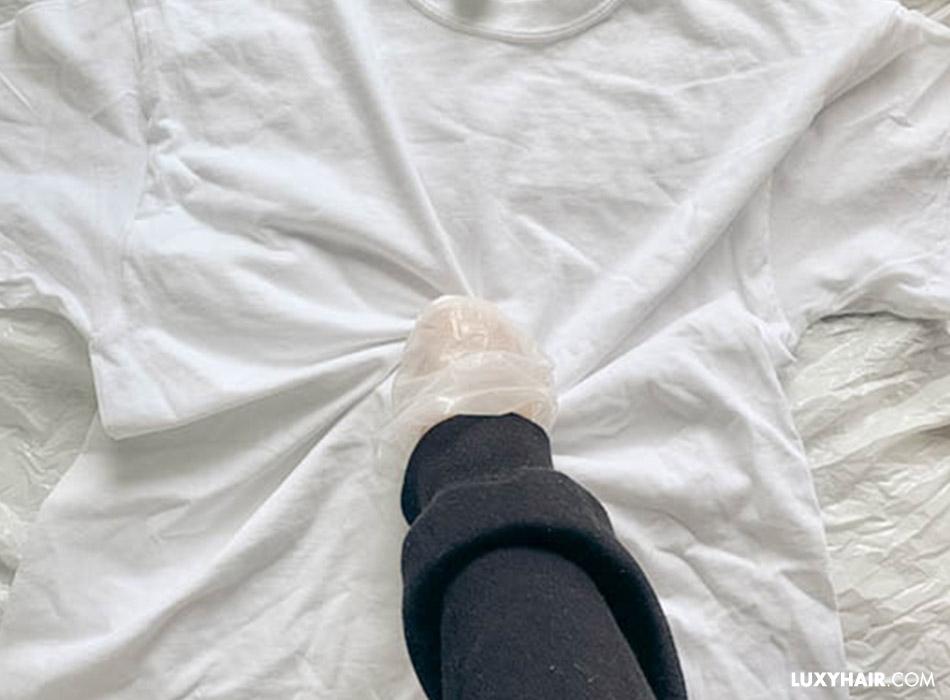 Image by @sweatcolours
For this tutorial, we're creating a classic spiral tie-dye shape, spiced up with different colors. Pinch your shirt or sweater in the middle, and twist it in a circle until your have a tight, circular spiral.
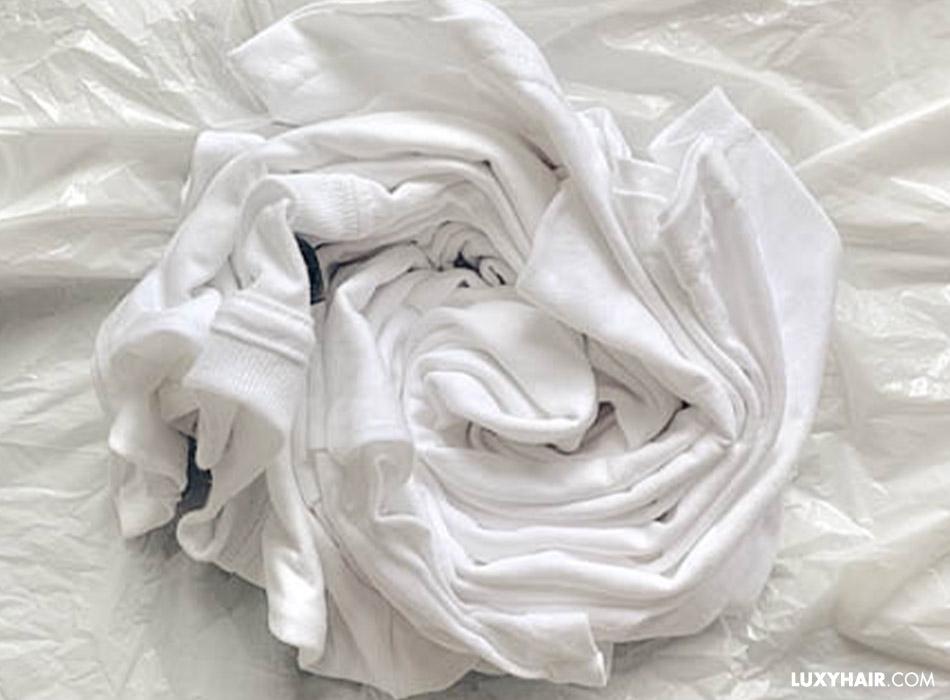
Image by @sweatcolours
Step 5: the tie
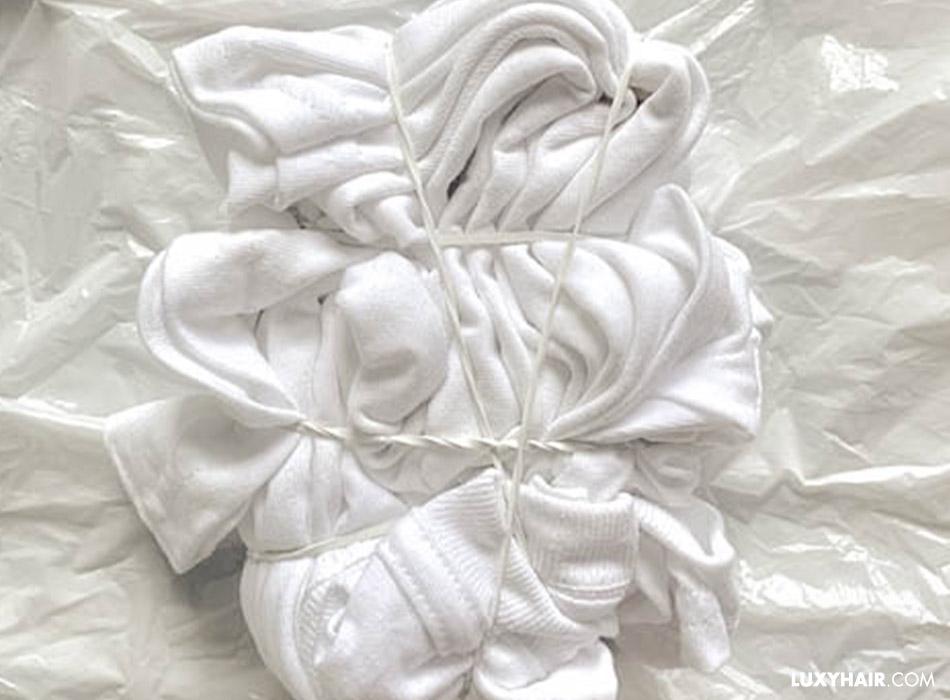 Image by @sweatcolours
Secure the circular shape with elastics criss-crossing over the shirt. This is the most crucial step, as the pattern in which you tie your elastics will determine the pattern of the eventual tie-dye coloring. With trial and error, you can create new shapes and colors, completely customizing each garment to your liking. Do whatever feels right to you.
Step 6: the dye
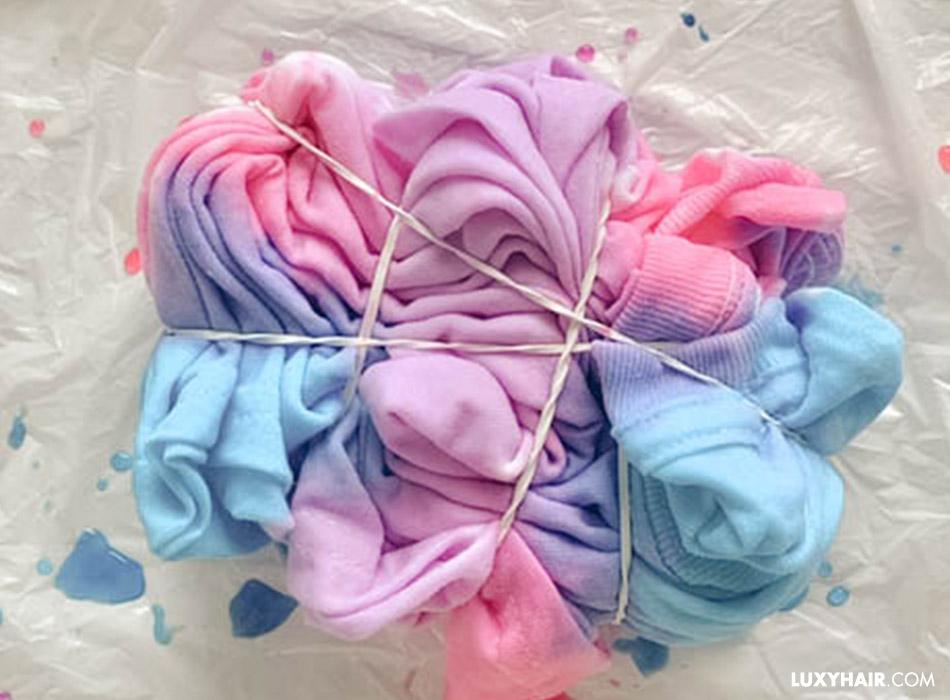 Image by @sweatcolours
Now comes the fun part. Take your first bottle of color and squirt it all over the T-shirt ( there’s really no right or wrong way of doing this ). Then take your next colors and do the same thing. Try to mainly aim for the white spots with the second and third colors, to avoid mixing the dyes. Continue these steps until you're happy with the amount of dye on the shirt.
Step 7: let the colors sink in
Put the shirt in a plastic bag with the elastics still attached and let the color soak into the fabric for at least 6-8 hours. The longer you let the shirt sit, the more saturated the colors will turn out.
Step 8: rinse off and enjoy
 Image by @sweatcolours
Once your masterpiece has rested for enough time, rinse it off in the sink with cold water before cutting the elastics off and throwing it into the wash, When washing, make sure you wash it alone in case colors transfer or bleed. Hang to dry, and you're ready to take your obligatory Insta pic!