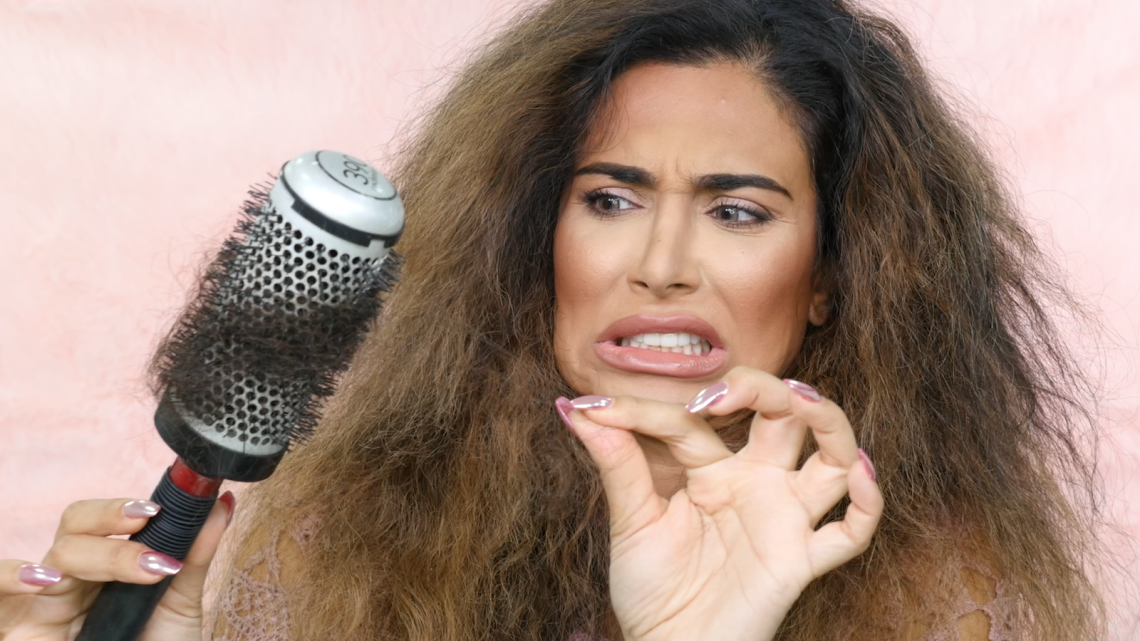
How to Blowout Natural Hair Using Blow Dryer
Most hairstylists will tell you to stay away from the heat and that there are many ways to stretch your hair without applying heat. However, on occasion, you may have a deep desire to reach for that hair dryer and blow out those natural coils and curls.
The Blowing Out Process
Below are the basic steps to blowout your natural hair.
Tools You Will Need
Before you get started, you will need to gather a few things:
- Hair Clamps (To hold your hair)
- Wide-tooth comb
- Rattail comb
- Denman Brush
- Thermal protectant for your hair
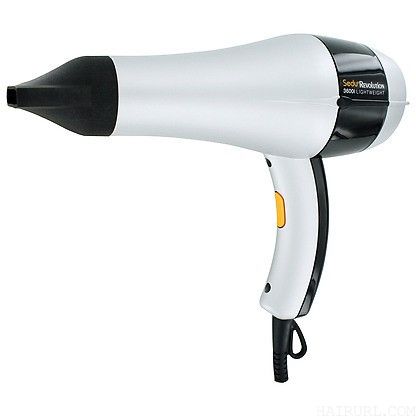
- Ionic hair dryer with multiple settings, preferably one with low, medium, high and cool
- Concentrator nozzle
- Universal pick (optional)
- Air booster (optional)
Best Ways to Deep Condition Natural Hair
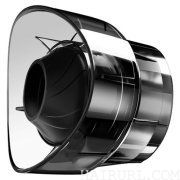
About Ionic Blow Dryer
The ionic blow dryer is ideal for blowing out hair because they use an infrared technology generally that enables hair to dry faster without disrupting the overall structure too much, leaving hair healthy and shiny.
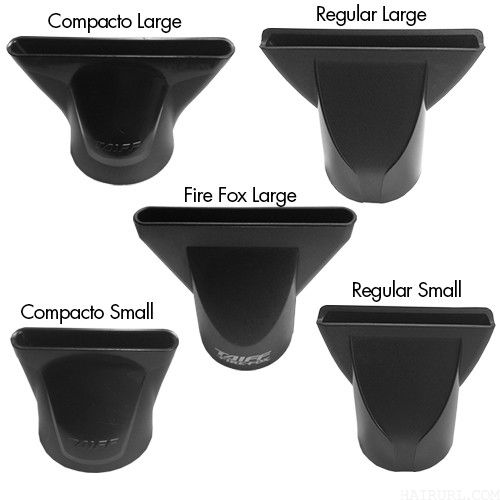
Concentrator Nozzles, Universal Picks and Air Boosters
Hand-held blow dryers work best with parts that aid in the distribution of the heat to your hair. The concentrator nozzle does just as its label indicates. It assists in concentrating the heat to a particular region of the hair. The air booster is unique to the tornado hair dryer brand, but it is another tool that can be used to aid in concentrating the heat to a region of the hair.
Brazilian Blowout: Pros & Dangers
The universal pick can be used to help distribute heat from root to tip with a comb although this can be done just as well with the concentrator and a comb.
Thermal Protectant for Hair
The heat from a hair dryer can be so intense that it destroys the protein and overall structure of your hair, leaving it dry and damaged. To prevent harm, most stylists will recommend that you apply a thermal protectant to your hair before beginning the process of drying your hair. Using a thermal protectant will assist in helping you to maintain healthy hair for a long time.
When purchasing a thermal protectant, look for a product that will not only keep your hair from being fried by the heat but a product that makes your hair shine, move freely and is fully supportive of removing the frizz.
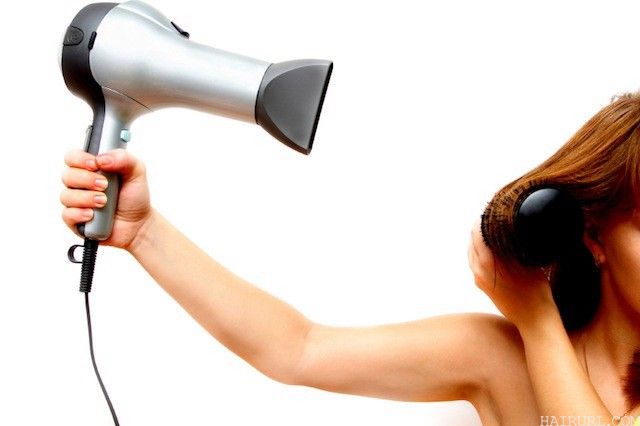
How to Dry Your Hair Using a Blow Dryer
Below are simple steps to blowout your hair. Keep it simple.
- Section your damp hair into four parts, clamping each one with a hair clamp.
- Make sure that you take the time to detangle natural hair carefully using a wide-tooth comb from root to ends before beginning the drying process.
- Apply concentrator nozzle to the hair dryer.
- Releasing one section of your hair and following the manufacturer’s instructions, apply the thermal protectant to your hair.
- After using the thermal protectant, pull your hair outward so that you are holding your hair by the end and stretching it.
- Turn the dryer on to the lowest heat setting, then apply heat from root to ends in a repetitive fashion until your hair begins to dry. Make sure to angle the concentrator along the length of the hair throughout this process. Note: You may adjust the dryer to a higher heat setting as necessary depending on the thickness and texture of your hair. Finer hair may not require high heat settings as might be necessary for thicker, coarser hair which needs a higher heat to straighten hair.
- As hair begins to dry, use a Denman brush on the ends, then start working your way back to the root to aid in stretching hair while distributing heat.
- Re-pin this section of the hair once it is dry and move to the next section.
Naturally Curly Hair: Quick Guide
If you follow these steps, you will be successful in the blowing out of your hair without any hassle. Keep in mind that if you are planning to flat-iron your hair on the heels of this process, take your time in preparing your hair. The straighter you can get your hair during the blow-drying process, the less work you will need to do during the flat iron process.