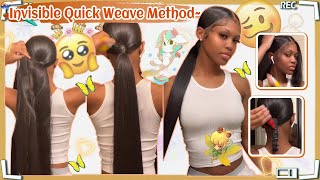
How to Achieve Voluminous Long Hairstyles With Virgin Hair Bundles
- Posted on 12 August, 2020
- Hot Topic
- By Ericka Dotson
These days you can get long hair in mere seconds. If you feel like a short hair isn't going to match your OOTD, then switch gears and get a long one. In an instant, you will go from enjoying the breeze on your nape to savoring the touch of long hairstyles against your back. You are going to be living the dream of every girl and woman on earth.
Huh? Sounds unbelievable, doesn't it? Best believe it is the reality because, at this very moment, somebody is styling a long lustrous hairstyle right after getting a pixie haircut two days prior.
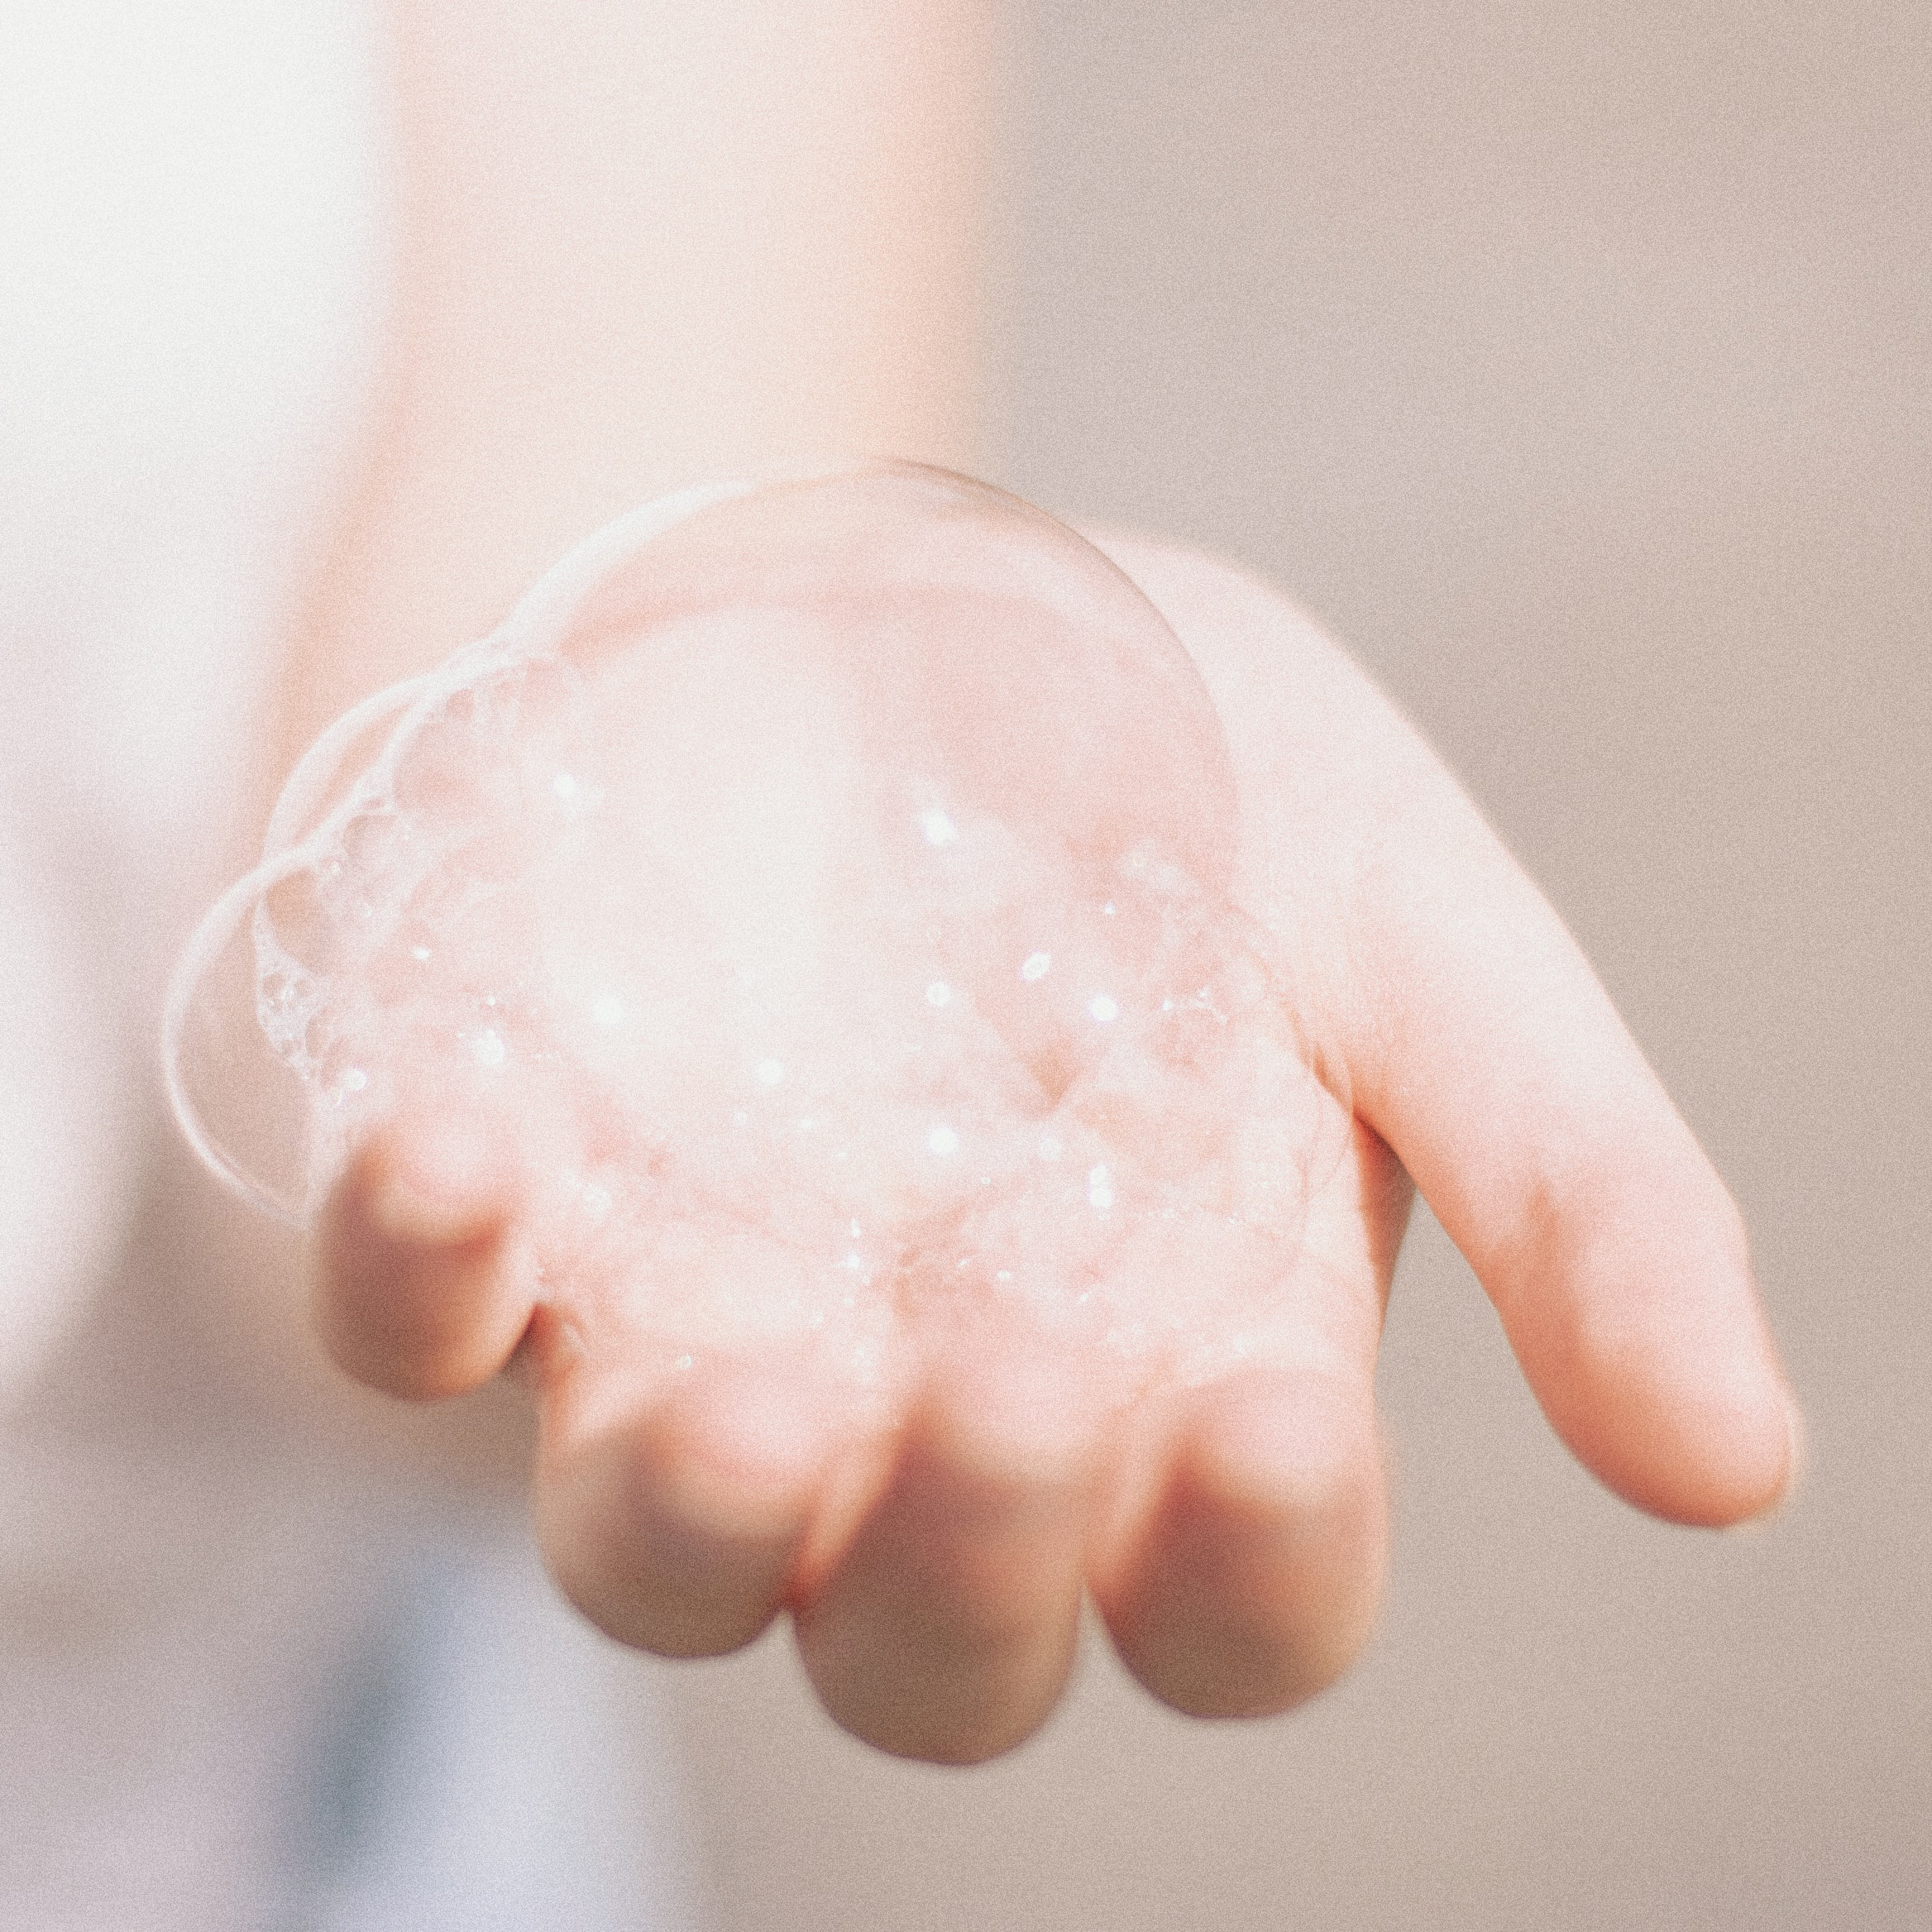
Full disclosure, the key to instant length is Virgin hair Extensions. A single weft hair extension has become a game-changer in the hair styling universe.
So, Why don't we get to business?
Step 1: Get a hair weave cap.
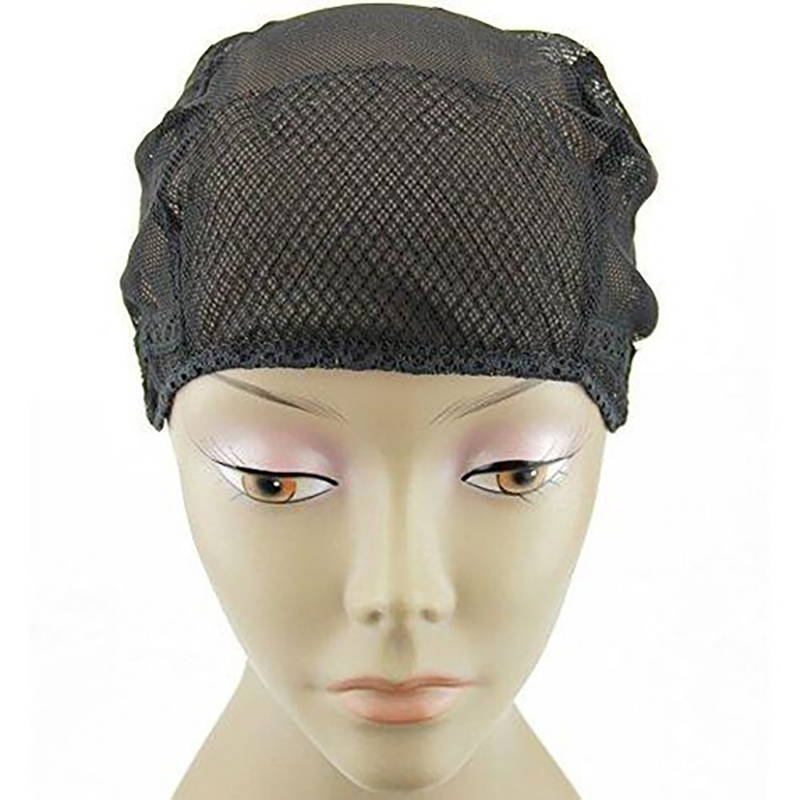
Start by covering your hair with a removable hair weave cap. The cap will stop the glue from pulling at your hair upon removal and reduce the risk of skin allergy while gluing the human hair bundle.
Step 2: Place weave cap onto the wig block.
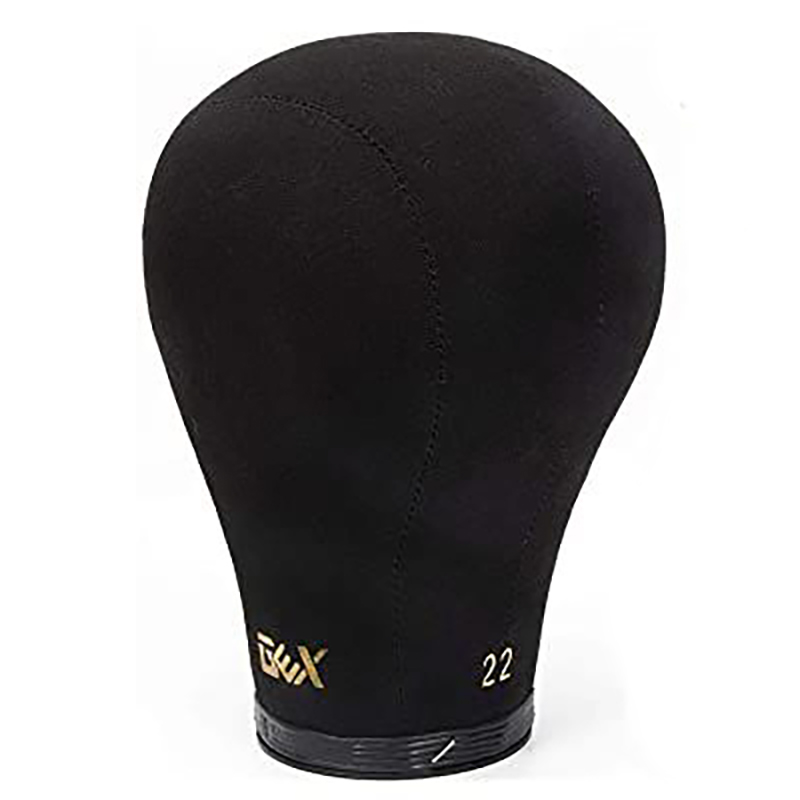
Lay your weave cap onto a wig head; this way, you can ensure that the virgin hair bundle is being glued on evenly.
Step 3: Apply glue to weave cap
Carefully apply a thin layer of glue to the edge of your bundles. Smearing thick glue will only stain the hair.
Step 4: Attach the hair bundle to the weave cap.
Begin from left to right, or start at the nape of the neck and move up. Trim any excess hair that extends beyond your hairline, till you get close to your ears. Meticulously layer the hair next to each other and avoid unnecessary gaps.
Circularly glue the hair extensions from the left ear to the right ear around the forehead to the temple. Doing this will bring a layer of hair in front of the lace closure and ensure that there will be enough hair to blend into your real hair.
Step 6: Create a circle at the top
Likewise, glue the following lace closure in a semi-circular style. To avoid your forehead from appearing too thick, glue the hair bundle up to the temple. Make sure to leave a circle about the size of your lace closure at the top of the cap bare area for the same reason.
Step 7: Apply finishing touch
Finally, squirt a thin layer of glue at the top of your weave cap. It will tighten the bond between the weave cap and hair bundle while creating an even thickness for a natural-looking hair.
Step 1: Shampoo your hair with a deep cleanser
Start the step by washing your hair with a deep cleansing shampoo to remove any residual hair product or hair gunk. Just in case you also wash the hair bundle, then set it aside gently and air-dry it. Completely avoid the usage of an electric dryer or any other hair-drying tool. Finally, detangle your hair with a wide-tooth comb to prevent hair damage and split-ends.
Step 2: Part your hair
Equally, part your hair into four sections. Take a comb, part your hair down from the center of your forehead to the nape of your neck. Create a second partition from the start of your left ear to the start of the right ear. To secure the four sections, twist each section and use a hair tie or clip.
Let lose any one of the two-parted hair at the bottom. Then brush the untied hair with a comb to clear any knots and tangles. Take a smaller portion of 1/4 inch from that set of hair. Pull an equivalent measure of the hair and distribute it by half. Lay the 1/4-inch portion between the two hair bundles.
Step 4: Braid your hair
If You must braid your hair into the bundle by starting from the scalp. Take a braid that is approximately 1/8 down the length of the hair to secure the hair weaves. Trim 3-inch hair bundle and fold it midway. Clamp the folded section of bundle hair next to the base of the braid.
Attach hair weft to your braid twice after putting the loose strands across the loop. Make sure to tighten both free ends and secure a strong knot near the base of the braid. Then cut off the rest of the weft, which are not required. Carry out the same process for the remainder of your hair in the lower scalp. When you are done with the lower part of your hair bundle, you can go to the rest.
DIY clip in hair bundles
Step 1: Select your hair bundle
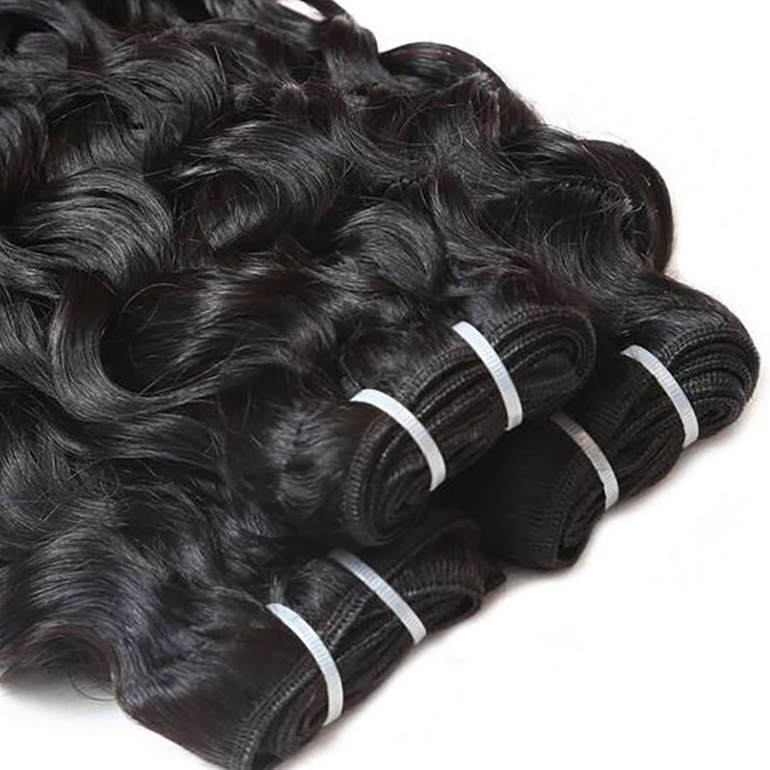
For the best looking hairstyle, a virgin hair extension is the best choice.
You have the liberty to choose a hair bundle of any color to match your natural hair as much as possible. If you have a human hair bundle with a variety color tones, you can always dye it to blend with your natural hair. The same thing cannot be said for synthetic hair.
Following this, you can select the length of hair required and measure from your ear downward because it will be the place where your bundle hair will fall excessively.
Step 2: Measure your hair

Accurately measure the width of the portion where the hair weave is going to get attached. After you complete the measurement, apply all the measurements onto your hair wefts/ bundles and then trim each bundle per the length you want.
Step 3: Get a double weft
The advantage of a double weft will allow you to fasten the clips to the hair bundles. There are three methods involved in it. The first method is to utilize a hair-bonding glue to pair the wefts together. The second way is to use a needle and thread by taking two sets of hair wefts, sew it with a threaded needle from the tips of the weft. The third method is to take a mini sewing machine and attach two wefts.
Step 3: Get a double weft
Set your hair aside and begin to clip in hair extensions securely. With this, you are done with your clip in hair bundles! Make sure to do some tests with your DIY Clip in hair bundles to avoid any hair disasters.
Finally, How many bundles of hair do you need?
The number of bundles depends on the styling technique, length, and head size. While buying Virgin hair bundles, it is important to consider:
- Texture: For people with straight hair, it is crucial to understand that you may require more bundles in comparison to wavy or curly hair.
- Length: Similarly, longer hair means more bundles.