Try This 5 Minute Braided Headband Tutorial The Next Time You Need A Quick Style

You ever have one of those days where the front of your head is just not having it? The rest of your curls look semi decent, but you have no idea what to do with the front? I’ve been there more times than I can mention. If so, this quick braided headband* tutorial is for you. You don’t even need anything to make it happen but your own two hands!
What to Do:
1. Start on whatever hair style you have, although it may be easier to manipulate your hair while it’s clean and wet. However, it can still be done on dry hair to preserve an old hairstyle.
2. Create a part at the front of your head going from ear to ear. The part doesn’t have to be perfect, but make sure it’s at least decent. Clip the rest of your hair back so it doesn’t get confusing. If you have to style the rest of your hair, this is a good time to section it off as well.
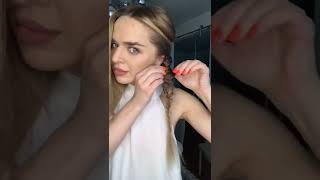
3. Gently begin to braid your hair. To make it as neat as possible, detangle the section before braiding. Use a butter to lock in moisture if you need to. Create either a cornrow or a French braid. And if braiding is not an option, simply do a flat twist all the way across your head.
4. Complete the braid or twist going back behind your ear. You can use a bobby pin to secure it back there and hide it under the rest of your hair. Un-clip the rest of your hair and fluff. Voila, you’re done!
This cute style is a great way to stretch a braid out, twist out, Bantu knots, etc before wash day. It also saves you money on hair accessories. Try the braided headband* on short, medium, or long hair.
What’s your favorite way to stretch an old hair style?


