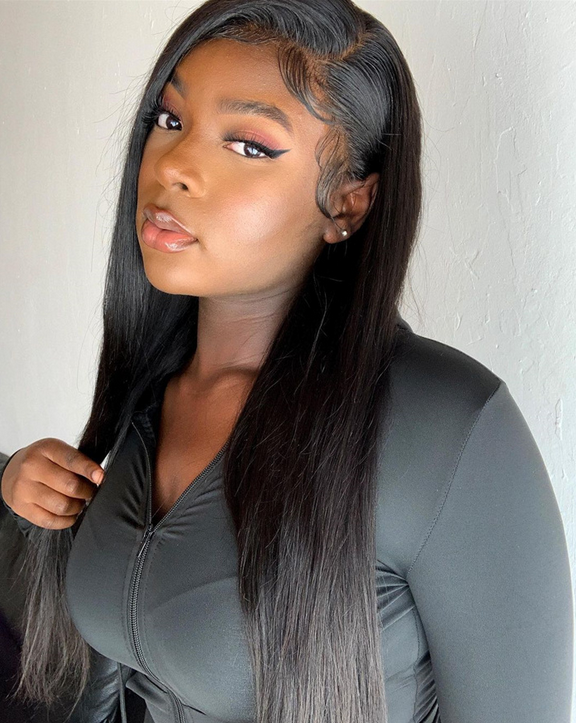
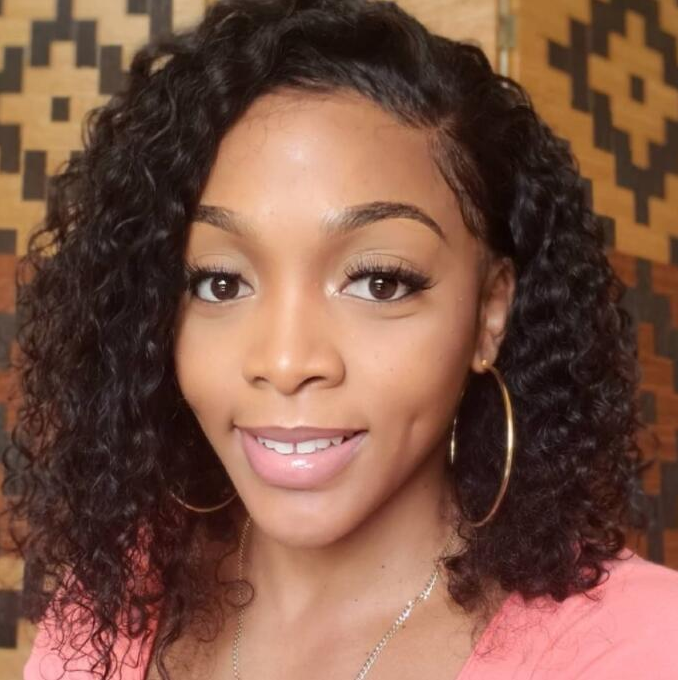
How To Do A Closure Quick Weave Bob From Start To Finish. Very Detailed. Beginner Friendly.
START TO FINISH HAIR TUTORIAL ON HOW TO DO A CLOSURE BOB DIY
PLEASE LIKE COMMENT AND SUBSCRIBE
COMMENT WHAT HAIR STYLE YOU WOULD LIKE TO SEE A TUTORIAL OF NEXT
I AM OPEN TO YOUTUBE VIDEO SUGGESTIONS
Purchase Wigs and Hair Products and Stay Connected On Social Media Platforms Click this link https://linktr.ee/KATTCOINZ
Oh, hey you guys so with no further ado um, my hair is already prepped braided more than halfway through and on. The left side is pretty much just molded back um with one braid and that part would be for the closure. I sprayed it with the got to be freeze, blast spray and now i'm blow drying it to create a hard barrier, i'm just going to keep blow drying it until it's completely dry and molded. I had already put on them a nude cap. Now i'm gon na put on two black caps, and this is just for extra. You know security for me to prevent the glue from actually touching my hair. What i'm doing here is spraying it um just around the perimeter of the braids, i'm gon na leave that other part open and you'll see why, in a minute, so i'm just spraying spring spraying creating a hard shell and just friends brand's brand. Next, i'm gon na take a needle and thread and sew around the perimeter of the braids kinda sort of just about where the the marks of the spray stops. That'S where i'm gon na sew, so i'm basically looping it under pulling it in through looping it under pulling it in and through it's kind of sort of. More so like a look and learn, i don't know if pulling it in and through is making sense to y'all, but just keep watching. You can kind of get. What i'm saying and now i'm going to start sewing down towards my ear and now i'm gon na. Take the scissors and i'm only cutting the black cap, i'm cutting around the perimeter of the the cap, i'm cutting within the square that i just sewed around - be careful not to cut the thread because i kind of sort of snipped the thread a little bit. But that's fine as well, because you're eventually going to sew down the closure and it's going gon na still be sewn down to your hair and now using the black, got to be clear. Gel we're gon na mow down just where the closure will begin and where it will stop we're going to mow that down right there, where the lace will start and where the lace will stop yeah. I ain't gon na lie this voiceover thing. I'M doing this. A million times - oh my god, y'all, don't know how many takes i've been too. I i'm indeed this is so crazy to me. So now i'm blow drying my blue dry blue, dried. I blow dry for like 10 minutes. 10. 15 minutes make sure it's really really dry. Now, i'm cutting around the black um cap, i'm cutting around the perimeter of all the caps, actually i'm just getting rid of the excess cap and i'm just snipping snip and snipping. Just when i thought i was done and something else just when i thought i was finished something else just when i thought i was doing yeah, don't don't give me too much with them the red spots in my head. Okay, i had put a little something something over there to protect my hair, so we using the veso 10 and 12 inch hair, um, gon na be gluing and doubling my tracks using the 30 second glue. I always start my bobs. I never stop my balls way at the nape of my neck because you want to need room to cut and curl. You want to have their body in the back that bump in the back, and i'm just going to keep doing this up into oh, don't mind. My face y'all, oh my god. I think i gon na have to record this over nah. I'M go ahead and thug it. So i just keep on um gluing and i'm still doubling my tracks, i'm doing it about two: a finger and a half um. Apart from the next track, i'm gon na blow dry it for more security and then on to the next track. Also, ladies always measure your tracks before you just you know, just put the glue on the track and then like. Instead of putting the glue on the track and then cutting because you don't want to waste, no traction on the waist down here, no tracks left behind so use all the tracks. There is this time i'm gon na. Take it all the way around to my side and i'm not um going too far up on the new cap, because we want to leave room for the closure to be sewn down now. Normally you know on a client's head, i would probably put the closure on. First but um, it depends how i feel to be honest, um, but my closure is still drying right now, so i just want to hurry up and get over with this video. So normally i will put the closure on first. You know it depends on how i feel, but right here i just basically did the tracks first and because i can kind of eyeball where the closure starts and stops and where it begins and ends going from the front to the back um. I pretty much got this under control, so i'm just going to keep going with the tracks until my closure dries. As you can see that last track. I saw this are kind of like bend it up just a little bit and i'm going to keep going in that same motion in that same motion. In that same motion, this is the 10 inch. I started with a 10 inch pack first and i always put the 12 inch at the top for this style, and that was the end for the that was the last track for the 10 inch pack, i'm blow drying once again to secure my tracks. Now we're gon na move on with the 12 inch. I'M sorry y'all. I was distracted by your movie right here where i'm guiding my hands is where i'm going to be placing my next couple of tracks. That would be the placement, so, as you guys can see, i have room for one more track right there, but i'm not gon na put it on yet i'm gon na do the closure first sew it down and then that'll be my last track. Of course, i had to measure and cut it. This is the closure yeah. I see her nice and bleached and plucked it's giving here lying honey. It'S giving you a lot, that's what i'm going to be applying the glue from there to there from there to there. Um using the got to be freeze hole, so i can melt the um cap down to my skin and then i'm going to blow dry it using the end of the cone, the tail of the promises so yeah here, i'm using the coin closet lace glue. This would be the second layer i had already put on the first one, and normally i do three to four layers using the popsicle stick to spread it out. I always put some like right there, so it could get like really flat right there, because i do put um. I still start my lace down a little on my skin and not so much my hairline. So there's no hair right there for me to sew down when i start sewing um. As you can see, that's the lace when it's wet, you can see straight through honey. Like i ain't gon na lie, that's actually the frontal that i cut, and this is the hd frontal that i cut um. I don't know i i just think like the frontals, i love the frontals. I like cutting the fronts, because i don't know i don't know. I just prefer it. I could get the size that i really want when i cut the frontals myself as i'm um, putting the lace on um comb it back and that kind of, like saturates, the glue more down into my skin pressing down lightly. Using the coin closet mousse, i just put a little bit on there before i put my milk ban on and then i comb it out like spread it out with the comb. This gives it more of a melt. I love my voice, probably real, deep, i'm trying to sound cute y'all, but i can't help my deep voice now, i'm going to use the coinback cats milkman yeah this milk band does wonders. I don't know what i was doing all this time without a milk ban like when i started using this like, i never went back to my old technique. I always i just feel like. I would never have a melts if i don't use my milk ban like this really makes the lace stick into your skin. I said it in the dryer for about 10 minutes and then, like that's, the melts using the coin. Closet um wax stick um because after you put the mousse on, it gets a little like a little hard. So, like the um, the wet stick kind of smooths things out when you fly on, you can y'all see like me, tugging on it, it's not going nowhere using the hot comb. I smooth it out before i cut the lace. I use the hot comb and comb. It out flat like that little line from the milkman. I comb that line out with the hot comb yeah this. This y'all can't tell me to say my skin, like y'all, can't tell me this ain't, my skin bruh. So now i'm using the razor to cut the lace i always use erase because it doesn't it. It doesn't give that sharp blunt cut, and i don't know i just like using the lace it gives it the uneven cut for a more natural look. So you can't see where the lace starts and stops, and i'm like just tapping it. I'M not like you know running it straight down like tapping the lace, it's happening just a little piece more to go, tap, tap, tap. Bruh y'all can't tell me this ain't, my hair, all right y'all, so i put the mailbag on again um, because y'all see how i was tapping like the edges down just to make sure it gets all the way down after i cut the lace um i'll. Just put the milk band down while i'm sewing this um, while i'm sewing down the perimeter of the closure, so, as you can see, i'm sewing down the closure um and i'm just basically just sewing down the perimeter. I really don't have a technique as to how i saw it, because sometimes i sew with the needle going towards - and sometimes i was so starting at the closure going outward towards the um the tracks, so it doesn't matter whatever feels comfortable for you, hey all right. So y'all see that little piece of space right there, i'm gon na, go ahead and put a track right there, because when i flip that um, when i start to part into my closure, i don't want that to show. So, of course, i had already put the track. I put it in between the other tracks. I didn't like put the track laying that way per se. Oh, she feeling it so since i'm about to cut, i like to clip my hair up on the opposite side when i'm about to cut - and i like to clip, of course the closure up just so i could see, and so y'all can see too, when i'm Cutting i like to section cut in sections um: it's always to start off cutting long and then, if you want it shorter, you go shorter. So that's basically what just happened in this situation. I wanted to go a little shorter, but if you cut short it ain't. No coming back, unless you, you know, take all the tracks out and then start from scratch all over again, so always try to cut longer and then go short. If you want to, you know, have a change, your heart and go a little shorter. I don't even know if y'all could see what i'm doing but yeah i decided to go the shorter and i'm just going. Um i'ma stick beside it, so i let the rest of the hair down and then i'm going to start cutting. So you can either start cutting at an angle like that or you can cut from the front going up at an angle i like to start from the front, so there's no right or wrong way on how you would cut it's just whatever feels comfortable for you, But i always tend to cut from at least with this particular bomb from the front going up at an angle pretty so, of course, my goal is to cut upwards until i meet with that that last cut towards the back um. So now that i am satisfied with that cut, i'm going to start clipping my hair up, so that i can start flat ironing flat ironing flat ironing flat ironing the hair, so the flat iron flat iron, i'm using is con air infinity pro um. I think this is like a one in one one and a half inch yeah. I think it's a one and a half inch. So, as you can see, i like to start bumping from the back and then to the then i start on the short side and then the last thing i do is the longer side with this particular ball. So, as you can see with the sides of any bob when i flat iron, i like to flat on towards the angle of my shoulder, and i do that because if i was to flat iron going straight down, the bottom of the ball would start to face. The opposite way of my shoulder, or it will end up looking like a granny curl like it, would be curled up under way too much so now, i'm about to do my baby hairs for the closure. I always comb them out. I actually used to part it out, and then i remember somebody writing me on tick, tock and telling me to try combing it instead of parting it. So you won't see their line behind the baby hairs and that actually, that was the best advice that i could take. So this is the results you guys y'all get into this. You see me period period period. Yeah i see the bob y'all see the flow y'all see the body body d. You see it yeah um


Comments
Loretta Foster: Yes, This is very Pretty, And so informative ❣️
Sam Willis: Beautiful Katt, the fact that you laid yo damn self is EVERYTHING! & I must say it’s da Florida in us flat eyen
Nikki Swanson: U did that hunni
Silva Cannon: Gorgeous!!!! Can you tell me where you get your lace frontals from?
Modupe Saliu: Beautiful thank sis for the hook up❤️
Tiffanie Lewis: Can you do a tutorial on laying a lace front
Life Of A Mother Of 6: Gooooooo head Katt!!! I love it
Twiin2Raww: Instagram brought me here and I love it Keep Stepping And I actually learned something
Sonshine SoDetermined: Love it!!! Fieeeeeee per usual
Tavares Thompson: this kia keep up the good work
Angelique Jonaé: I would love to see a video of cut layers in a bang !.* gifted hands!.* it was the COINS FOR ME at thee end!.* ✨
Crystal Kyrise: Can you show how you do an illustration part?
Cooking With Mama J.: You really have a gift from God full of love and fun class is in next level
P Charminggg: can you do a tutorial on how to cut a blunt cut bob middle part?
Essence D: Pixie cut please(:
Jeny Rivers: Wow
Jazmin Taylor:
Lelani's Kitchen:
D Styles: That's Badd to the Bone ❤️❤️❤️❤️
N Lynch: Periodt.
deseraymiles87:
Tibbytx: Where are you located in Houston?
Cherry Adams: Your thumb nail
Nesha Watson: Too funny