Diy Full Wig With Side Bangs: Curly Long Bob: Be Real Virgin Hair
Shoutout to everyone who knew the pre-lacefront struggle. I decided to do this cute shoulder length bob using the "Be Real" hair by Bobbi Boss. This is a start to finish tutoria. The hair was sent to me and it isn't on the market yet.
WHAT YOU NEED / PRODUCTS USED
1. Be Real Unprocessed virgin hair: I will try to find a link soon.
Texture: Bodywave
Lengths: 16, 16, 28 inches
2. Wig cap with Japanese swim cap model:
3. High Strength weave thread:
4. C shape needles:
5. Scissors/ Hair shears:
6. Styrofoam head or wig making block
7. Wig making stand
PREVIOUS VIDEO: Feed in fishtail braid ponytail: https://www.youtube.com/watch?v=_78D7U...
CONNECT WITH ME
Website: Pureestrogen.com
IG: @PUREestrogen
Email: [email protected]
Facebook: @PUREestrogen
FTC: This is a sponsored video.
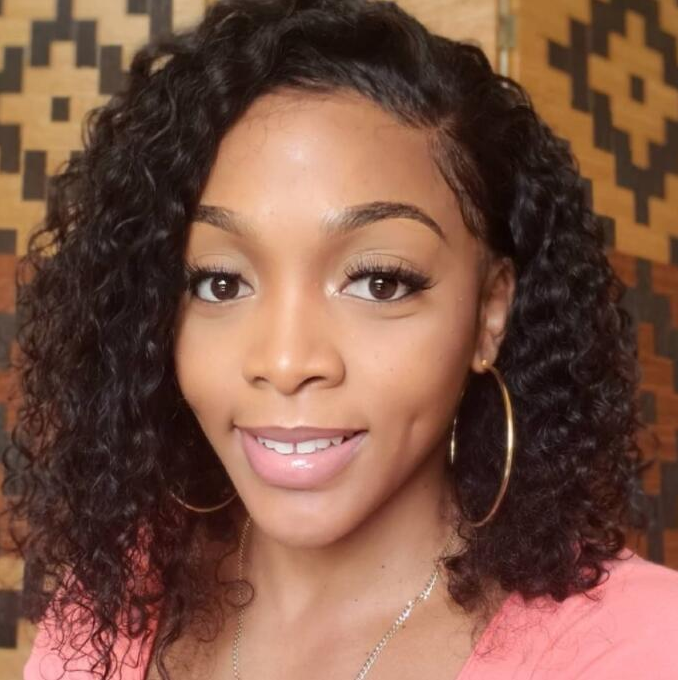
Hi everyone, it's Lulu and welcome back to my channel. Today'S video is a dedication to all the people who remember how it was back in the day before lace, closure to 360s and all of this extra stuff. When we used to have to make our wigs as full, wigs no closure - and we were not cute at all - I went ahead and made a full wig with curls and side swept bangs using my hair from bobby boss. It'S called the be real hair. The hair supposed to be virgin brazilian on processed hair. I do have my reservations about this hair and I'll get into how I feel about the hair at the end of the video, but right now I'll go ahead and show you guys how I achieved this. Look all right, you guys I am starting with this beauty supply store. Wig cap, I told you that I will start designing a new wig cap for myself and I'm still working on it, but until then, of course, I have to use what I have to use to make the wig and this hair is the be real hair. This is what the packaging looks like. If you want to know what it looks like that's 18 inches, I have one in 18 and 2 and 16 inches the bundles. So this is the hair out of the packet, and I am just sewing it down like a traditional wig. Nothing special to it just make sure you always pin your hair down to make it a lot easier on you but check this out right here. This irritated me, like, I, just opened the first packet and I already have a fork in my weft. I did not see that coming. I have not seen that in a long time, so that kind of set me off a little bit. But I went ahead and continued sewing my wig down and I doubled up the wisp, because I was being lazy and I do that. Sometimes especially if I'm not working on a science wig, I don't care I'm going to double up the weft. If it's my weight, I really don't care. So, let's zoom in on the situation and I'm using my second bundle of hair, just joining it to the other and I'm going back and forth and back and forth all the way up to the crown area where I'm going to actually start going around. So just stitch the way I instructed in the past. If you pay attention, you see how I'm stitching so that way, it can be easier on you, but I do have a detailed video stitching so that way, if you want to see how to sit your hair, you can use that video as a guide. Also, just take your time with a wig, because really it doesn't even take that long. It'S never going to take you like four hours to make a wig. So don't worry about time or anything like that. This only took me like two hours, so here I am sewing. I have finally reached around the crown area and now I'm just going around and I really should have stitched down their lower on the bed, but I was like I'm doing bag. I was planning on doing full bags. Then I decided I want to do side bangs. It was a hot mess, but yeah make sure you stitch all the way down the bed. So that way the band doesn't show Here. I am wrapping around and sewing the closure. What'S supposed to be the closure for me and it's just a wraparound closure, I do have a video on how to sew a closure for us. So in I have a bunch of videos on how to sew closures that are integrated into tutorials. So this is just wrapping around and sewing wrapping around and sewing to make a little closure. So that way I don't have to actually sew it down on the wig cap, because I hate doing that. So now I'm just going to sew the big chunk of closure down. I usually make it like an inch or smaller in diameter, and then I start sewing the hair around it. So here I am just stitching it down and making sure it's secure. So now I'm going to go ahead and Stitch the weft down and go all the way to the middle, and that is all there is to making a full wig. So now I'm just going to cut where I want my bang area to be so that way, when I put the wig on I'm not confused and I am going to go ahead and style the unit. The way I want to with this old-school look - and I look kind of crazy but yeah. So what I'm doing next is just separating my hair into sections. I'M going to use my wand curl from irresistable me. I really need to actually do a full tutorial on this because they're eight heads to it, but I'm also using my leave-in, conditioner and twine. This is really great. It'S got some proteins in it and it's good for your natural hair. If you're using heat or your extensions, it's either leaving or moves for me with extensions. I love using those two products, so I'm using this irresistible means that by a curling wand it has eight heads and there I go burning myself, but the curling wand actually has eight heads and I'm going to put all the information in the description box, and this Is what the curls are looking like? I just wanted some type ringlets in my hair, so I will actually come back at some point in the next two three. I don't know how many months and share with you guys how all the curls look from it, because this actually has eight heads - and Here I am just combing, my hair out with being bouncy cutesy curls, that I'm about to layer and shape for my face. And this is what everything is looking like. I am loving this look and now I'm just going to go ahead and make my side bang try to make it look, presentable and pretty and of course, cut it with my scissors. So that way, it can be shaped nicely for my space, alright. So let's get real about this be real here. The first thing I already mentioned - I did not like about this hair as I was making the wig, just as I was getting started. What is the West? Do it decided to fork and then that's that little piece of West that was just dangling away from the majority of the wig? I don't like that. I do not like stitches out of place. I don't like things falling apart. I know it's a bad habit of mine, I'm always picking up stuff that has bad stitching, but at the same time it is a lift. The West should be one solid, structured unit and I did not get that with the be real hair. So I'm wondering now does this happen often or is it just like a one in a million one in a thousand type situation? You know what I mean: it's like old school virgin, hair back in the name, we'll pull out some hair and be like their gray hairs everywhere. Oh my gosh! What is going on and I feel like that's the same thing I'm getting from this. I don't know if they are truly gray-haired. I don't know what's really going on with the hair, but I did notice gray hairs. There has a slight yellowish tint to them, and it's okay to find one or two here or there, but it's like this is how the West is the West. This is the wisp and then it's like you've got black black black grey black black grey wool. Brown gray, it's like almost like throughout each weft, the sequence of gray hairs remains the same, which is kind of weird because of this unprocessed hair. It should not all look the same. First of all, all three widths. All three bundles should not look the same. So it was very strange to me to see that hair and to see that weird sequence of grayish yellowish hairs. I don't know if there were filler hairs or something, but it makes me look like. I have gray hairs and it's not cute at all. For me, it's a cosmetic issue and I don't like how it looks, but after curling my hair, it looks really pretty so you can't really tell that much but yeah it curls really. Well. You can see that. That'S it for this video, you guys all I say huge. Thank you so much for watching. As always, please do not forget to subscribe. Give me a big thumbs up and comment down below before you leave, and I will talk to you in the next video bye.


Comments
Pure Estrogen: Hi, loves. This is a first impression. I didn't want to do a final review, but I will. PROS: 1. Curls easily. 2. Feels soft. CONS: 1. Poor weft construction (bad stitching) on the 18 inch only. 2. Dusty Gold/ Grey streaks every so often. It looks better when curled. I will test it further in another video. Love you guys.
TheRubyyy123: Absolutely stunning!!!
Japeria Williams: the wig came out really nice!
acacia Paola: Tu m,inspire beaucoup ma belle ♥
Roanna LaToya: Love this❤
Tina Ikujegbe: Nice job. You look very beautiful
M D: So pretty
gigi ngala: U could wear a bath mat on your head and you would still look amazing. Thanks for this video!
Mikelan Dogan: OMG....8 heads...got it.
POOKIEC:
Lady Exclusive: this shoes though, you are so stunning
Sunjiaa Mai: Old school, o yeah I remember, nice job.
Ariel Ward: Where can you find the hair?
Kierra Malone: The wig looks good. Sorry you had such a bad experience with the hair.
adima faustina: woooooooow
Jim Martin: Have strips been designed with sticky tape you lay across your wig head that has plastic niddles that poke out of the wig cap that you use to secure the hair to the wig cap like a plastic rivet gun leaving a small flat backer on each side? Maybe you should sit down and design one has an alternative to sewing? Just an idea.
morena schemmer: I Love you
Debra Morton: Are u serious!!. This whole thing is a sloppy hot mess.. wth!
Angelina Accra: Hi lulu