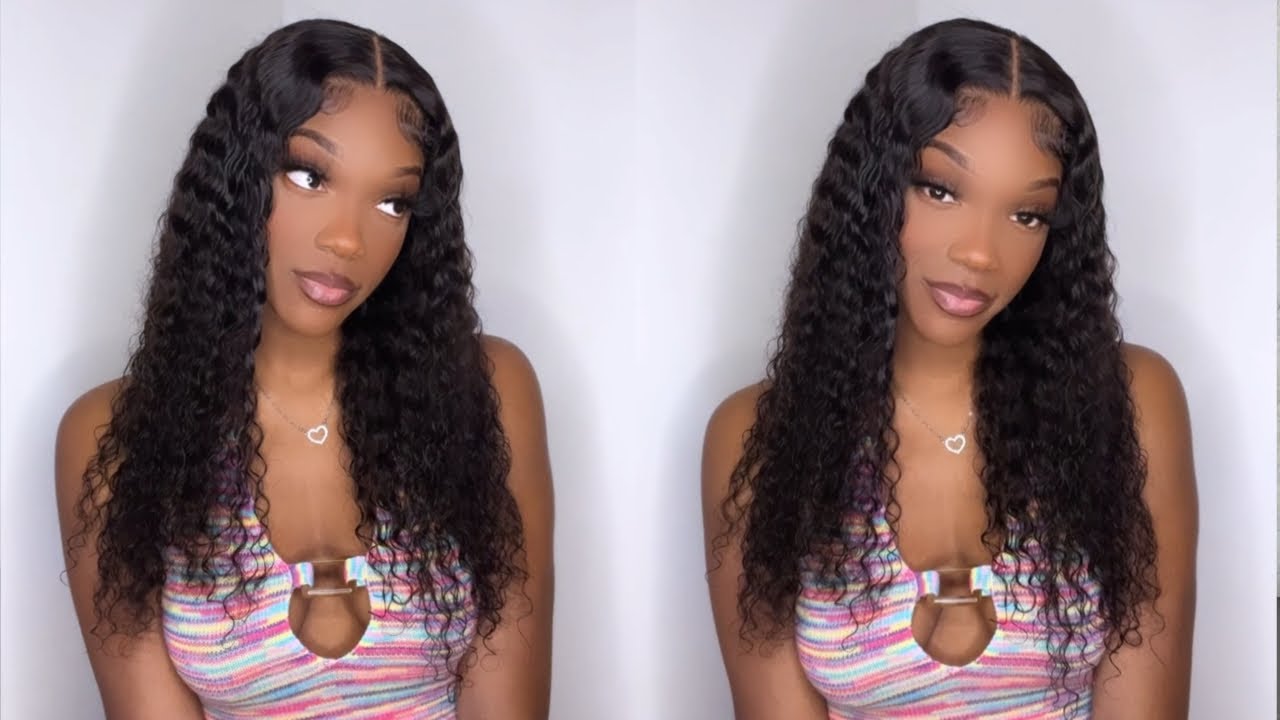
How To: Make A Wig With A Lace Closure
- Posted on 27 January, 2016
- Lace Closure
- By Anonymous
Hi, this is my first video and I just want to show you guys how I make my wigs with a lace closure. I hope you find this video helpful. If you like don't forget to like and subscribe.
Link to hair: www.hairflipextensions.com
All other products used can be found at a local beauty supply store :)
⬇️Connect with me⬇️
Personal Instagram- lovemaraaa
Wig Business Instagram- wigsbymara
Tumblr- marachantelxo
Email- [email protected]
Hi welcome to my video today, i'm gon na be making a wig using three bundles and a lace closure. So if you want to see how i made this week, keep on watching a peruvian natural wave 16 inch and a closure from hair flip extensions, i'll link that in the description well below, as well as hair zuellni, Medlen 3 p-10 scissors away cap mannequin head and A man can hold it, which is optional. The mannequin holder is despaired to make the mannequin head more sturdy. It allows you to move the mannequin head at different angles without actually having to hold it. So the wake up i use. I prefer this wig cap over the dome caps because i like the adjustable straps in the back as well as how thin it is, and when i use bobby pins, i can easily just stick the bobby pins through the wake up. This is the closure i'll be using I've already bleached them at those ready to be sewn down on the way cat, and I love this closure because i love the thickness of the perimeter. It makes it so much easier to sew down on the weight cap, so the first thing you want to do when preparing to sew down the lace closure. Is you want to line up the edges with the wig cap, and this is one of the important because later you're going to cut off the excess wit Kappas under the closure, and you want the tracks to be lined up with the closure? So you also want to pin down the back with the T pins as well as the farm, and this is going to be really helpful when selling it down, because you won't have to hold it in place. It'Ll already be exactly the position mess that I'll be using for the closure is the blanket fridge. So you want to take out the T, pin and you want to pull the closer down nice and tight and make sure it's lined up at the edge of the recap and you go through the wig cap and then through the closure underhand. Let'S start at all and then to keep going, you go through the wig cap and through the closure and make a loop through the stitching, and you want to just keep on then there's throughout the entire closure. As I come to the end to one side of the closure to making that on it, I take the needle and I go through the thread, maybe two to three times and pull it tightly to make it in that. And then I proceed to the next side of the closure and I still down that side save in the back of the closure for last now that the other side is complete. I finally moving on to the back of the closure - and I start my stitch there and I continue to do the blanket stitch throughout the whole back of the closure and end it off using the nap method now that you're done sewing down the entire closure. This is what they should look like. It should be nice and tight. The stitching shouldn't be too far apart and it should be very secure on the wig cap, so we're going to start with our first bundle of hair, so I'm coming it out just to get out all the tangles so too so the tracks. Now I'm going to use the whip stitch, which is a very simple method of sewing. What I like to do is I like to so my first track down at the very edge of the back of the wig cap. So what i'm doing here is i'm taking the t, pens and I'm securing down both sides of the track. So this is just going to be helpful when it comes to sewing we're starting on a new bun. Do you always want to make sure that first stitch goes through the weft of the hair, as well as through the way cap, and this just make sure that it's very secure on the head and what I like to do is I like to do the first? Maybe one or two stitches through the weft of the hair, just to make sure it's very secure at the end, and I also like to knot it maybe once or twice after you make sure those first two stitches are nice and secure on the on the way Cap, you can then proceed to do the whip stitch, which you go under the track and through the web cat, and this just makes it easier on yourself because going through the west of the hair, each and every time is very difficult, because the rest of the Hair is very thick so going under makes it still makes it secure, because you have the end track, that's very secure on the head once I get to the other end, I like to go through the web just to secure down that edge. So I can prepare to fold over. I do not recommend cutting the web so much because it makes it shared more. So the fold-over method is an easy alternative, so you fold it over and you go through the web just to secure the edge down nice and tightly so I go through the weft a couple of times at the age, just to make sure it's not bulky, and It'S still secure so after you have filled it over and you've gone through the left a couple of times. You can continue to do the whip stitch all the way across to the other end, once I've shown the hair across to the other end, I cut the grade and I also cut the left of the hair. I do this because, right above it is where the adjustable straps, though, and i do not want the hair to get in the way of that. So i start my next layer above where the adjustable straps go so to secure that end down. I go through the web for the first two stitches and then i proceeded to do the whip stitch straight across. I like this so close to the edge of the wig cap and kind of bring the stitch up a little bit. So when I fold it back over this, the next track is not laying directly on top of one another. I don't like to space it out too much, but just enough that is not too bulky, so this is just showing how underneath that track is where the adjustable straps go, and I left the space for it. So I just continue to stitch going back and forth from one edge to another, as you can see, i'm just using my fingertip to space out the track. I don't like to leave too much space open in the back, because I have a lot of hair to spare because i'm using three bundles, if i were using, maybe two bundles. If i wanted there to be thinner, i might you maybe go with the one finger or the with the two just depending on how thick or how thin I want my hair to be so from this point on. You just want to continue to do the whip. Stitch across from side to side making a u-shape or just going straight across whichever you prefer, and at this point you want to take it all the way to the edge and you want to sew it down, and you want to continue to use the photo. The method without cutting your web, you are less likely to have shedding so that's of life, so you just want to keep using the fold-over method and make sure that at the end of it, you really secure it down. So it's not walking as I get closer to the track, reaching the closure. I like to make sure that it's much more space so that the top plays very flat every close to the closure. When I so, I like to take the needle through the actual closer just to make sure that later, when we cut off the excess part of the wig cap, just to make sure that the closure has a nice secure foundation. Now that everything is all sewn together. As you can see, this part is actually it's not needed, we'll actually get in the way up. The lace closure, if you try to put it on you'll, see a black net under so you have to do. Is you cut, it all make sure not to cut the stitches you did so it's really helpful if you turn it inside out, because you can see clearly where your stitches are and where exactly you need to cut. The last step is to cut off the excess lace in the front of the closure. What you want to do is you want to put your finger under it just to make sure you can see where you need to cut you just cut straight across close to the hairline. You want to make sure the closer is to your preference, so you want to leave as little or as much as you would like. I prefer to cut it very close to the hairline making sure not to actually cut the hair, so you can go over it. Just to make sure is to where you want it to be so after you cut it off. This is what it should look like now that hair is all done, is nice and late, and she is ready to be worn out. So this video helped you in any way don't forget to Like subscribe and comment. If you have any questions, thank you. You


Comments
Winston Keene: This is one of my talented Granddaughters, she's not only talented but she has looks and pozzass!!!!!!
Milo -Miyah: ✌great tutorial
Delisa Plummer: Do you have a Facebook? And is the email in the description box for business inquiries??
My katian world: are you on Facebook