How To: Install Flat Closure Without Glue || Sewn Method
- Posted on 05 February, 2016
- Lace Closure
- By Anonymous
Purchase hair:
http://immaculehair.com/ref/florence/
Hi guys another video of me showing you how i install a sew in lace closure I have posted a couple of videos in the as of me installing weaves without a closure so i thought i would show you just how i put on the closure
if you would like to see how i sew in a weave watch:
Videos like this:
TOOLS NEEDED:
Curved Needle
Thick thread
Weaving new
Synthetic Braiding hair
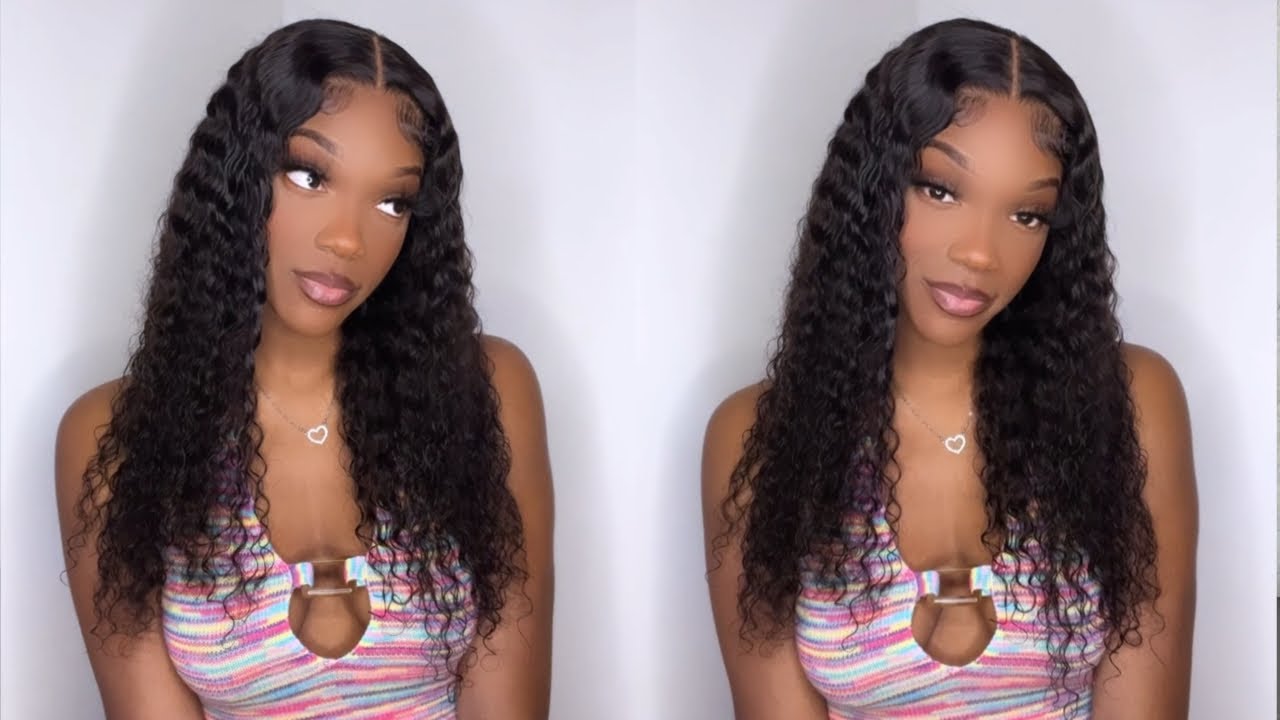
Hi guys welcome back to my channel, so today I'm going to be showing you how to install the closure. So right now, I'm going to just establish world like the closure to see it, because my client has quite a fare, sparse hairline. We would like the closure to sit a little bit more forward, so I'm going to go ahead and let my client hold the closure in place. This allows it to not move, as I am stitching it down in place. So I'm going to start with my left side, your right side, I'm not really sure, and I'm going to just stitch down this side of the closure first and then I'm going to move on to the other side of the closure. What I'm going to do is alternate from both sides with two different needles. I do do a double stitch. I stitch a very close together so that the closure is intact. But what you need to make sure is that your closure leads - and there is my fault in so the alternative method that I'm showing you alternating from left to right is a great way to make your closure flat. I'M insure that there's no folds in the closure, which can happen if you just go all the way round in a u-shape. So right now, I'm just going to continuing to switch down my closure all the way around the back, ensuring that it is flat and stitching. Quite close to each other, I'm just fast-forwarding the video so that you're not here forever watching this and also you can't really see the back well, I will be recording this type of video showing you a bit more of the map and the switching technique. Time again, headshots it's done and changed positions with my client. So now the closure is all stitched down, I'm just going to secure it in place and why not, then I'm going to section off one centimeter person from run of the lace back now. These two partings have to be on top of the cameras underneath the leg, because those are going to be the anchors for the closure to make sure that it doesn't slap and it doesn't leave that, and also when you go to tighten the closure on future. You will be using those two cameras to tighten the closure. So now I've got my two sections. What I'm going to do is get my needle and thread and go under the lace and scoop some hair from the camera, underneath the lace up and then tight. I need little knots with my thread. You need to make sure that the knots are very, very tiny because obviously you're going through the lace and also you need to make sure that you don't pull the thread too hard. Because if you go pull through the lace too hard, then you can end up making tiny holes in the lace which you don't want to happen. And but what you do need to ensure is that you're not making a loop over the lace you're, just making kindly knots doing a reason, verse stitch on top of the lace but they're not so actually appearing, underneath the lace where no one can see and all You have, on top of the lace, are little rap plots that no one can really notice, and no one can really see. So now that my lace is secured to the came around and Eve. What I do is get a little piece of net and I attach it to the front of the lace, and then I use it as an anchor to pull back and attach to the net on the size. This is specifically for someone who has no hairline if they did have a hairline, you could obviously just do the normal method and just stitch the lace onto their camera, or you could just stop the part that I showed you before, where you do the tiny little Knots arre delays and then we'll just be laid and flat and secure, but because this client has got such a thick hairline, I'm just going to use added net to secure it to the base of the beef. If you would like you could use elastic. However, I don't like to use elastic because it's so stretchy I feel like. I have to pull it quite a lot and add a lot of tension to get the result that I can just get with two minutes within it. After stoned on my lease. This is the finished result. I hope you guys enjoyed this video and please rate comment and subscribe.
Comments
Nabenaa Ansah: Great video!! Great results!!
Klassy Chick: loved it
Julisa Rio: Is that girls name Brittany