How To Lay A Lace Closure Flat Pt 1.| Sunberhair Ombre Brazilian Bundles
- Posted on 03 January, 2017
- Lace Closure
- By Anonymous
This tutorial features hair form SunberHair! I used Ombre Brazilian in 18,20,22 with a 16 inch Lace closure
Ombre hair: https://goo.gl/pSvwBl
Top selling: https://goo.gl/tBc0u8
YouTube: https://goo.gl/v8fBWn
Pretty Girl Precision Contact Info:
Follow me: http://instagram.com/livepretty_pgp/
Facebook: https://www.facebook.com/PrettyGirlPre...
Website:http://www.prettygirlprecision.com/
For all questions and inquires Email me: [email protected]
Purchase your Live pretty T shirt or Satin hair Pillow here:
http://www.prettygirlprecision.com/sho...
Check out my Interview with Loore.com here:
http://www.loore.com/featuring-assunta...
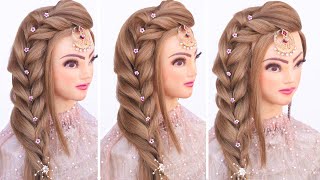
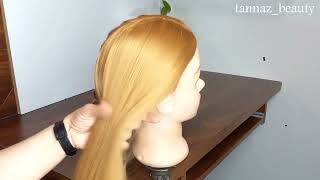
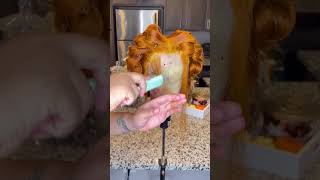
Hey youtubers, I am coming to you again with another wig tutorial using Sundberg hair's, ombre Brazilian bundle in 1820 and 22, but there's 16 inch closure in this video installment. This first part I'll be showing you how to customize your closure so that it blends in well with the hombre color how to lay your closure down smooth with foam wrap so that it's seamless, so let's get started. Okay, so you guys can reference. My last video on how to sew your wig in a sewing machine. I use the same method for this wig and I'm just gon na begin by sewing my bundles in and then completing the way. Now it's the closure and this particular closure came with these little sparse hairs and they are sticking up all over the place. So you want to take each section, I'm using Nairobi, foam wrap and I'm just gon na foam, wrap these parties and comb it down. With my comb and then I'm gon na let the unit dry okay. So when I received this hair they did not have a I'm ready closure. So I just got a 16 inch, 1 B closure and I figured I can just blend it in. So what I'm going to do is separate where the closure piece is and blend that one beat to the actual starting point of the one beat of the last bundle, and I hope that makes sense. So what I'm doing this? Taking that and blending it where two other one B starts and you do that all the way around and see how is already starting to blend in and I'm using the longer teeth side of my razor, not them not they're shorter, blunt cut, use the longer teeth On your razor call, so of course we want that nice sexy, feathered bang, so I'm gon na also razor one side, give it a little bit of layering. So it has that wispy feather thing that we all love, then I'm also just going to angle the other side so that it blends well, so I want to spray it down so that I can see and make sure that everything is flowing the way I want It to so I'm just gon na use stead of using water, I'm gon na use a heat protectant, and that is this is effigies keratin, heat, protectant, and so I'm just gon na spray it down, and this allows you to see if you know your layers are Blending well, if the color is blending with, so that you can make sure, there's no demarcation lines now, I'm just gon na brush it through and let it air dry. So after your unit is fully dry, you definitely want to give it a heat test and I would rate these bundles from one out of a ten. I would say about a thick. This was my result after using a flat iron. I didn't do too many curls, but I just want to see how it reacted to heat, and this is the result that I got. I want you guys to continue to watch this installment. The next video is going to be me, styling it on a client, be sure to LIKE comment and share and ask any questions. You guys live life on purpose with purpose, thanks for watching

Comments
Sophia Billotti: Good Job Love! Can't wait to see the next video❤️
Bob's Daughter: Happy New Year Assunta!!..I'm already in love with this unit..If you need a need me to take that unit off your hand..hit me up..