Lace Closure Straight Laid With Easy Braid Pattern
- Posted on 23 March, 2013
- Lace Closure
- By Anonymous
If you would like to see any tutorials please feel free to comment!. Thanks you Guys.
Items used:
SeKrets Hair & More Brazilian B2Body virgin Lace Closure 12 inches - Knots already bleached.
SeKrets Hair & More Indian Slight Waves Virgin Wefts 12 inches and 14 inches
Click here to purchase the hair http://www.sekretsglam.com
Upart: Universal Net Sew in Cap
Nylon Thread and Curve Needle
Rubber Band
Clips and Boby pin
Questions Please Contact Me!!!!
❀My Blog: http://[email protected]...
❀Facebook: http://www.facebook.com/richgirlstylez...
❀Business Inquiries: [email protected]
I purchased everything in this video. I am not affiliated with any companies that I may mention.
Royalty Free Music from www.soundclick.com
Artist: Vybe Beatz
Instrumental Track Tittle: Red Lipstick
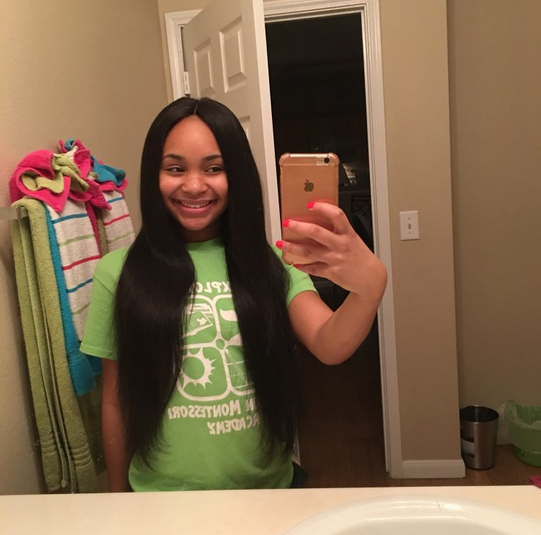
So, hey you guys. I want to do a tutorial here of the install of a lace closure and a u-part wig. As you can see, i went ahead and um started braiding. My hair. Your hair does not have to be neat um. You just want to make sure that your anchor braids are tight and those braids are the ones around the perimeter of your hairline foreign, all right right here, i'm going to start on another anchor braid. You want to make sure that these anchor braids or your perimeter braids are very, very tight here. The reason for that is because your u-part wig is going to be anchored onto these braids, so you want to make sure they're very tight. Now, as you can see, i noticed that one of my braids here was not tight, so i'm going back and i'm going to tighten that area up here. Next thing you want to make sure is that, with these anchor braids, you want those braids to connect and connect at the back of your head up under the braids that are at the back once those are connected. You can finish up braiding the remainder of your hair. I like to do this braid before that next braid. Only because i tend to forget about that back piece. So, as you can see here up under the back area, i'm taking it all the way under these braids, which i left some hair out and i'm just going to take these braids and connect them. So, oh all right, so i'm all complete here with my braids. As i said earlier, you do not have to have neat parting and things like that. So now i'm going to take these back braids and i'm going to connect them all now after braiding these down, you want to secure them with a rubber band or um. Some people like to just take it and sew it onto the other braids. I do not do that because i change my hair a lot, so i just secure with the a rubber band or a bobby pin. Now here is the u-part wig. This is your lace closure. The lace closure is from secrets here and more 12 inches brazilian beadah body waves and the? U part wig, is made of secrets: herron moore's, indian hair. Now here i'm showing you how to start with your lace closure now right here, i'm just lining up the lace closure, with the leave out that i left out right here at the top just lining up, you want to make sure that's lined up with the part. Now i'm taking the closure and i'm securing it down with some clips and now i'm about to start my sewing. You want to be very, very careful with this lace because, as you can see, it can tear if you um, put too much strain on the lace. So you want to be very, very careful with that. You want to sew the closure all the way around and anchor it onto the top of these braids. Now here i went ahead and placed the u-part wig onto my um around the lace closure. If you want to know more information about sewing on the u-part wig, i will put that video in the bottom bar for you to take a look at here. My camera did die, so i was unable to put the entire install on video, but that video will be in the bottom bar link. So you'll know how to sew on the u-part wig. Okay, you guys here's the finishing work of my install stay tuned, because i am uploading, a video of me straightening, the hair and styling the hair. If you want to see this hair cut into a bob, please, like and rate and in the meantime, thank you for watching bye,


Comments
SimplyNaturalLanea: Thank you for this tutorial I am looking into protective styles for my hair