How To Make A Closure Quick Weave Wig In Under 30 Mins | Angie Queen Hair
- Posted on 10 March, 2022
- Lace Closure
- By Anonymous
Hey Beauties
Welcome back to my channel Hope You Enjoy This Video !
Shop My Refurbished Wigs - https://stylesbydestiny.bigcartel.com
●▬▬▬▬▬ Angie Queen Hair ▬▬▬▬▬●
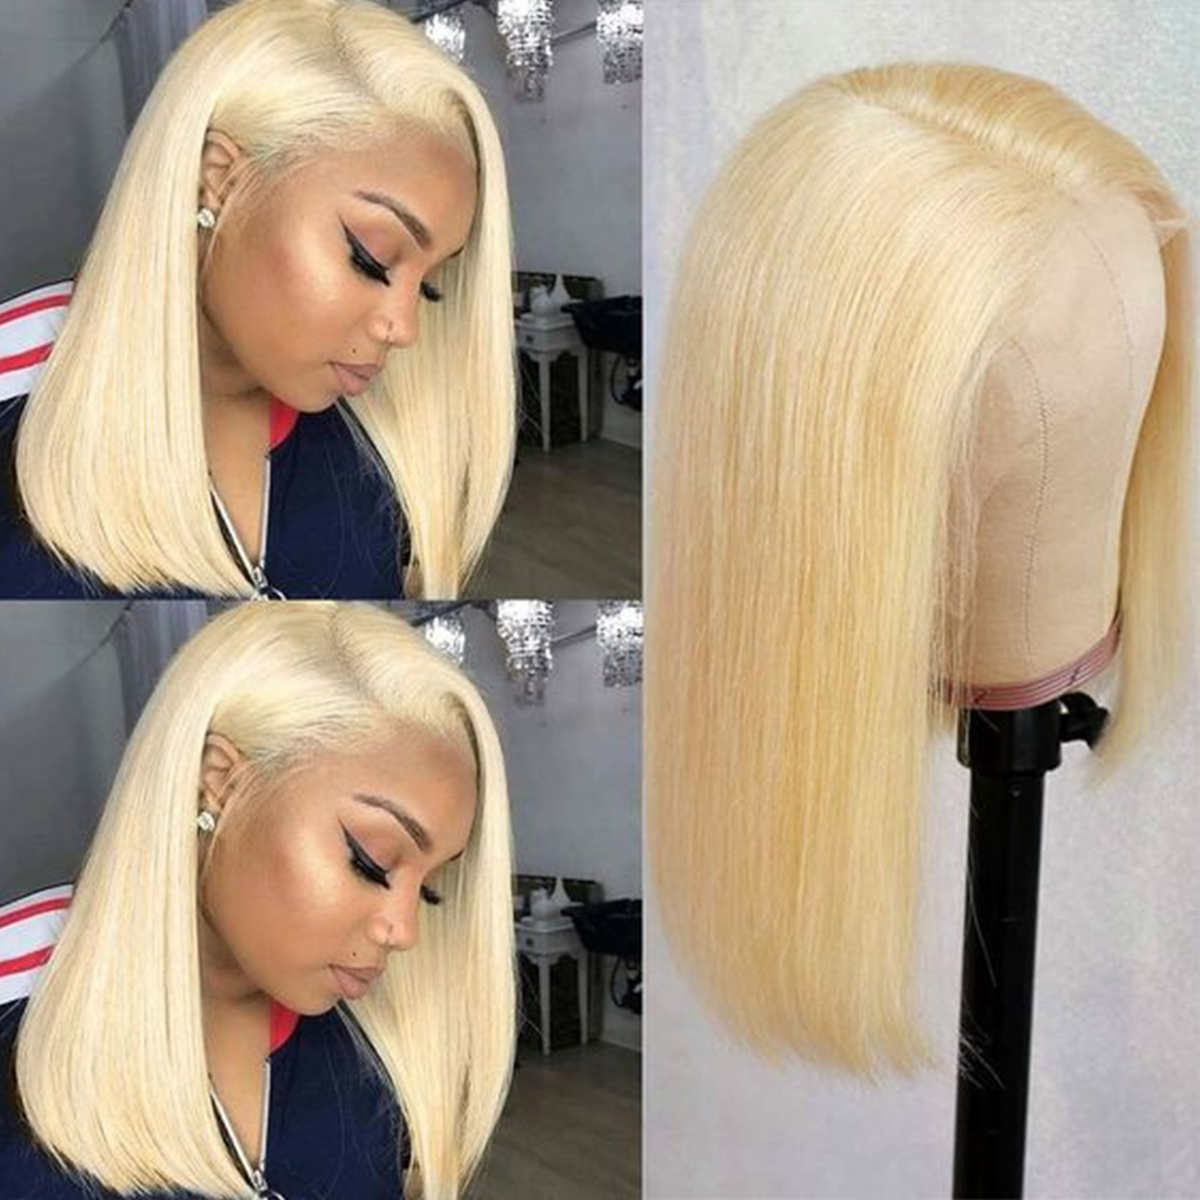
Hair Details: Angie Queen 3 Bundles with Closure Brazilian Silky Straight Virgin Human Hair Weave Bundles
Extra 10 % OFF . coupon code: AQ10
Same hair in the video : https://bit.ly/3KlW3QH
#4 /27 Deep Wave Headband Wig : https://bit.ly/3sLUrd2
Body Wave Headband Wig : https://bit.ly/3pKgXRL
13x4 curly wave lace front wig : https://bit.ly/378rik5
AngieQueen Bundles and closure : https://bit.ly/3ClmW4x
AngieQueen Headband wig : https://bit.ly/35QespY
AngieQueen frontal wig : https://bit.ly/3Chyea9
AngieQueen HD lace wig : https://bit.ly/3sO513x
AngieQueen closure wig : https://bit.ly/3Kq1WMH
AngieQueen bob wig : https://bit.ly/3pHVTeS
AngieQueen Hair Store :https://www.angiequeen.com/
Contact us by social medium:
Instagram: angiequeenhair https://www.instagram.com/angiequeenha...
Facebook: @angiequeenhair https://www.facebook.com/angiequeenhai...
Email us by: [email protected]
Whatsapp : +86 18697350569
———————————————————————————
BUSINESS INQUIRIES & COLLABS PLEASE EMAIL : [email protected]
Everything guys so today's video is going to be featuring angie, queen hair, which is a new company that i will be working with. So they sent me three bundles and a closure. All of the bundles were the same length. They were 22 inches and the closure was 20 inches. So here i'm just showing you what they look like and then i'm gon na move on to bleaching the knot, so i'm using a 50 volume developer, of course, and my bw2 powder bleach. I mixed it until i got a nice, thick, creamy consistency and then i spread it over the lace and i let it sit for about 15 minutes. So here i'm just showing you none of that bleach seeped onto the other side. It didn't seep onto the roots or anything like that. So after i bleach my knots, i'm going to move on to plucking and, as arigante told us, make sure you're plugging with something white underneath because it'll help you see better and it'll be a better guideline to make sure you're not over plucking or under plucking. So that's what i'm going to do before i move on to actually making the wig. So here's what my closure looked like once i finished plugging this and i'm going to move on to making my wig. So i'm using this spandex dome cap, which i got from the beauty supply store um, i'm going to be using that to make my wig. So the first thing i'm going to do is put the dome cap on my mannequin head and then i'm going to pin my closure in place and i'm going to begin sewing it down with my thread and my needle and also you want to make sure you Are laying your closure, nice and flat? Because if your closure is not flat on your mannequin head, um guess what it's not gon na be flat when you put it on your head, so make sure you have pinned that baby down in place? And she is nice and flat now, oh all right! So once i've finished sewing down my closure, now we're going to move on to making our wig. So i'm going to place this plastic shower cap on my mannequin head and then i'm going to place my dome cap, my wig cap, on top of that, just to protect it from the glue because we are going to be making a quick weave wig. So i'm going to unravel the bundle and then i'm just going to measure from side to side how long i want the actual track to be, and then i'm going to cut it with my scissors and then i'm going to be taking this 30. Second, super um bonding glue, well hair bonding glue. You know girl because we be using this for our eyelashes. Okay, don't act like you, don't know, so i'm gon na be using that glue. That'S actually supposed to be for tracks and for your hair and i'm gon na be using that to um adhere my um bundles to it. So that's pretty much. What i'm gon na do. I'M just gon na measure from side to side cut the track, apply the glue and then i'm just gon na press it in place. So this was super duper easy to make y'all um, and this was actually my first quick weave wig. So i was super excited. It came out popping, of course, okay. So that's basically what i'm going to be doing from here on out just measuring each length of the track that i want it to be, and then i'm going to apply that glue pop it in place and then let it sit for about like 15 to 20 Seconds, ah, blue, so that was my progress after two bundles. So i finished my third bundle and this is how it turned out. So all i'm gon na do is just pull that plastic shower cap out of the wig, which it was super duper easy. It wasn't. Tough or anything like that, i'm gon na pull that out of the wig and then we are going to move on to actually installing it. So this is what the wig looks like. So i'm just going to pop it on on my head and i'm actually going to be doing a side part with this wig. For some reason, i feel like closures, especially this was a 4x4 closure. I feel like closures that are 4x4 they're, better suited as a side part, because it gives you a little bit more flexibility. I feel like when you wear a 4x4 as a middle part, it kind of gives 4x4. You know what i'm saying. So that's why, typically, if i have a 4x4 closure, i do a side part because i just feel like it looks better. So all i'm going to be doing is i'm just running my hot comb with my wax stick through the rest of the wig to get it as flat as possible, and then i'm just going to be perfecting my side part before i go on to cutting the Lace and everything like that, all right, so now i'm just going to be razoring over my legs using the eyebrow razor. Of course y'all know i love eyebrow razor. Is it gives you the perfect jagged? Look when cutting your lace and then, of course, i'm going to be also taking my red can of the even lace bomb, wonder spray to lay down my wig, and i let that sit with an elastic band over for about 20 minutes and then i'm gon na. Take it off and then we are going to begin actually styling this wig, so i did add some curls to the wig on my mannequin head before i put it on my head, just because it's a little bit easier for me. I love styling, my wigs on a mannequin head. I feel like i move quicker and my um styling comes out a little bit neater. So that's what i did, but i left the front section where my closure was. I did not curl that part because i didn't know if i was going to be doing a side, part or middle part, so i'm just going to curl the rest of that section before i go on to actually doing my baby hairs. Alright. So now i'm going to be styling and laying my baby ears with this edge booster um, gel y'all. This has been one of my favorites to do my baby hairs. It doesn't leave like a residue and it's not super like um greasy or oily like once. It dries it doesn't leave like any type of you know, weird. You know icky feeling on your hair, which i know a lot of gels, and you know stuff like that: styling products they leave that feeling um. So this is why i definitely have been loving this. It is a little bit pricey, but i would definitely say it's worth it. So that's what i'm gon na do. I'M just gon na be taking my edge brush swooping my baby hairs and then i'm gon na be taking some bio silk and applying that onto the hair. Before i go on and start combing out, my curls stroking all right, you guys. So this is the final look, and this is how my hair turned out so again, thank you to angie, queen hair, for sponsoring this video. I will link all of the information down the description box below, as well as the link to this exact hair in case you're interested in purchasing. But don't forget to like comment and subscribe, and i will see you beauties in my next one. Bye,


Comments
Angela Butler: BEAUTIFUL. MAY GOD CONTINUE TO BLESS YOU ♀️❤
Jada: Omggg yesssss
all about ju:
Neusa Leopoldina:
Miraculashes And Beauty: Hi how are you did you have to use combs to secure your quick weave?