Detailed// $60 613 Synthetic Lace Front Melt // No Bald Cap Method (+ Wig Review)
- Posted on 07 April, 2021
- Lace Frontal
- By Anonymous
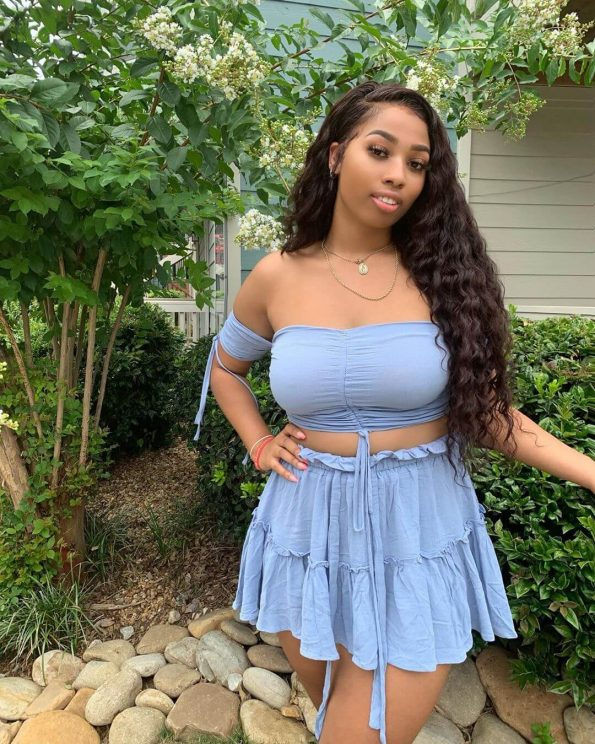
Hey Guys! Today I'm giving you all a high requested video on how I make my synthetic wigs look so realistic without using a bald cap method. This wig was $71 at my local beauty supply but is $50 - $60 on amazon.
If you are just here for a review it starts at 7:34.
Comment down below if you have any questions.
Don't forget to like, comment, subscribe and turn on post notifications to see more of me. Thanks for watching, Enjoy !
Products used:
Supreme Bold Hold - https://www.amazon.com/Ghost-Supreme-A...
Got2be glued Gel - https://www.amazon.com/Glued-Ultra-Sty...
Got2be glued Freeze Spray - https://www.amazon.com/Got2b-Glued-Bla...
Wig Outre Perfect Hairline Synthetic 13x6 Lace: 613 IVORY - https://www.amazon.com/Outre-Perfect-H...
Social Media :
Instagram- pimperellaaa
TikTok- pimperellaaa
Pintrest- JustNeriah
Hi, so i just finished doing my wig. If you want to see how i achieve this, look, please keep watching. If you want to see just a review on how i feel about it, skip to the end all right, so i threw my wig on um, i'm gon na clip it back, so it could just be easier for me to do. This is the hairline up close all right: okay, so drink your coffee and brush back those flyaways we're about to get started, we're going to start off by taking alcohol in a q-tip and wetting the q-tip, with the alcohol and rubbing it across where you are going To be applying your glue, and this will take off any excess oil from your skin and your hair tip for those who break out easily just use, face soap or wet rag and clean the area and make sure you're drying it well before applying the glue, then We'Re going to take the black gots to be glue to lay down the and push back the edges. I am not putting on a wig cap and i still want to avoid putting glue on my edges, so i use the guys be glue because it also gives a extra layer of glue and security as well lay down my edges. Then i'm going to use my supreme hold, go spawn glue and i take that and just apply a small line in three sections on my forehead to avoid my edges again make sure you're avoiding your edges as much as possible so glue in between and around them. After i do that, i usually take the same q-tip, because i recycle and i fold it in half and use it to spread the glue and make the layer thin. So it won't be clunky under your wig. If your glue is too close to your hairline, then you like to spread forward. If you have a small space in between the glue and your hairline, then you like to spread backwards, but generally stay in the same spot. Then give your glue about a minute or two to dry um, just as soon as you're, seeing it clear up. That'S when it's about dry and you'd like to repeat the process, just to add a second layer. Okay, you guys you like to be really really careful with this part. Pull your wig up and place it directly on the glued area of your hairline. Make sure that the tip the edge of your wig is lining up with the edge of the glued area. With this part, i like to do the middle of my hair and then the sides just so i can make sure that it is even take a rat tail comb and use the bottom and really press it into your scalp. To make sure that you are melting. That lace on your scalp, okay, so the ear tabs, is the part of your wig that lifts the most. What i like to do is take the got: soupy glue, freeze spray and i spray it on that part of my head. You could also use your bold hold if you want to. I just have sideburns that i like to keep, so i personally use the free spray, let that dry and get tacky a little bit and then make sure that you're using the actual comb part and combing through your hair, as you are trying to lay it down On to your scalp, this is so that none of the hairs freeze or glue down a weird way and it still looks seamless and realistic. I also take my finger and press that in there okay, so i take a scarf and i tie it down um and make sure that it's really really tight on your head. So it can melt into your scalp and let that dry for about 10 to 15 minutes. You can finish getting ready or whatever you have to do. This part is pretty explanatory for those who just watch. I will add a couple notes in there, but if you want an in-depth video, please comment down below, enjoy much much i'll change much so how i feel about this wig. Let me just give you a quick run in um. Obviously you see like this whole time. My phone keeps um, the storage keeps filling up, so i'm gon na go through this really really quickly. I feel like this wig is really really really nice for the price that i paid i've paid like 76 dollars. It says 71.99 on the package um. It is the outro perfect, hairline wig, it is a lace wig, it's a 13x6 frontal. I showed y'all pretty much in the beginning, how like a look and how the wig was structured, um. The problems that i have with this wig is: it will tangle. It is not only human, so it does not like pretty much stay untangled. It tangles, it's a synthetic. If you had synthetics, you understand, so i really didn't have that big of a problem with that um as long as i flat ironed it really good for the day it pretty much like stays not tangled up. I love how it takes heat. It takes very, very hot heat. I ended up putting a hot comb on it and a flat iron. I haven't put curls in it yet, but i will soon so i can't really tell you how it takes curls um, but i did put these little just like flips so and it took it very, very well. It kind of came like this a little bit. So i don't know if that's the reason, but it took the curls at the ends well as well um what else? What else? What else? I love the lace on this wig? It is really really nice for the pricing of it is really nice. I think it's pretty worth the price of our opinions. I don't know like i feel like you, should just get in and try it out, but i definitely would recommend it if someone asked me, i'm not a freaking professional. I just kind of do wigs in my house, because i don't trust anyone with my head, so that's that it feels really really soft. It feels really good. It actually feels like a human wig. I wouldn't be able to tell someone just told me: it was a human wig until it started tangling up um. I'Ve worn it probably like three four times since i've had it and i've had it for like a few months. So this is a real full review. Um, i will be dying it soon, so i'll like check out the next video subscribe, so you can see me dyeing it putting curls in it and just like experimenting with this wig. I just been kind of throwing it on. This is actually the first time that i laid it down on my head, so i think it's definitely a good like go-to wig for someone who's not really wearing it every day all day. But you know if you like, to throw in a wig for a couple of days: it's something that's gon na last. You will make you look good regardless. The color was amazing. I love the color of this. It'S not like a yellowy 613, and i don't like that um. It'S definitely like more of a silver, more of a white platinum blonde. So that's really pretty that's pretty much all i have to say about it. If you have any more questions about this wig comment down below um, i will respond to them other than that i think she's, a beaut. I think i look good i'm ready to tie it down. Go to sleep subscribe, like comment whatever. I have nothing else to tell y'all so see you in my next video you


Comments
LeaVonda Michelle: Love the tips. Thanks for sharing.
zm: Found you at Brittany Kelly's comment section.. May the channel grow, loving the content#New_SubbieMuch love from South Africa
Danni Connor: You killed this