Bleaching Knots And Plucking Your Lace Front Wigs 101| The Best Amazon Body Wave Wig!!
- Posted on 03 November, 2021
- Lace Frontal
- By Anonymous
This is the only way to bleach your knots in 2021. Affordable and reliable, you are guaranteed to have scalp after following these few easy steps. The best Amazon Wig EVER.
#plucking #bleachingknots #beginnerfriendly #affordable #bodywavehair #amazonwig
Wig Detail:
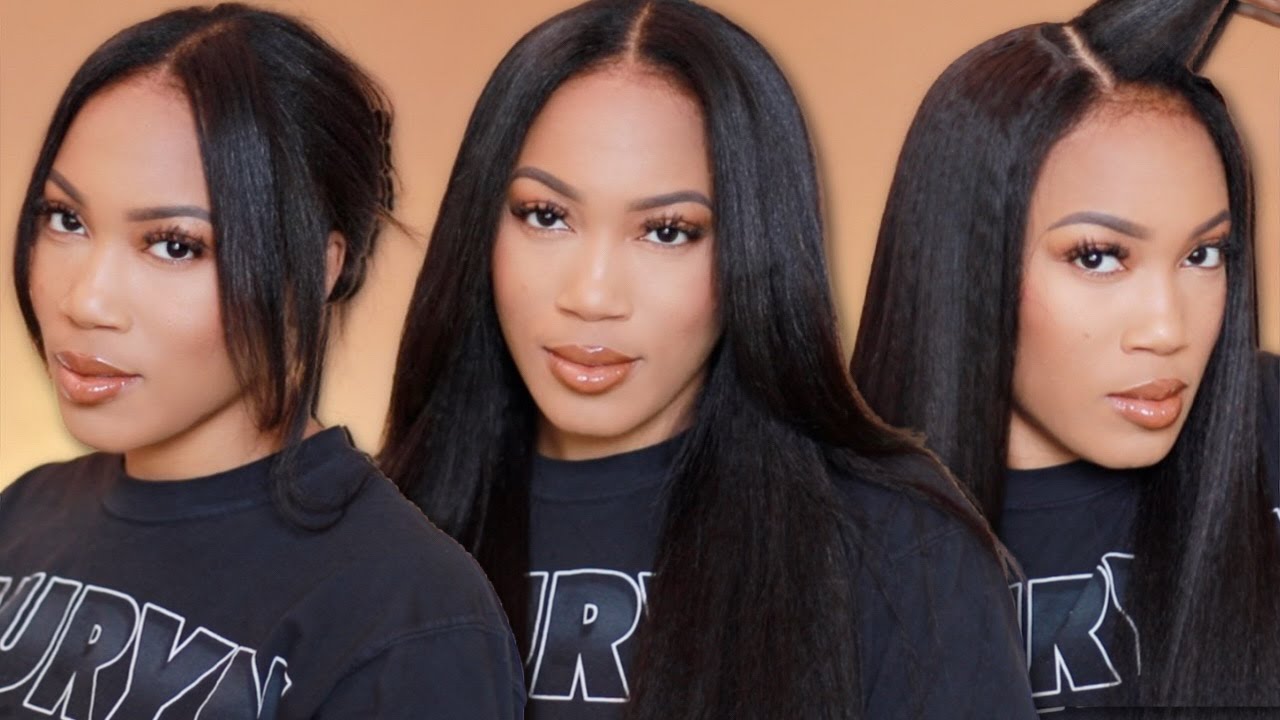
Type: Body Wave
Lace size: 13 x 4
Density: 150%
Length: 20 inches
Link: Obonly Human Hair Lace Front Wigs Body Wave 13x4 HD Transparent Lace Frontal Wigs Human Hair for Black Women Brazilian Virgin Human Hair Wig Pre Plucked with Baby Hair 150% Density (20 Inch) https://www.amazon.com/dp/B09D2VH9M6/r...
Connect with me⬇️
Instagram: @therealjeniemagic
Hey youtube: i'm back with another video and today i'm going to be showing you guys how i pluck my frontals and how i bleach my knots. If you guys want to know how i do that, then y'all stay tuned and watch the whole video. What i'm doing now is unpackaging the hair uh the store on amazon, which i got, the hair from a bundle store. That'S the account name, and this is a 13x4 hd, transparent lace, body, wave, wig and the length is 20 inches. All the other details gon na, be below in the description box, so y'all click and check it out. What i'm, showing you guys now is that the wig came with four clips, two on the side, one in the middle and one in the back to hold the wig down in place right here. This is just me, showing you guys, the wig without plucking the wig, with no bleaching, it's just it's virgin self. What i'm doing is taking my god to be glue, free spray and just using that to hold all the flyaways. They have the stray hairs from the front of the wig so that it can be out of the bleaching process way. So i saw in another video when i was doing my research that one and a half cup of the lightening powder is perfect for what we about to do. So that's what i'm gon na take the same measurements and i think i didn't really measure the 20 volume developer. But you will see in the video that i took. I think two halves of that little measuring thing which equals to one of it so you'll see for down the line. How i measured the developer. This mixture here is with just half of the developer in as you can see, it's still clumpy lumping and thick. It'S not supposed to be like that. I'M gon na add another half of this measuring cup to the mixture and you're gon na see right now how it really looks boom. This is how it's supposed to look creamy and not falling off your not falling off of your apple applicator. Just like that. Just like that. Look how beautiful that looks now it's time to apply our bleaching mixture to the frontal area and i'm going to be starting from the back upwards, i'm going to be doing a little bit of pressing down into the lace so that it can get into the knots. I had to switch up the camera position because i didn't like how my arm was in the video taking up all the camera spotlight. If this is your first time using any type of chemical products, i advise you to wear gloves because i've done it so many times and i didn't have a pair of gloves - i just free-handed it like no gloves no, nothing but you're not supposed to do this. Do now you just want to make sure that everything is even - and you only miss no spots since we use 20 volume developer. We'Re gon na leave this on for about 20 minutes or 25. I think i left this on for 30 minutes, because i came back to check the knots and it wasn't bleached. It was enlightened to my liking right here. I'M showing you guys how the knots came out after i wash out the bleach uh. Let me show you guys the roots, give you a little bit close up. You see the orange right there, yeah it processed now. What i'm gon na do is take some of my purple neutralizing shampoo, and just rub that into the lace just to get some of that orangey tone out. You don't want to know petty rubbing on this lace. You want to get this shampoo into it like wash that thing like you're, washing clothes on your hand and what i did after i rub it rub it rub it. I left the shampoo on it for like about five minutes, just to make sure that it was, you know, doing its job after i rent out the shampoo as you all could see, the nuts are not so orange, and this is the left side of the wig. I plucked it off camera just to show you guys a little bit of the difference, and this is the right side not plugged to begin my plucking process. I section off the hairline of the wig just to start plucking behind it. I don't like to pluck at the hairline because it makes the wig look too scanty and thin when plucking a frontal or closure you're, basically just removing hair the bulk of hair at random spots, like you, don't want to do the same spot, you're, just removing it At random spots, and then you also want to remove the hair that you plucked. So you can see what you're working with i went ahead and took out another row of the hair because i still feel like it was a bit bulky and i've just plucked behind that. A little bit more and here's a slower and up close and personal of my plucking technique, this 13x4 frontal did not have a lot of side parting space. It was so annoying because it was like i wanted to pluck the sides, but then i didn't want to pluck too much, or else it would look too thin. The main areas i plucked in this wig were the sides because the middle i wanted it to be a little bit fuller for my middle part, that'll be all for this video um. I'M glad you guys stayed to the end. Whoever stayed to the end. I appreciate you uh, remember, to wear gloves and work on my chemicals and don't forget to like comment and subscribe to my channel for more videos like this, because i'm so excited to get my hands back into some hair. See you guys in the next video toodles


Comments
Jenisa Smith: How is the wig holding up?