Hyperrealism Kinky Edges Hd Lace Frontal Ventilated Wig | Ft. Ilikehair
- Posted on 28 October, 2022
- Lace Frontal
- By Anonymous
Used wig: Hyperrealism Kinky Edge HD Lace Frontal Ventilated Wig
Link to the same wig: https://bit.ly/3S9WmlL
Extra 25% off coupon code:Bedeck25
Website link: https://bit.ly/3RNtVu6
I PART wigs collection:https://bit.ly/3S3rJy5
Ventilated wigs Collection:https://bit.ly/3ddYrOL
Instagram: https://www.instagram.com/ilikehaircom...
Facebook: https://www.facebook.com/ILikeHair-Wig...
Tiktok:https://www.tiktok.com/@ilikehairoffic...
-----------------------------------------------------------------------------
PRODUCTS MENTIONED:
Brown Wig Caps https://amzn.to/3FghiUJ
Adhesive https://amzn.to/3FfH4IM
Flat Iron https://amzn.to/3TTiKAK
Black Sheers https://amzn.to/3W13sf2
Wax https://bedeckbeauty.com/products/wax-...
Hot Comb https://bedeckbeauty.com/products/elec...
Blow Dryer https://bedeckbeauty.com/products/blow...
Edge Control https://bedeckbeauty.com/products/edge...
Shop Bedeck Beauty: https://bedeckbeauty.com/
-----------------------------------------------------------------------------
Hey Girl Become a Love Bug ✨ by subscribing here: https://www.youtube.com/c/AshleyBedeck...
Email: [email protected]
Monthly Wig Sale: https://ashleybedeckhair.com/
My Amazon Store: https://www.amazon.com/shop/ashleybede...
Let's Stay Connected:
Instagram: @AshleyBedeck
TikTock: @Ashleybedeckofficial
Twitter: Ashley Bedeck
Facebook: Ashley Bedeck
My P.O. Box:
P.O. BOX 52103
Irvine, Ca 92619
COUPON CODES:
FETCH REWARDS:
Your Referral Code: QXQMDP
#ashleybedeck
-SMOOCHES
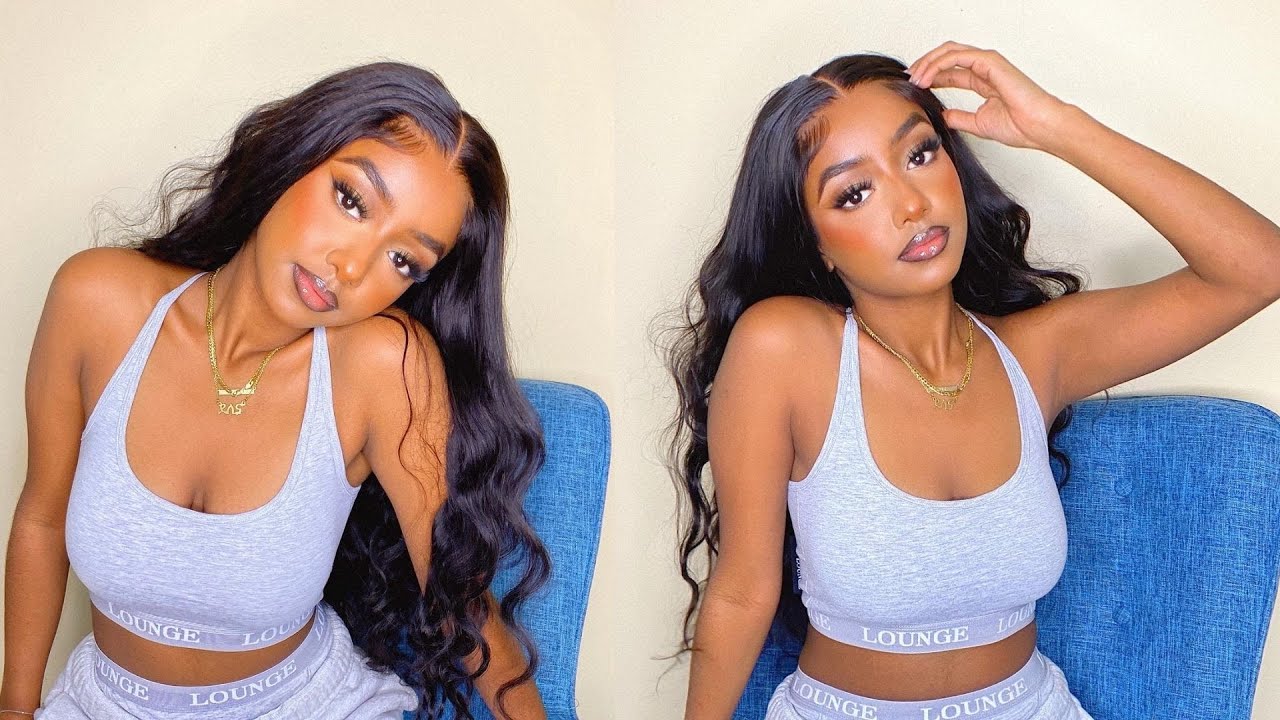
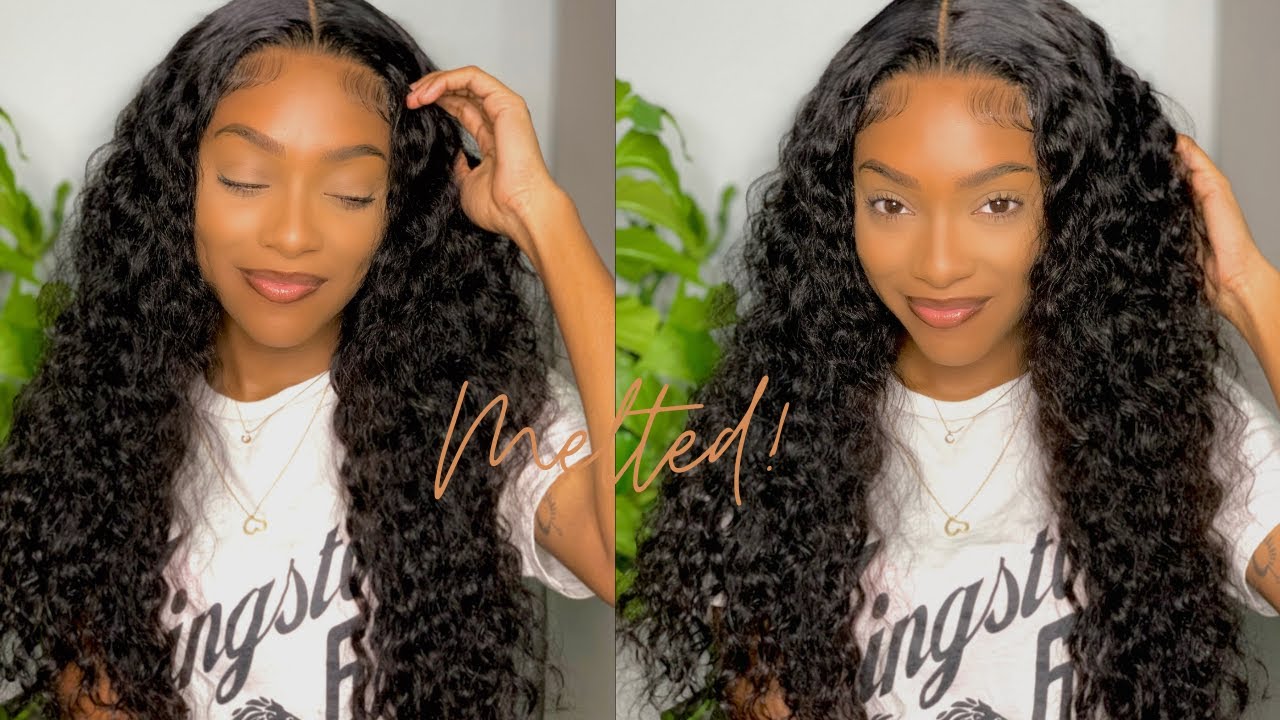
Hey girl welcome back to my channel, I'm Ashley for tuning in for the first time and today I'm bringing you a new technology. This is a hyper slim kinky Edge, HD lace, wig. I am so in love with how natural the hairline looks. She comes courtesy of eye like hair, we're gon na, be bleaching the knots today and we're going to go ahead and start five, four, three two one. So here's the packaging I'm gon na be starting in the kitchen. They provide the wig. They provide you with this little goodie pack with an edge brush and clips. They also provide you with the wig cap and the rat tail comb, also care instructions and an elastic band that you can attach. If you choose. I love, love, love this bag. It'S nice and sturdy - and this is a look at the new technology, it's kind of like um natural edges, but on a wig, they're called hyper slim kinky edges and I love the texture on it. But let's start off by bleaching the knots I'm going to be using BW bleach, a 30 volume developer and then purple shampoo for a non-brassy finish. I'M also going to use a Moisturizing Conditioner to make sure that the hair is moisturized at the very end. So, for here we're going to do two scoops two healthy scoops of the BW bleach feel free to use any brand of bleach that you have. This is just the one I have on hand at the moment, and you kind of want to lightly put in your 30 developer mix it in to see if it's enough and just add little by little. The key to this is to keep it at a nice thick consistency if it falls off the spoon, if it's runny it's too thin, and you want to add more powder because the runnier it is the more it will seep through your lace onto your hair and Then you have blonde Roots which we do not want to have to correct. So I took a place of kitchen foil. You can use the one from the beauty supply store. This is just again what I have on hand and I'm just going to go ahead and use the back of a spoon to apply the product. It'S been a while, since I've bleached knots. I will be honest, so I just used disposable, Cutlery and bowl that I already had. I applied it to the very, very hairline, along that little hyper, slim kinky, Edge, hairline and then also in the middle for a center part. I did not feel the need to bleach the entire thing and you can kind of see the markings of where I bleached and where I didn't again. I just want to do a center part and have bomb hairline. So that's what I did. I did do 15 minutes and then I checked the wig and it still needed more time, so I did about five to seven more minutes for a little bit over 25 minutes. I didn't go quite to 30 and this is the result. It looks absolutely beautiful. I love how natural it looks and the thing is, if you don't like the way the hairline looks like this you'll be able to go ahead and straighten it out and it straightens and blends with the rest of the hair. But if you choose to use this technology, it will give you a nice natural look once the wig is done. So let's go ahead and do the install process I'm going to cut the excess lace around the ear so that the wig fits my head like a glove. I did go ahead and Stamp Out a bust down middle part and I'm going to use the wax stick and the edge control. You guys wax sticking action, show what I'm going to use the wax stick and the electric hot comb you guys know this is the infamous dynamic duo, my favorite Duo to go ahead and just make any wig look good if your wig is bonded down - and you Do the dynamic duo set, it really doesn't matter how the length of the hair looks because it's bonded down and it is looking like it's coming out of the scalp. It'S looking Salon quality, and that is key for me. So here I'm just going ahead and pulling out the sideburns deciding if I wanted to do sideburns deciding. If I wanted to do baby hair, if you use edge control and do baby hair again, it will manipulate the texture and then, when you wash it, it will like revert back to this texture. This is also great for like working out or when you're having a long day it just literally once the wig is put together. It makes it look like your natural edges have just reverted, which I don't know it gives a nice good natural Vibe. This is a glueless install, so we're going to use hairspray instead of glue to bond it down a nice generous coat along the hairline and then I'm off camera. I'M going to repeat this step along the sides as well, but I'm pretty much just using this hairspray. Putting it on the skin attaching the lace on top using my blow dryer on a cool setting to go ahead and bond it down. Also because we washed this wig and conditioned it was still a little bit damp. So I'm going to use that same blow, dryer to go in and just really make sure that we are good to go and it's not wet, because this is a kinky natural texture. It looks fine. You can literally let this one air dry and you're good to go, but you guys can see how smooth it looks with a good blowout, and this is what we're looking like and we're deciding. If we want to go ahead and straighten it out, you didn't need to honestly didn't make a big difference, because we did a blowout, but I did just to make sure everything was smooth. Now that we're done, I kind of was like this was a little too easy. Let'S just go ahead and add a style, so I separated this section here and I straightened it out and I decided to do a fishtail braid. So while I'm doing this actual um braid, I'm also looking at a YouTube tutorial trying to figure out how to do a fishtail. Now, I'm not going to keep that rubber band up top, I kind of used it so that the hair would kind of stay in place and not move around. I think I got the hang of the fishtail braid by the time I got to the end um, but the one thing that I did wrong was that it's just way too thin. I would have done way way way more hair to make the fishtail a lot more pronounced and then, after I'm done with the fishtail, we're going to go ahead and secure it with a rubber band at the end. Again, practice makes perfect, so I'm gon na try again pretty soon. I removed the rubber band from the top and kind of like pulled the braid apart to make it appear a little bit more fluffy and I just curled the end, so it just would have some kind of something going on with it again. I love the way it came out. I just went to practice and make it a little bit better and a lot more thick. Here'S a look at the back of the hair and we are done with the look hope you like it. Okay, guys so coming to you with the final look. This is what it looks like installed. As you guys can see. I did a small heat pass on the ends now this is a couple days later. I did do like a fishtail braid on this side, but I kind of wasn't feeling it because I made it too thin. So I thought I would just show you the hair natural down you know, and as is because I did take that little fish tail braid out and the star of the show on this one is the hairline. They do have this hyper. So it's called a hyper realism, kinky edges. This is HD lace. Now I did go ahead and bond the wig down as normal. So at first I thought I was gon na go in and like tweeze them out and thin them out a little bit. But then I realized I really didn't need to once it was installed. I did add a little bit of mousse to soften the back up, because I did find that bonding the wig down with my even um. It did kind of make the edges get like hard, which is to be expected at normal, so you kind of just will go in and like either like use your wax or your edge control, and since I didn't really want to use edge control today, I really Wanted to focus on you guys actually seeing what this technology this lace, this these edges look like in their natural state. I did not want to go in and add um edge control. Now I know person a lot of people would have is, if you do use edge control and you swoop them, will they revert, and the answer is yes, I have been wearing this uh wig off camera, since I did the fishtail braid and I do find that, Like I did like swoop the baby hair and they revert right back, which is kind of what you want. You want that. The the point I should say of this is to go in and have that natural hairline like kinky natural African-American hair. Now, if you straighten them, it's a little bit different if you just use edge control - and you swoop them um over time, not immediately, but over time like as you sweat as days, go by getting in and out the shower you're putting your wig bend on it'll Repair, if you straighten them out, it will mimic the hair here and just be more kinky. But again, if you wet it again, it's going to revert um and I wanted to make that clear, because it's not just a one-time thing where you put it on and it does this and then you go in and you straighten it and you never get this Back this is the style of the hairline, and I love that for me. If you want to switch it up and be a little bit more versatile, you could use your wax stick and kind of, like you know, grease them back or with the other. The dynamic duo, which is the wax, stick and the electric car comb, and that will work as well, but again, I just wanted to show you guys. The final result, after a few days be sure to check. I, like hair out direct link to this. Wig. Be sure to check out I, like hair, a direct link to this wig is in the description box. Also, you can find everything we used to complete. This look also don't forget to subscribe, like this video share with your friends, if you would like thank you guys. So much for watching and as always I'll see you in the next one smooches
Comments
Jackie Randolph: Beautiful I love kinky hair looks lovely on you. ❤
The Real Black Barbie: I love it! What length did u get?
Nichole Florez: Ashley I love all your wig videos however this company is a scammer. I purchased this same wig and it was trash. The company deleted my comments off their videos and sent me emails telling me I would never get my money back. However, after disputing with PayPal I was able to get a full refund. The wig is uneven and after a month is nappy as heck. Beware of comments lady the company comments on their own wigs and they have several accounts doing this.
ladetra paul:
Anne-Sophie Tulien: Comments