How To Color A Lace Frontal Like A Pro!
- Posted on 18 August, 2015
- Lace Frontal
- By Anonymous
EXPAND FOR MORE INFO*******
WATCH IN HD!
UNBOXING: https://goo.gl/S8SEIF
SELLER LINK to FRONTAL: http://goo.gl/72HU8v
18 inch frontal
I used the code: "LUXEGIRL" for 10% off
Luxe Frontals gave me the code: "SHANNAN30" for my viewers for $30 off!!!!
Don't forget to subscribe:)
Check out my new channel: http://goo.gl/ZnhuUa
Money back on online purchases: http://goo.gl/aZ4p5r
ALL ABOUT a $30 CLOSURE: http://goo.gl/8td6Z2
WAIST TRAINING: http://goo.gl/oU997X
HAIR SELLER CURSED ME OUT: http://goo.gl/vx2ne1
Weft sealants 101: http://goo.gl/NYaZ49
CHEAP prescription online glasses: http://goo.gl/N1Dwaj
Updated Room Tour: http://goo.gl/atCZh4
Meet my boyfriend: http://goo.gl/P2lX08
SKINCARE: http://goo.gl/bERqlJ
Info is no longer on my blog: lullafe.com sorry about the inconvenience.
"Backseat"
Vybe Beatz
Royalty Free Music
VYBEBEATZ.COM
Listen to "Backseat": http://www.soundclick.com/player/singl...
Link to rights to "Backseat": http://soundclick.com/share.cfm?id=127...
FTC Disclaimer: I don't receive free products nor am I paid for making these videos, and I've purchased everything featured in this video:) Recently was selected to become a Brand Ambassador for luxefrontals.com, bought the product with my own money.
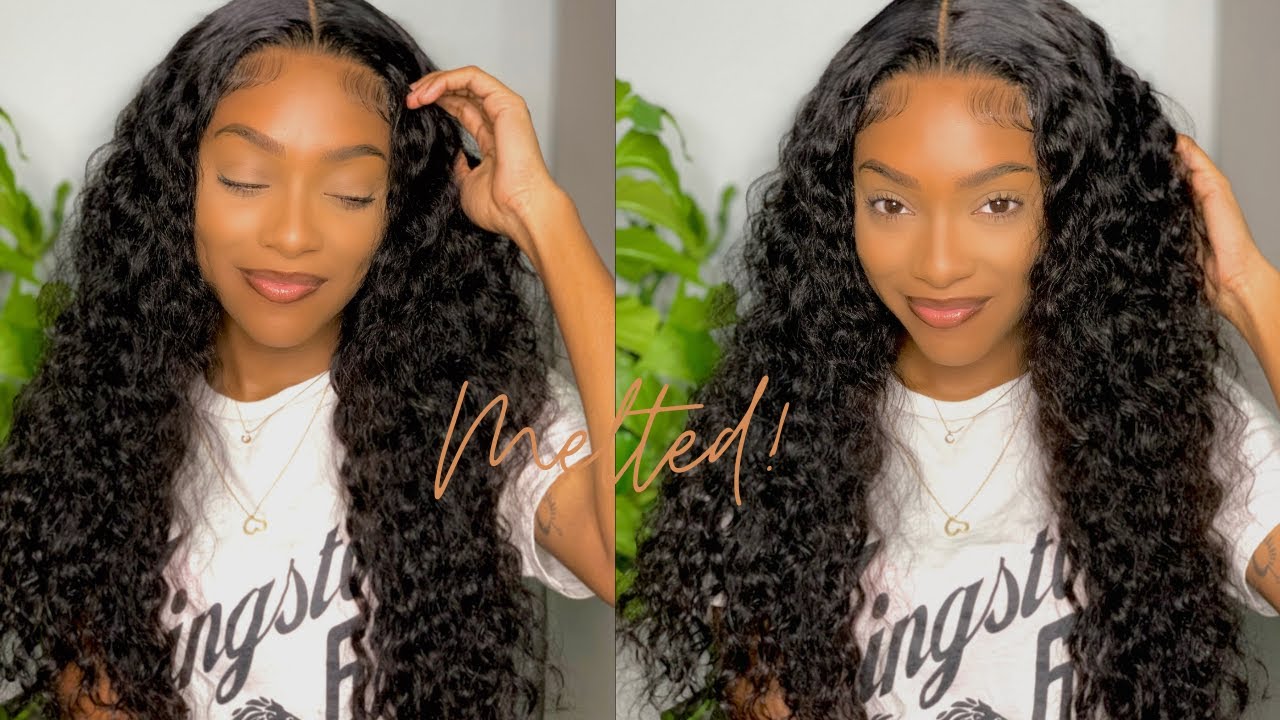
Hey guys welcome back to my Channel today, I'm going to show you guys how I colored my 13 Bostick's frontal from wwws frontal comm. I did buy this rentals, my own money and especially that's how I got the most perfect color application that I've ever gotten one color on a frontal or closure that I've ever gotten. So again, this frontal is from Lux frontals there's how it's packaged um you're, going to need a small um da brush. You need some sewing pins or loose pins on what they're really called and I'm going to use color silk um dot in the color black, but you can use any color that you want to use on the show you guys what I'm using today cause like my Hair jet-black, okay, so first off, it's gon na open up the packaging again the center link in the lint and all that stuff that I've got. The specs of this front will be in the description box down below. So just check that out. Imma shown you guys how the frontal cam, if you did not see my unboxing video I'll, have a link in the description box down below with my boxing video, I did buy this runt with my own money. Let me just tell you guys I am loving it. I have it in right now, um as I'm doing this voiceover and a some love this frontal, it's so realistic, looking but in the part, is giant as you guys can see here. It is a thirteen by six in the part, is six inches back and I absolutely love it. Oh, and also make sure that you put something down, we're going to be applying the dot and all that stuff. But now I'm just putting in the pins and was pinning the front roll to the ground, I'm doing this on a carpeted area, so I can pin it to the ground because you do not want your frontally me. That is like the reason why a lot of my frontals in the past were messed up with their die jaws, because I did not pin it down. I said why why don't I pin this thing down, so I won't move. So it's very important that the frontal does not move as you're upon the color, so here I'm just putting in a few pins just so it does not budge as I'm applying the die, because that is where a lot of mistakes happen. Alright. So now I'm setting up my da I'm just going to set up like the directions say I'm actually using the entire box at this time. Usually I don't use the developer at complicit, but since I am just dying black, I don't need any special developer. So I'm just using the 22 ever that comes with it and taking the color and just pouring it into the ammonia ammonia. What is that developer? And I'm gon na mix it like normal and also don't forget to put your gloves on because I was about to go down my hair black without gloves on. That'S you guys. No, that's a giant mess. If you don't put gloves on one died in here, black you'll have black hands like Jeb black hands. So I put my gloves on now: I'm going to shake up the dive and shake it for a couple of seconds in a minute or so just so. It'S nice and mixed, and I absolutely love using the applicator bottle as well when doing this, and all I do is I take a very small section, and I start on the side - a super small section. If you have clips, this would be a good time to also use Clips. You can clip the hair that you're not dying back and I just start at the ends of the hair when it comes to UM this edge over here and I just go up, I put a little bit on the brush and I just brush it on and When it comes to color in a frontal, less is definitely more. You want to put a little bit of product on the brush and brush it through. Now, as I come more into the middle of the frontal um, I do I start off with putting the dot towards the ends, but, as I get more towards the middle, I do start putting the dab more on boots first and go down the shaft of the Hair, an important thing to remember when coloring a frontal is, do not push the hair color through especially around the lace. You want to take very small sections and work with those small strips of hair versus taking giant giant large sections and I'm trying to color a large section at a time. So here you see I'm just breaking the section I had in half, because if you apply, if you do it to a small section, you're less likely to mess up and I'm just taking the hair, I'm doing the I'm doing the the root first and I'm just Pushing the dye through and then I go down to rest the hair and I always push the color um away from the roots. Because again, if you mess up, you want to be towards the back of the frontal. You don't want to put, you know, push the hair through in the front and then have a mess up front, because then your front will never look natural. Looking so again, I put a little bit of product there and I start at the roots when I get towards the middle and I just push it through, but I hold the hair up. So I'm not pushing it through the lace and I just go down the rest of the hair shaft. Can I just do this um throughout the entire thing, when I get to the halfway mark. I'D start over and I go to the other side, and I start at that little edge area and I work towards the middle, so you always are working towards the middle. You never want to start in the middle and go out. Some is putting the hair at the roots and I'm holding the hair up so that I'm not pushing it through the lace and I'm just applying it. You never want to lay the hair flat and apply the color, because then you'll push it through the lace and you'll have black lace and that dot dot does not come off. You have splotches all over your lace. If you ever got affront to a close, you guys know what I'm talking about. It'S very easy to mess up. Alright, so I'm at the middle now and I'm just doing the same thing, I'm starting at the roots and I'm applying I'm holding the hair up and I'm applying it to the roots and I'm pushing it through the hair. But I'm not pushing it through the lace and then I lay the hair flat and I put the dot on the rest of the hair in that section. And then now, at the exact middle, I'm taking a very small section and continuing when I was doing the entire top. I put the color on the hair as I hold hold it up and I push it through the roots, but do not push it through the lace. I know it's a very hard thing to explain, but I'm trying the best I can once I get that whole section done, I'm just applying some of the color to the roots or not the roots, with the baby hairs of the lace frontal, because I didn't touch Those until the I don't touch those into the end, because I don't want again to mess up the front of my frontal because I mess up the front it'll, never look natural when I apply it. So, that's all that I do and then I go to the other side, and I start at that little corner and I work my way back to the middle and once I finish, applying the hair color to all of the frontal I let it set for about 25 minutes - and it looks like that, once the dye is all on it. I was very happy with this application um and that's what the hair that looks like on the frontal again show you guys another shot, and then I put the conditioner that comes. I rinse the dye off and put the conditioned on. I let that sit for about 15 minutes. I do not put the dot on the lace part of the frontal, because I don't make it if I ever glue the frontal down. Oh, never glue down correctly bad. You guys see here some of the UM conditioner did go through on the lace, but I'm still soaking it in the conditioner. So that's, okay, I'm going to rinse it off, but you want to try hard to not get conditioner on the lace because it'll never apply. Um well, if you want to glue it down alright, so that is how it looks once it is completely dry. It looks like this is absolutely beautiful. Absolutely black! There is no dye splotches on the lace, as you guys can see. Um, the the nuts are not bleached on this front, so um. I don't think I'm gon na plan on reaching the nuts. As you guys see, I don't really. You can't see my part AC because and not aren't bleach, but I don't want to ruin this frontal because I have to love this front. So it's very hot quality, but I don't want to mess up and apply it. You know trying to bleach the knot, so I'm not very good at bleach or not when it comes to frontals, because they are so big, but the hair is absolutely beautiful, so check them out I'll have a link in the description box, and I was watching you Guys later, bye,


Comments
acquirra carter: I literally just used this technique on my very first lace frontal (13x4) and IT CAME OUT PERFECT! Omg, I was so nervous at first, but as I kept on.... I realized that this made perfect sense. Only thing I would suggest to those who are REALLY SCARED of doing this... Try basing your lace with a regular scalp protectant before any chemical treatment as you would with your real hair. It will rinse right out of the lace when you wash it. Thanks for sharing this video so much!
Lex Chantal UKK: Excellent job! Dying a closure/frontal can be very hard to do if u don't have patience, a steady hand, and solid foundation to work with. Can't wait to see the installation :)
Saraya Grant: how do you rinse the color out without getting color on the lace?
Raven Moore: thanks for the tutorial girl!
1GlamourDoll: Awesome Tutorial! It gave me e control over the process...
Sherryann Soanes: excellent job you were the best neat well done lace frontal dye
Jenny Mai: Do you bleach the knots after you dyed the lace frontal ?
Tish Maxwell: great tutorial
Melmagik Washington: best one I've seen.. thx
mari rivera: Thank u ❤️
Jada Nicholson: what about a frontal video for a different vibrant color ?
M. Willis: Instead of bleaching the knots, have you tried dying the lace?
Emily1993: life saver
Honesti Blair: why do u have to color it and if your dark skin what color should color it?