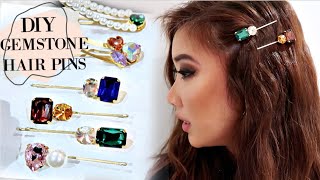
Diy Pearl Hair Clips: Pearl Hair Accessories (Trend For Spring 2019!)
- Posted on 01 March, 2019
- Hair Accessories
- By Anonymous
Hey friends! I've been seeing a lot of pearl hair accessories lately, and I thought it would be fun to make my own! Let me know if you try it-- you can find the materials linked below!
-------------------------------------------------------------------------------------------
Duckbill Clips: https://rstyle.me/+of_KyvyKq8yRQsXcEWr...
Rectangle Berrette (Mine is gold, but I can't find it online! Get these on sale or use a coupon!) : https://www.joann.com/hildie-jo-rectan...
Pearl Beads: https://rstyle.me/+nMY58mftlEgn_39tzPR...
Clear Gel Glue: https://rstyle.me/+TdqRImgRG_yj5zSVXKE...
----------------------------------------------------------------------------------
My blog: http://www.bouquetbylauren.com/ ----------------------------------------------------------------------------------
My Etsy Shop: https://www.etsy.com/shop/BouquetCloth...
Use the code YTSUB18 for 10% off your purchase!
----------------------------------------------------------------------------------------
Let's be friends on Instagram! Instagram! http://www.instagram.com/justlaurenjoh...
-----------------------------------------------------------------------------------------------
Disclaimer: This video is not sponsored. Some links may be affiliate links through RewardStyle, and if you choose to use them, I receive a commission. I appreciate your support! If something is sent to me free of charge, I will mention that and always share my honest opinions.
--------------------------------------------------------------------------------------------
Thanks so much for watching! If you enjoyed this video, I'd love it if you would introduce yourself in a comment so I can get to know you, and subscribe to my channel for weekly videos!
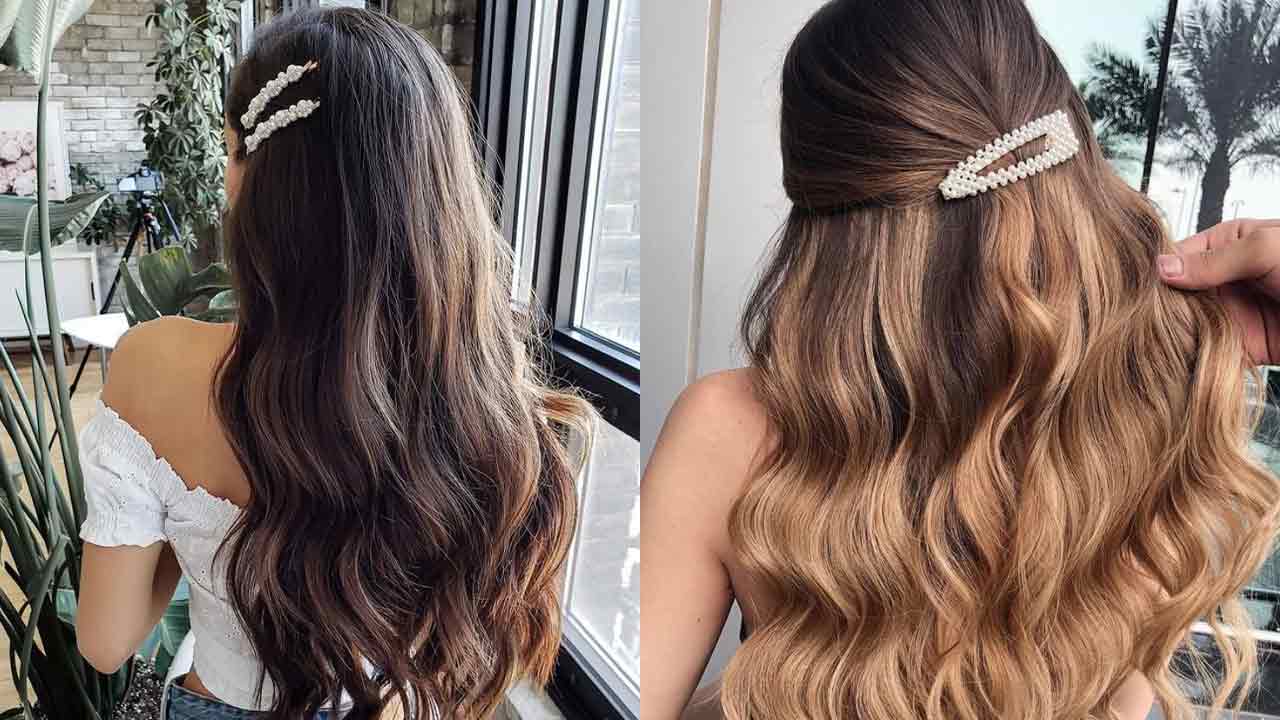
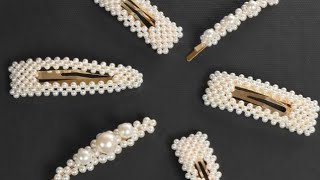
Hi guys welcome back to my channel, I hope you're all having an awesome day today. So recently, I've been seeing a lot of these pearl hair accessories popping up in different stores, and I thought it would be a fun DIY to put together. So today, I'm making two different styles. First up is this rectangle style barrette, which i think is so cute and very similar to a lot that I've seen in stores. Recently, it's really easy to wear as well, which I really like and then I'll also be making these little duckbill clips, which are so cute and just like a bobby pin type of a hair accessory almost really easy to style and add a lot to your outfits And perfect for spring, so let's go ahead and get started and make some of these so you're going to need some bases for your hair clips. You can find these at the craft store. I got mine from a Joanne's fabrics and crafts. I got this rectangle barrette and then also a lot of these duckbill clips, which you can get impacts and they're really cheap. You are also going to need some pearl beads and the sides of your choice. Mine are plastic and also some tweezers make it a lot easier to put these together and then for glue. I got this clear and gel tacky glue, which is great because it's really invisible and works really well. So, starting with the duckbill clip, I'm going to clip this onto some paper so that the glue doesn't make it stick together and then apply it quite a generous amount of the glue to the side that you want to be facing up. I wanted the flat side facing up, because I thought it would look better. So I put quite a bit of glue on there and then I simply applied at the beads to the glue with my tweezers. They do move around a bit while the glue sets and it's pretty delicate work, while you're doing that, I was putting them in a row of two and then once I got to the end of the clip, I did a row of three which made this cool Little circle, design on the end, which I really like so all I did was kind of even that out with my finger and then once it had dried. I did add a little bit of glue in all of the cracks over the top and just smooth that out with my finger, and this is the reason I really like this clear, gel glue, because you really can't see it at all once it dries. So on the rectangle barrette, I did it very much the same process. This was a little bit more difficult because it's a very skinny piece of metal and you can see the beads fall off quite a lot. I would recommend letting your glue get a little bit dry before you start applying them, because it's easier to work with and you'll see them move around a little bit as I go throughout this process, but just to straighten them out with your fingers and you'll. Be fine, so I just covered the entire barrette with the beads. I like to mind to be in this row of two, because I thought it looked a little bit more chunky and interesting, which was what I was going for with my barrette. But you could just do one row of pearls if you wanted to be a little bit more simple or a bigger pearl, or something like that. But this one is really fun. I love how it turned out, and I really love how it looks with the two rows, and I just like this one. A lot looks very cute once the entire thing was covered in pearls. I did also add glue to the top of this. This is almost like grouting tile, if you've ever done that so just applying it to the top and smoothing it over and filling in those crevices, so that everything's, nice and secure and the beads are not falling off, and with that these are done. It'S really simple! You could do this on a lot of different styles of hair clips and barrettes. So if any of you try this, I would love to see when you come up with so tag me on instagram, my username over there it's at just Lauren Johnson and I would love to see what you create, but yeah with that guys. That is it for this video. I really hope you enjoyed it. If you're new to my channel, you can subscribe by pushing the red button down below, and I would really really appreciate it. And if you want to connect with me over on Instagram again, my username over there is at just Lauren Johnson, and I will link to it down below, along with all the materials you'll need for this DIY thanks. So much for watching guys and I'll talk to you in the next one, bye I'll, say the Christmas sky. Here I stay.
Comments
Tayt & Thrifting: Such an adorable and inexpensive hair piece, I love this Lauren! I recently cut my hair into a Bob and have been looking for ways to accessorize, and this would be the perfect thing! I think I’ll have to try this!! Once again, I love your videos! (I feel like a bit of a fan girl with how often I comment/like your content, haha! But I love seeing others creativity and always want you to know and be encouraged to keep it coming!! ♥️)
Felicity Johnson: I tried this and LOVE it!!! so glamorous and pretty!!
Haley Parson: So pretty!
We are gamer: Really so cute
Lisa J: I love your DIY's