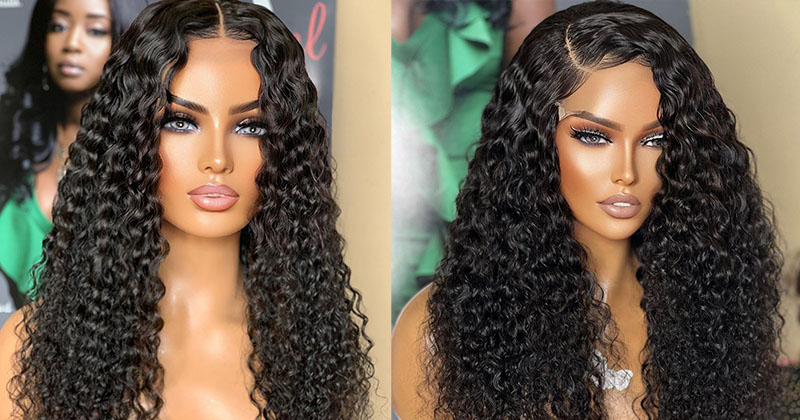
Diy Microbead Hair Extensions From Clip Ins
- Posted on 08 March, 2019
- Fusion Hair Extensions
- By Anonymous
Hi everyone, and welcome back to my channel. Just to clarify I’m not a professional, this is something I’ve done a few times and found it really works for me. Below are links to all the products used in this video.
HAIR EXTENSIONS, 4 X 24” COLOUR 27
https://www.ebay.co.uk/itm/Full-Head-1...
PLIER AND LOOP TOOL
https://www.ebay.co.uk/itm/New-Ring-Ha...
KERATIN UTIPS, 250 IN CLEAR
https://www.ebay.co.uk/itm/Copper-Micr...
COPPER MICROBEAD TUBES; MEDIUM BROWN, 500
https://www.ebay.co.uk/itm/Copper-Micr...
HEAT CONNECTOR (MODEL C)
https://www.ebay.co.uk/itm/Pre-Bonded-...
INSTAGRAM: daniharris.xo/shrinkingdaniii
WEIGHT WATCHERS CONNECT: daniharris1995
SNAPCHAT: elleinadxxxx
CONTACT: [email protected]
Hi everyone and welcome back to my channel, I'm just trying to film this really quickly because I'm actually going out in a bit, which is why I have such action make off. I never like wear glitter like in my videos or anything like that, and I had my eyebrows microbe later today, so give me a thumbs up. If you want to see a video on that yeah, I'm gon na get straight into the video and I'm gon na show you how I made micro bead extensions from literally basic blonde clipping extensions. So if you want to see how stay tuned so I've had microbead extensions like 10 times in my life, I've mainly done them myself, usually just with hair that I've bought on eBay or on Aliexpress or a mini house. I did have them done professionally once, but honestly it was terrible. Every time I brushed my hair strand came out the woman who doesn't them hadn't tighten the beads enough and I just had to go free with pliers and just redo them all. The hair was also really cheap and it went bratty within like a day, though, for the most part I just stuck to doing them myself, because then I knew how I liked them and how I wanted to have them. It'S also really hard with someone with such thick hair wanting such long hair and with such bright hair like to go to a salon and have the extensions that I would want. So it's just easier to do in myself. All in all the first time I ever had micro beads actually did them this method that I'm going to show you today, but the first time I did them was like five years ago, and they were a hot mess. Honestly, like the stick, tips were really thick. They didn't say my hair very well like they were right, like I had my part in um, but like as Hans gone by I've been able to practice, and I have just mainly used in my life. Just the micro rings that you done eBay. So traditionally, when you go to a salon and have micro, bead extensions, they will use a bead and a stick tip and they put the stick tip in the bead and clamp it shop with pliers. But when you get them on eBay, they come with the hair. Already in the ring, and then they've got a plastic loop, you put your hair through the plastic; they pull it through and clamp it the same way and they're more like home. You, student myself, obviously it'd be really hard to make extensions like that. Just like not knowing how to sew, I just did this method, so I'm not gon na include in this video how I dyed to the extensions cuz. Obviously, when they came, there were just a basic blonde clip in and I've got loads of, videos on dyeing extensions, but for anyone, who's interested I'll use, crazy, color, vermilion red with mixed with conditioner, and that's just the dye that I use all the time. I'Ve probably got videos on in on my channel somewhere. Obviously this video is more about how I make and install the extensions. So basically, what you do is you get some of the plastic keratin beads, so they you can get them in the glue, stick form and use them with a glue board, but that just seems really messy and this seems a lot easier. So you get these little new tips which is similar to if you've ever had the keratin Bond, extensions and they're the same sort of thing. So you literally just quite a bit of hair off your extensions put it in there keratin bead heat it up and roll. It in your fingers, I'm gon na, show you like a detailed video of how I did that in a second, but I'm just going through all the things that you will need. I will put links in the description bar as well to the products that are used. So I've had my heat connector for years. So since the first time that I made micro bead extensions, I did them with straighteners and they were horrible like they ruin straighteners. So I've got a tool on eBay just to do it properly, and it's got like heat settings on you just like put the bead in the hair in there melt it and then roll it. When it's cooled down a little bit once you have made these stick tips, you can go ahead and start putting them in. So you need a loop tool, pliers and beads. I'M not sure what this is actually called, but this is basically just the tool that you use to pull your hair through the bead yeah. It'S just. I just call it a loop tool and then you need some pliers or you can get these in sets on eBay. You won't particularly get these pliers, they usually lot more of a red handle and they don't have the jaggedy bit in the middle. But I tend to use this part of the pliers the flat bit to close the bead because it just closes it a lot flatter than the jagged part, but I will again link that in the description, so the beads are used as well. I don't use the silicon long ones just because my hair is so thick, it's hard to get the Strand my hair and the silicon in the ring. So I use the copper tubes and they're longer as well. So I'll show you if you can see they're just like a little copper tube and you just put the hair in there and close it shut. So I'm gon na get onto the part of the video where I show you how to make the extensions or how to put them in and then at the end, I'll talk about like how I look after them and things like that you so I wash my Hair normally like once a week anyway, so I'm not going to wash it any more often because I have extensions, and it also takes a really long time to dry, with extension. So I'd rather just do it like when I have enough work so that I can just blow-dry or leave it dry naturally, and but I don't know if you can see how they look basically they're just individual strands. Obviously, they're not perfect like if you have them at a salon, but they're neat enough for me and they're comfortable. So you leave them in flux three to six months. So, to like, maintain the longevity of the hair, it's best not to put any conditioner near the root, because that can break down the keratin beads. You just shampoo near the root and conditioner through the ends, just like you would normal hair anyway. I usually leave mine in for about three months. Obviously I don't pay a lot for my hair, as I've mentioned new videos before I'm quite like savvy with where I get my hair from and once I find something for a good price, I tend to just repurchase that so I leave them in for three months. The same way to take them out is the same where you put the menu just clapping the meat the other way, and it will open it up and you can just pull it straight out. So if you have any questions just ask down below and I will get back to you or put any links to any of the products that I've shown in the video in the description bar - and I hope you enjoyed this video and give me a thumbs up. If you want to see a video on my eyebrow, my Croydon experience, I only had them done today, but I'm absolutely obsessed with them, so give me a thumbs up. If you want to see that video - and I hope you enjoyed this one - I


Comments
Nicole Henderson: Deffo gonna try this thanks babe never thought of it before and I’ve had loads of clip ins in the past just sat there collecting dust xx
Kaci Lynn: we literally have the same lion tattoo except mine is on my left inner arm. that's crazy sis ❤
Shani Richardson: Nice what color did you use to get that red