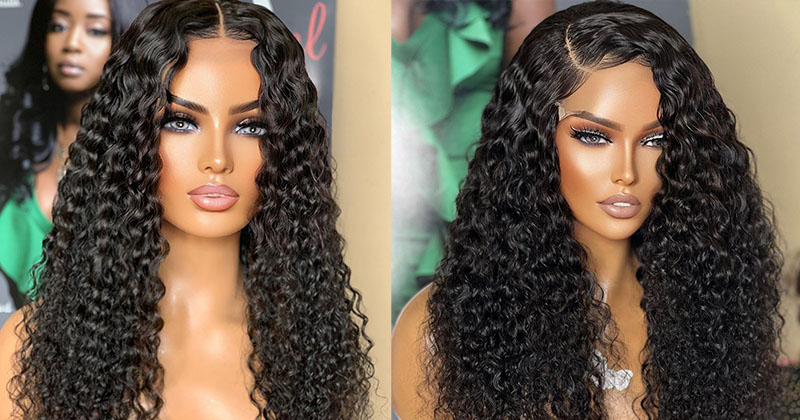
Hair Extensions Elite In Boston By Hair Extensions Salon
- Posted on 03 April, 2012
- Fusion Hair Extensions
- By Anonymous
Mega Hair Elite Studio began in 1992. The only certified trained salon specializing in the 'state of the art' human hair extensions and the latest in hair straightening using the CHI and the Japanese transformation systems. A full service salon featuring 'a day of beauty' and the ability to do 'extreme makeovers'. Mega Hair Elite of Boston, known for 'The Hair Extension System' offers certified beauticians to give you the very best services available.
FACEBOOK: https://www.facebook.com/pages/Mega-Ha...
TWITTER: https://twitter.com/#!/MegaHairElite
MYSPACE: http://www.myspace.com/megahairelite
BLOG: http://blog.megahairelite.com/
SITE: http://MegaHairElite.com
YOUTUBE CHANNEL: http://www.youtube.com/channel/UCGER6G...
MY VIDEO HAIR EXTENSIONS: http://youtu.be/_O8pEhpQeM0
Mega Hair is a full service, multi-cultural salon and we work with all hair types as well as clients with all different medical conditions like Cancer, Alopecia and Trichotillomania (a complusive condition that involves pulling one's out hair). We are sensitive to all medical and personal issues and handle not only your hair with care but YOU.
Mega Hair is your source to buy the best quality human hair extensions, tinsel and feathers, keratin relaxers, the finest wigs, and bangs all available at the best prices. We have everything you need right here in one place at Mega Hair Elite the Hair Extension and Hair Integration Solution Salon.
My name is Susan dant owner I'm the owner of mega hair with lead. I am here today to bring you my education, video. The reason I'm doing this as I've been doing hair extensions for over 15 years and they become so mainstream that I feel that stylist want to learn all the secrets that I have learned over the years. I'M going to teach you in this video how to work out a weight like blending techniques working out crown areas highlighting everything you need to know to perform the most successful set of extensions in your salon. You will receive this video and an educational manual to help you with all the tools you need for your salon. Now we're going to go on your mannequin head and show you how to determine how many ounces of here you're going to order for your client and how to take your quarter by quarter. Sections determining how many ounces of here to order for your clients, you're, going to look at the haircut you're, going to look at the length of their hair cut the layering of their hair cut. If it's one length, if the Crown has to be at least five inches of longer you're going to measure from their forehead to their instant little bone, and that will give you a good idea of how many ounces of here you can order for that client. Okay, now we're going to start up the weight line. The weight line would usually consist of three to four ounces of extension here and you're. Going to begin by getting your sections or sections are very, very important sections that need to be quarter by quarter. I want you to take a ruler with your man again and draw quarter by quarter sections all along the first row of your mannequin head. This is going to give you a visual of how the sections need to be and they're going to be close right. On top of each other, now we're going to take our hear that we chose for our client. We have color number four, which is a warm brown and we have a color 16, which is a golden dark golden blonde, and I'm going to show you how we're going to blend this here. So it looks highlighted on our client and one of the reasons that my hair extensions look so beautiful and natural is because of this technique. I have placed the two colors that I have chosen for my client on this blending board and now what I'm going to do is a technique called shifting and what this does is. This takes the chunkiness out of the two colors and you can see the color start to come true to life at the bottom of the here, without being too chunky and just by making it look like the clients own natural color, with a very subtle highlight when You'Ve achieved a blend that you, like you, can take a wire tie, while you're tied to the bottom of the hair. Take the hair off the blending board, cutting the weft hold on to the hair tightly and brush the hair through, and the highlight now is completely through your two colors that you have chosen for her hair extensions and you can see how beautiful that blend is now We'Re going to move the wire tie up to where the weft was in place, we've cut it off and now we're going to place it on the blending board, secure it and we are ready to start our application of hair extensions. Now we're going to go into the area that we did the squares: these are our quota quarter, sections you're, going to take a pin, curl pin and with the clean section covering the whole square area. Take your section. This is a quarter by quarter section. There should be no here's in that section. Take your protector shield place it on the strand of here. It doesn't go tight to the scalp. It goes a quarter of an inch right directly under the square that you have drawn now we're going to determine the amount we're going to take even amounts of here. So we're going to go over to our beautifully blended here, cut a section with even a month. Make the top of that extension here nice and clean then you're, going to take your adhesive and just about a quarter of an inch into the cut extension here, you're going to apply your adhesive right in the center and then twirl it all around sold every single. Here, it's so important that every single here, this saturate it would a decent, now you're going to apply that extension right underneath right about another quarter of an inch and then you're going to get your connector tool and get the adhesive now. What we're doing here is the adhesive is bubbling. The adhesive has to bubble from the extension here to your here. When the bubbling stops, it means all moisture is taken out of the extension. Now you can begin to attach it and what you're going to do when your attachment is in a football shape, you're going to twirl you're, going to pinch the top and pinch the bottom, make sure all of the adhesive is nice and secure all the way around. So no moisture gets in take your protector shield off and you can see that extension can move without any stress on the clients here, so you can put it up in a pony tail from side to side and that's a nice healthy extension. Now we have applied our first row of hair extensions, beginning our weight line. We can fire them from here to here. You can see how the extensions flow, like your own hair, when you put your hair up in a ponytail there'll, be no extensions showing this will continue about three or four rows going up the head, and that is called the weight line. Okay, now we're back and, as you can see, we've added in our weight line. We did on our client three rows of weight line, and now what we've also done was, we add it in our special technique of work by brick layering. So what we have done is we have a weight line and then we have our first layer. This is interior work and this is called brick by brick placement. Okay, now that we've done that, now we're going to take down the crown section - and this is one of the biggest mistakes that I see and hear extension application not having the crown blending in to the rest of the hair, and I'm going to show you today. This best-kept secret: what are you going to do with this technique? Is you're going to get into the crown you're going to take circular sections click them up. You cannot do this with a pre bonded extension. It has to be done with your own blended attention here and instead of the protector shield going down like we did the rest of the sections, it's going to come right up out of the crown. So now, what we're going to do is make a layer you're going to go into that section of here you're going to cut off the ends of clean-cut, and this is the secret to making that crown blend in perfectly you're, going to cut a section clean on The bottom clean on the top you're going to shift that here so that it goes from her shortest piece into the next layer cut the top clean, and that is going to be her layer. That'S going to take her crown pieces into her interior work. Okay! Now we're going to get into the crown area - and this is the best-kept secret. This is how to work out that horrible crown area and the reason that we cut the extension here, as you can see her head, does not follow all the way through to complete this look, but our pre-cut layer as we apply it to the top, is going To go down and complete her layering complete for highlighting all the way through to the ends, and this is going to be applied with her own hair and the extension here in an upward motion applied in this format, so that it falls like her own brown hair. Would fall now we have completed the crown area. We have layered and blended the crown into the next row, which was our Laird brick by brick. That row goes into our weight line. That was three to four rows of weight line. You can see how it blends the hair. All of these techniques can be used to finish and complete your set of extensions. These techniques can be used on the sides. The side area will be done just as the weight row was done, leaving the extensions of quarter of an inch away from the heel line. These techniques can also be used to apply here, extensions to the client's being if she wants that long or bang area. I hope that you enjoyed this video today. These are secrets that will help you to achieve beautiful, real-looking extensions. You


Comments
Sabrina Chen: How can you take them out?
OmahaHairExtensions: I'd like this video set, please...I've called you a few times to ask for it