Handtied Extension Mini Move-Up Tutorial // Wholy Hair
- Posted on 28 July, 2022
- Sew-In Hair Extensions
- By Anonymous
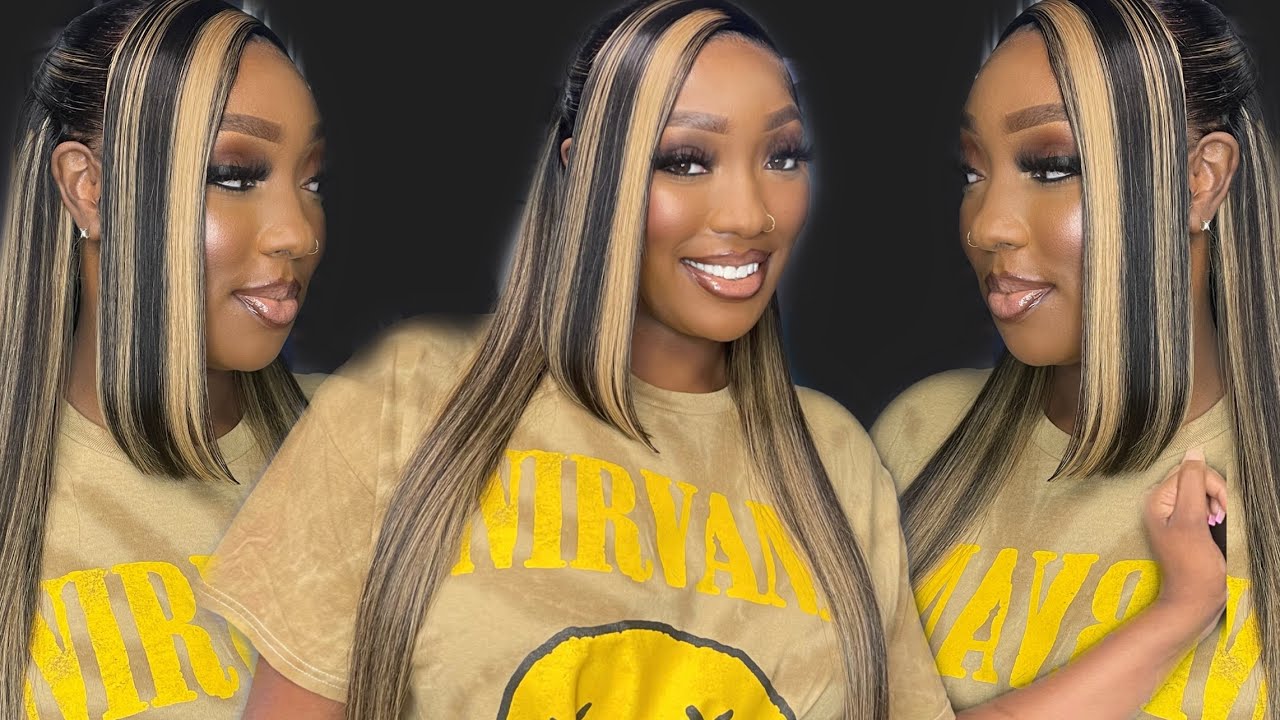
In this video, I am going to be breaking down the full tutorial on how I move up sew-in extensions without fully removing them. I am moving up 3 rows of my Wholy Sewn Extension Install Method! She has Hot Heads Machine Weft Hair Installed, and we are moving this up after a healthy 6 week grow out!
Let me know in the comments what kind of extension method you use at your salon, and if you offer mini move-ups! Would you be interested in learning my Wholy Sewn Method?
Follow me on social for daily updates & BTS stories: @wholy.hair
email for business inquiries ONLY ↠ [email protected]
Links
Pliers: https://amzn.to/3cK807o
Cutting & Blending Tutorial: https://youtu.be/lVv9o9Bs_Wg
Okay, so i have christine back in the salon for a mini move up. We did three rows on her previously, so we have three rows in her hair. This is six weeks. This is a six week grow out of her of her extensions, and so we did one pack of machine weft and i'll link the video down in the description box for you to check out her initial install. But today we're actually going to be doing a mini move up of all three of her rows and we're also going to add in some face frame tape ins. So originally we just wanted to see how she did with this hair, and this is obviously just raw unstyled. She didn't style this. She just washed it last night and let it dry naturally so we're going to get her moved up. We'Re going to add in some tapens to give her a little more length in the front today and then we're also going to trim up her ends a little bit because they are a little bit dry. She was traveling a lot and didn't have time to always moisturize her hair. So that's why we're just going to trim it just slightly. It'S really not bad, and then we're going to add in the tape ends around her face and give her a mini move up. So stay tuned for the rest of this video. If you want to see how i do a mini move up with my holy zone method, let's go, let's meet let's so we're going to go ahead and do her mini move up first for all three of her rows. So what i like to do is make my life a little bit easier and i like to section everything out in different sections. So i'm going to get all of her hair. That is above the row and i'm just going to section this out of the way and we're going to start with the bottom row. So i'm going to pick up my top first row and i'm going to just section this off on a separate clip and then we're going to pick up the hair. That'S in the middle of there and section that up so i'm going to go ahead and grab my pliers, and these are the ones that have the holes in them so that we can open up the beads really quickly and efficiently. So i'm going to go through and i am going to pin up this bottom section here, so what i'm going to do is, as you can see, we have her six week grow out here with my holy sewn method, and if we flip it up, we can See all of her beads under there. So that's what we want. So we want to flip this up and i'm going to take a clip and i'm going to put it right here so that i can use it in just a second and i'm going to grab all of the hair. That'S in the beads and i'm going to section those pieces down very carefully. You want to stay very neat and organized when you're doing these move ups and then after i get all of the beads sectioned down like this. I'M going to clip up the extension here and we're left with just the beads on the bottom here and then i'm going to take my pliers and i'm going to open each bead and as i open the bead, i'm going to grab the hair. While i simultaneously pull down and move the bead up and when it feels like it's in a good spot and moved up sufficiently, that's when i'm going to clamp it down halfway make sure it's laying nicely. We do not want this too tight and you can ask your client does that feel too tight? No, it's perfect, okay and then you're going to clamp that down the whole way. So here you can see the difference between that bead and the rest of the beads. So we're going to continue to do that on each of the beads i'm just going to open it, pull it tight as we pull the hair down push the bead up, clamp. It halfway make sure we're in the right spot and then clamp it down completely in this one. Here'S a little situation so on this one you can see. I had sewn some of the hair that was in the bead up into the stitching and i have it clipped up. So what we want to do is we want to take our rat tail comb and we just want to carefully pull that out and down and then clip this hair back up and then i should be able to just move that back up nicely. Okay, all right now, all of these beads are moved up and in place. We can comb out any of the shedding, which is completely normal, to have a little bit of shedding. When you do this and then we're going to pull this down - and we have her first row completely moved up, so what you want to do when you're doing a move up, is you want to isolate each section? So i'm going to isolate the whole row here and i want it completely separated from all of her other hair. So you want to make sure that you isolate each row as you're moving it up. You don't just want it to be bunched up with all of her hair. We want to make sure that it is separated and isolated out. So what i'll do is i'll pin up the hair? That'S in between the rows just like this, so we have our row isolated and then once we have that you can see our throw out on this row here, it's very clean and pretty so we're going to take this row and we are going to grab our Comb and isolate out all of the beaded sections after we have all of the beaded sections isolated out. That'S when i'm going to pin up this, so i'm going to grab my pliers and i'm going to be using the open part of the pliers to open up the beads and i'm going to start on one end and go to the other end. So i'm going to open the bead one by one and push it up push the bead up while i'm simultaneously pulling the hair down so and we will section down her hair and she's all moved up on this row and then we're going to move up. Her final row here and then we're going to put in her tape ends. So we already had this row isolated out and i'm going to be doing the same thing on this row that i've been doing for the two previous rows. I'M going to isolate out those hairs that are in the bead and we're going to be moving up those beads. So when i open the bead, i like to simultaneously pull the hair down. As i push the bead up with the pliers, you can also use your fingers to push the bead up. I just find the pliers are a little bit grippier and i like to use the pliers that actually have the grips on the clamping part. That just makes it a lot easier to use a lot more user friendly, and it just makes your life a lot easier. As a hair stylist, so it is important to invest in proper tools. I actually just got a new pair of pliers in and they're so comfortable, and they have great grips on them. These pliers are okay that i'm using in this video, but they just hurt my hands after a while, because they're a little bit small and there's no grips on the handles. So i will link the ones that i just ordered in the description box. If you want to check those out and look at that, gorgeous move up what a difference. This is such a great service to use, and this can be used with my holy sewn method. Not every method can you do mini move ups, but with my holy sewn you can perfection. Okay, now look at that gorgeous move up, oh my goodness. How does it feel feels perfect so for her tape, ins, i'm going to be using the hotheads originals in the color 15-25 color melt, and this is going to be a root shadowed, color melt, and these are their original tape in so they're going to look like This and we're just going to put a couple around her face frame just to give her a nice added length in the front. So i'm going to go ahead and get her sectioned for her tape and install in the front, like i said, we're just going to do. A couple tape ends to give her some added length in the front and she parts her hair down the middle. So we always want to be aware of where our clients part their hair. So i'm going to go in with a couple tapes right here on the front of her hair and i'm going to actually have you hand me these, because just so a way that i like to apply tape, ins and you can do them, however fits you is. I like to go ahead and get my section ready that i'm gon na be like my location, where i'm going to put them and i'll flip that up and then i'll take my tape in and i will take a rat tail comb and i will just lay It on the very bottom of the adhesive: it's almost like. It'S barely touching the adhesive, and this just gives more control over your installation, because, if you're like me and you drink coffee, sometimes your hands are a little shaky. So i'm going to place this just under her regrowth line on the bottom section there and i'll move the camera up. So you can see exactly where i'm placing this i'm gon na place it right here and then i'm gon na put the hair on top and i'm gon na pull with tension and then i'm just gon na roll, my rat tail comb out and press down the Hair on it so that it will stick and then we want to make sure that this is a clean section on either side. We don't want any stragglers in there and then i'm gon na grab my other piece of the sandwich, and i'm just going to place that right. On top of this section here and we're going to sandwich this down, and there we have one tapen in even just that made a big difference, and you don't want these to be too close to the client's scalp, because it can cause some serious irritation. If it's too close so two on that side actually filled it in really good and we're gon na even up her hair cut and everything. So i'm gon na do the same thing on the other side and then i'm gon na go ahead and get her trimmed and style, and i can't wait for you to see her hair after this is gon na be her. After result, i love her color. It'S so gorgeous we're gon na be due to do her highlights next time, don't forget to hit that subscribe button. If you want to see her haircut video, how i blended in her extensions and trimmed them up, i will leave that video in the description box. Don'T forget to subscribe, give this video a like and i'll see you in the next video. Let'S go, let's go


Comments
Angela Schrader: I’m doing my first weft on Thursday! Yay! How often do you move up? My client comes every 6 weeks for color. What’s your pricing? I figured $75-$100 for move up?
Jason Steiner: How often can you do a mini move up Vs a full removal and reinstall?
medinaadriana94: Thank you for the video. How many grams of hair were used for the wefts?
Tree: Love it
Cha Cha: Is this with the hand tied method? With the stitch’s originally stitched on the string?
Donna Hartzman: About how wide is your section where the bead lays. Thank you
Brittany Cunningham: Do you need to be trained by hotheads to purchase their hair? I’m a stylist about to be trained by Bellami next month. But I was looking around to see different pricing for different extensions.
Katie Rutledge: Now would this only be done when color doesn't need to be touched up?