Quick Tips: How To Remove & Prep Tape-Ins Like An Expert
- Posted on 01 July, 2016
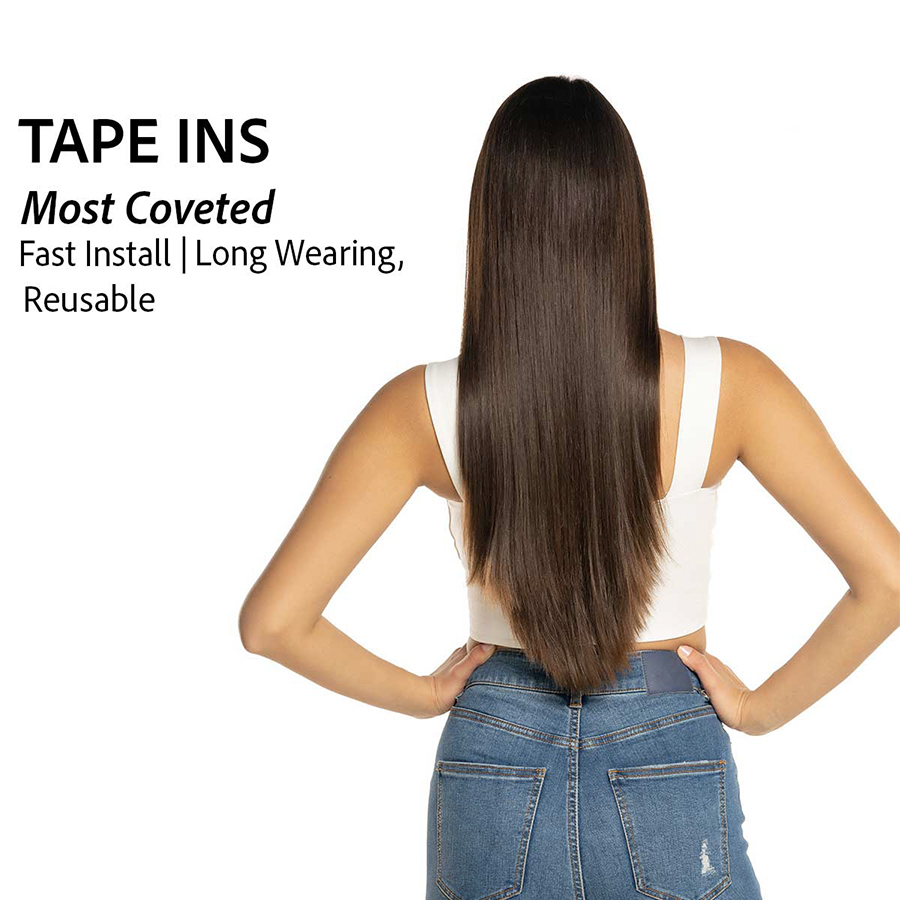
- Tape-In Hair Extensions
- By Anonymous
These simple tricks will save you tons of time, making re-installation a breeze. Learn from hair extension master, Reuben Martinez, and become an expert in no time!
Subscribe for more helpful videos!
To learn more, visit www.donnabellahair.com
Addicted to social media? So are we. Take out your phone and follow us—you could even be featured!
Instagram: https://www.instagram.com/donnabellaha...
Facebook: https://www.facebook.com/dbhairextensi...
Twitter: https://twitter.com/dbhairextension
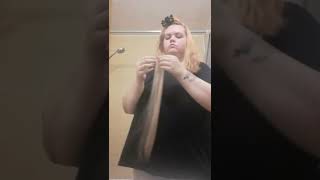
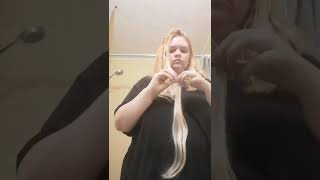
Hi everybody, I'm Ruben Martinez, hair artist, an international educator for Donna, Bella, hair extensions today, I'm here to show you and demonstrate how to properly remove your tape and extensions at the same time, prep them and get them ready for reinstallation. Now. Remember we're not doing a full head. This is just a quick little how-to video. So let's get started with the first things. First, with what you'll need so number one you're gon na use an oil-based solution. Now, please keep in mind that Donna Bella has two solutions. We have an alcohol-based which is gon na, be for our keratin removal and we have an oil base which is going to be for our tape and remover. So you want to make certain that you're gon na use the oil-based solution. Okay, you also need your replacement tapes now you're gon na use these, so you can go ahead and retake your extensions for reuse now, on top of that, one more thing: you're gon na need is a Styrofoam head. This gorgeous girl right here now. Let me tell you why you incorporate this. Basically, you guys when I first got started with these extensions. I was all over the place. I didn't know exactly where extensions went when I took them off, I kind of lost my way. I lost my way as far as my placement, in my position of where they were gon na, go so by incorporating my Styrofoam head now when I remove these. All I do is a wig pin it to my Styrofoam head and I'm golden. So this is all you'll need, let's get started so as we get started, keep in mind when doing a removal or a touch-up if you will or replacement. However, you want to word it. You want to be certain that we're going to start from the top and work our way down. Okay, remember we're doing our initial install we're starting from the bottom and working our way up, so we're gon na. Do the exact opposite when doing a touch-up. So basically, I'm gon na take my old base solution go over the very top of this, like I would a perm rod, okay, just kind of tap that up a little bit work that through you can wait like 10 to 20 seconds. If you choose - or you can just go about it, but I like to press and peel all the way across and then go back again, the other way and then back and forth the other direction. So that way, I'm not just opening it like a book. I'M more so peeling down like a banana! So now, once you have this completely off, you want to remove the initial taping that was there. Okay, get that completely off there you go once you have that off you're gon na make sure that you take off the next one. Okay, awesome take that off as well, and remember you're, not ripping it off the hair, because that oil-based solution is gon na help. You get it off really nice and gentle, so you remove the previous adhesive right. So then, what you're going to do is you're going to get a wig pin and this wig pin you're gon na go ahead and make sure the bottom stays at the bottom and the top stays the top as far as the left goes. So that way, your placement in your position, it all stays the same. So then, now I'm gon na take my styrofoam head right because remember I don't want to lose any placement or position so wherever I pull this extension from I'm gon na place this underneath not through the mini left, not through the weft itself, where the stitching is, But you're gon na go underneath that and you're gon na wig pin it exactly where you got it from so it was here. I took it off cleaned up, I cleaned off all the previous adhesive. Then I went ahead and just replace it here. So I know exactly where it's going. You just continue that process all the way through the entire head. So wherever you take off from this head, you replace onto this head to make sure that you don't lose your way. So once you have all the extensions removed, let's talk about prepping them, so you're gon na go ahead and take off your extensions and remember you have no adhesive on here whatsoever. So what we want to do is we want to get clarifying shampoo and just dab. Our finger and put some clarifying shampoo exactly where that adhesive was at that point, you can actually go ahead and bring that clarifying shampoo down a little bit to go ahead and and soap up and clean the area that the oil might have seeped down. Okay, once you get that Doorly, rinsed and cleansed and completely dry they're ready for the retakes, so please keep in mind. The replacement tapes are already pre-cut for you. So that's gon na make your job a lot easier. All you have to do is take this off and once remember, this is cleansed and thoroughly dried. You can come through here and replace that exactly where you got it from okay. So then you go ahead and grab the next one and do the same thing. You peel off that adhesive and you put it exactly where you got it from and there you have it voila. These are ready to go back onto your clients, hair, alright. So by following these steps, and all that's included with all this here - that we show you today, you'll be on your way to properly removing and reinstalling your taped extensions. If you have any questions on any of this, that you seen leave them in the comments below I'll talk to you soon, guys, thanks for watching, be sure to click here to subscribe to our Donna Bella YouTube channel, also pull out your phone. Follow us on Facebook. Instagram and Twitter, I guarantee you're gon na love, all of our posts, blogs and photos, and you could even be featured by tagging us with your Donna, Bella, hair extensions.

Comments
Barb Davis: problem is that when you remove them on your own hair with their oil product they do not come out that easy and they leave so much glue residue in your hair.
Jessica Elms: First video demonstrating real tape in extension TIPS! Thank you!
A Matthews: I love watching him. So easy to understand and his laugh makes me smile
Delaney Reeser: I find the tape itself actually starts to breakdown and is hard to remove the strip
Annie Low: Wow thank you so much! So helpful ❤️❤️❤️❤️
Jennifer Zamora: How do I store the hair during a longer wait for the next Installment
twin Titans Adventures: Love the Styrofoam head idea! Genius!
Nathalie Paloma: Merci beaucoup de tes explications super ❤️
Tracy Thomas: Brilliant video thanks!
Y Moore: Nice! Thank you (;
Deborah Wallace: After I remove my tape in extensions, I will then be doing my color touch up on my client’s head. I’ve heard I need to use a clarifying shampoo before I reinstall the tape in extensions. Won’t that Fade the permanent hair color I just put on my client?
Deborah Wallace: Thank you!
Snow White: Love his laugh
Joy Joseph: You are amazing man
Ariel: What would happen if you used the alcohol based remover to remove the tape-in extension?
A channel: how can I buy that one please thanks
JulieAnkha N.: Why are u sticking it to a head when they need to be cleaned first prior to reinstall?
Sanja Lejlic: Why is ur shipping so expensive??? $13 just for replacement tape that’s ridiculous y’all need to change that to few bucks