How To: Tik Tok *Skunk Stripe* Bang Wig | Amazon Hair | Reese Lafleur
- Posted on 11 October, 2021
- Bangs
- By Anonymous
Hey Flowers, it's fall so we did a how to tik tok fall skunk stripe bang wig with some amazon human hair bundles and a 4x4 ear to ear closure, which is a closure with edges.
#SkunkStripe #AmazonHair #TikTokTrend
♥♥♥♥♥♥♥♥♥♥♥♥♥♥
DON'T FORGET TO LIKE, COMMENT, SHARE & SUBSCRIBE
P R O D U C T S:
4x4 Ear to Ear Closure - https://amzn.to/3lxOWvc
Human Hair Bundles - https://amzn.to/3AwhQA1
Mesh Spandex Dome Cap
Needle & Thread
Got2B Spray
Wig Glue
WATCH MORE:
Let's Connect:
Instagram: Reese.Lafleur [ https://www.instagram.com/reese.lafleu... ]
Twitter: JadoreRLaFleur [ https://twitter.com/jadorerlafleur ]
Snapchat - Reese_LaFleur
Email: [email protected]
For collaborations, sponsorship or just to say 'HEY' use the email above.
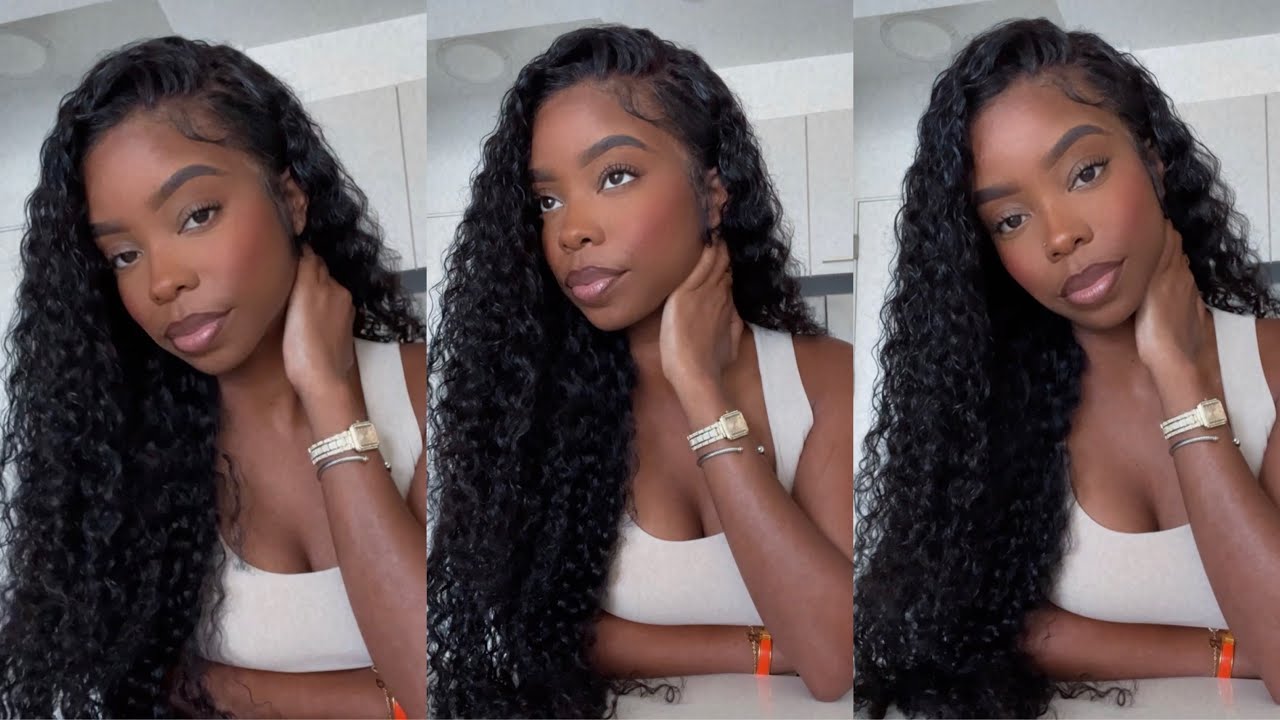
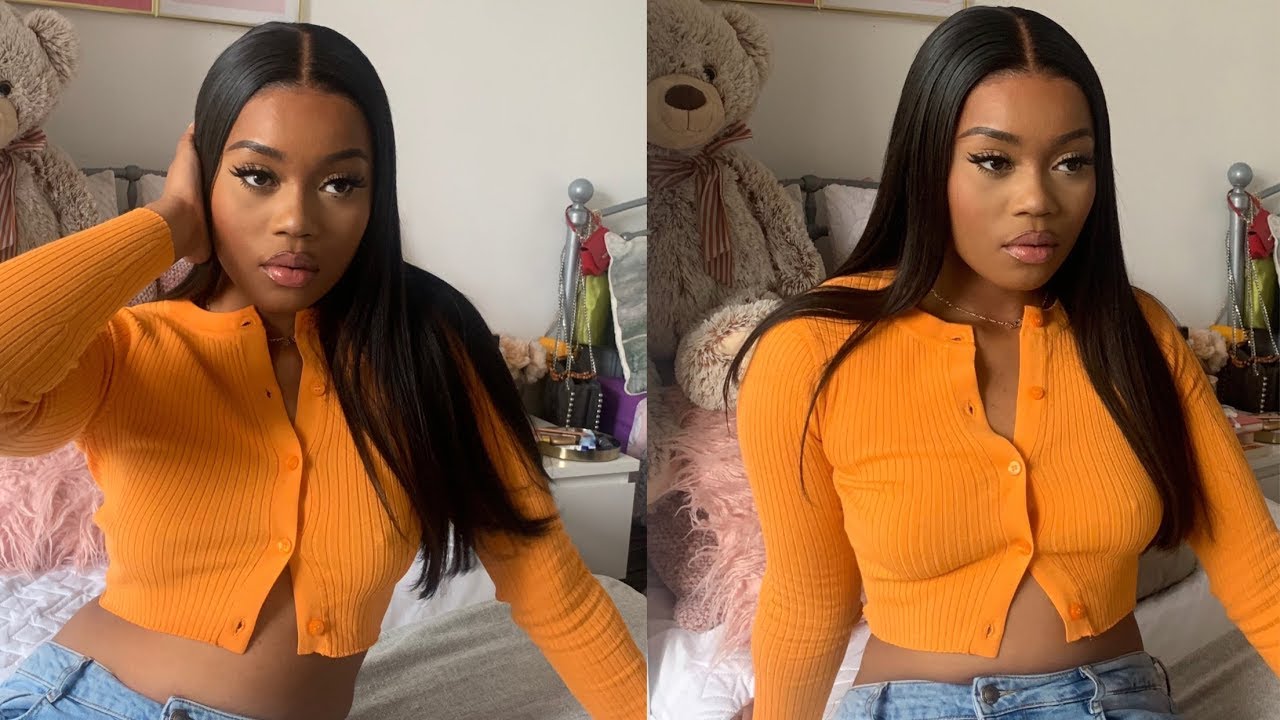
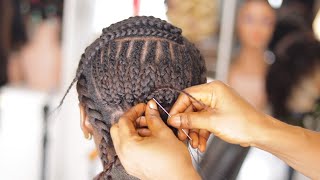
Hey flowers: this is your restaurant, i'm back with another video! What'S up, what's up how you doing how you doing this is all about this unit that we have right here. I made a wig um, it's a four by four but ear to ear four four quarters but ear to ear um, so we're going to get into it. We get a peekaboo moment, we'll see i'll show you guys how we achieve this. If you like, what you see make sure you continue to watch before we get into it, this is the baddie of all trace type of vibes, so we do fashion hair nails makeup all that good stuff, so that you subscribe to my channel hit the bell for Notifications so anytime, i upload a video. You are notified. Give me a big fat thumbs up kiss that, like button comment down below and share this video with your friends, we gon na hop right into the okay. Hey you guys. So here is the 4x4 ear to ear frontal. I know it sounds super confusing, but, as you can see here, it's like just having a 4x4 closure and then having some edges attached. So it's really a frontal with just edges. Alright, so here is the hair that we're using this. These bundles are for amazon, and even the closures from amazon, i'm using a 16 inch 18 inch and a 20 inch, and these are straight bundles. I will, of course, link these bundles down below we're going in with a mesh, spandex, dome cap and then, of course, a needle and thread, so i'm just placing the frontal on the wig head or on the whatever the thing is called the blockhead. I think that's what it's called and i'm just going to start um placing it down, so i can put the uh the closure now. What i am doing is putting the edges part in front of, as you can see, i'm going to zoom. In really close, you can see that i put the edges in front of the cap so that it's just like it doesn't pull back or anything like that. So i'm just sewing the back of that part, of course, so we're going to sew just on that lace, but on and put it onto the cap, as you can see, and then you're gon na of course wrap each uh stitch around um to help more security. Okay, so you can see me doing that right here. Excuse me if i sound a little bit congested yeah, it's just that time of year. At this point, all right. So after sewing the closure, this is how it looks. I did cut off that extra lace. As you can see, you can see that frontal edge part in front, and i just cut off that legs and now we're going to do the wig. I'M not going to do the wig on camera. We'Re just going to come back with a wig um. The reason why i do the wing on canvas i've made several wigs on camera, um plus i'm starting to use my sewing machine, and i want to practice a little bit more before i start showing you guys how to do it, because i want to be able To get down at a certain time, all right so we're using the color red fire and then um some 40 developer, that is the l'oreal high color. Once that's all mixed up, i'm going to start sectioning off where i want the color to be now. You want to make sure if you're going to do this peekaboo section you want to kind of while parting think about where you're going to part everything else um, because i'm doing a bang. I wanted to make sure that the color at least met in the center. I didn't want it to be off center, but you still want that section when that's not going to be in the bang to kind of like complete that peekaboo look um. So as you can see, i'm just putting the color all over that piece of hair. Really simple um i started at the tip and then worked my way up. There we go so this is the color that we ended up with after leaving that dye on for about 30 40 minutes um. As i love the way the color came out, i wanted to do something very full well actually on instagram you guys chose to do for me to do something fall like instead of like a bright like green, blue or something like that um. So here's the inside of the wig, i'm showing you guys, i'm going to cut off those little tabs that are kind of in front of the uh frontal um. So i always put on two caps now, because i'm keeping my box braids in um for a little while, just because i had a lot of postpartum hair loss and i want to just keep them. So i can just keep my hair braided and just wash my hair like that in those little box braids. So i have to use two caps just to make sure it's nice and you know secured so i'm cutting my eye holes and my ear holes, something that i don't usually do, but because i have the two caps on i needed to do that. Construction in the front, um and then, of course, we're gon na use our got to be uh spray and just spray that all over the front of our cap. I look like at this point. I look like i'm about to go, rob them, okay, which is why i don't like to do the eye holes like my nose, is all crooked now um, so once that's dry, we're just gon na boom, cut that out out and then we're gon na just trim That front. Excuse me, sorry guys. So then, once we're trimming it we're just going to trim as close to the um hairline as possible, i'm using an alcohol wipe to clean off all of that extra spray, and then i'm just going in this is my fenty beauty. Uh for 50 pounds, whatever color, i wear, fenty beauty, i believe it's 450.. This is the um the powder and i'm just putting that all over the front and then, of course, my handy dandy glue from amazon because i'm not paying nobody thirty dollars for no one. Look in the glue um: this is twelve dollars and it works very, very well, okay period, okay, so um! Once that's, you know going i'm sorry, okay, my voice always always be just a hotness, so we're gon na start putting on the wig and i'm trying to pull it to make sure it's going to fit um i'm. As you can see, the wig was just bunch of them in the back. I was like okay, it looks it's like what's going on, so i'm grabbing clips to pull it back, so i don't get any hair in the glue and then i'm just going to pull the wig all the way forward. Oh make sure it's nice and snug. Once i get it to where i want it to hit um, then i'm gon na start to lay it down a real tip before you even start doing any of this before you start laying it down, it's always good to try the wig on beforehand, because if You didn't sew it right or you need to fix a section before you put the wig on you're going to want to do that um. So i would recommend doing that every time, because you don't want to be done with your wig. You want to lay it down, you got the glue on and boom it doesn't fit um. So once that's laid, of course, we put our elastic band on um after having elastic band on i'm just going to start combing out the unit, and i want to just start seeing um how i'm going to put like just small layers. I don't want to put too many just a little bit um just to add some framing of the face before we put the bang in yeah. That'S pretty much all that i'm gon na do when it comes to that. So here's how the color looks i wanted to do it to the side to make sure it was given what i wanted to give, even though it won't be to the side like that, because we're doing it um, but it's very cute, and it was how i Wanted it to come out if i was to keep it without a bang um, so i'm going in with my razor comb and i'm just going and putting in light layers, i'm going to go back in i'm really doing this because it's a little bit thick and I want to just you know: take some of that hair out um, but yeah. That'S pretty much what that's about um, so i'm just trying to when i'm doing that, i'm just trying to see like do i like these layers, do i like the way it looks? Um now before i do this, i'm going to start cutting out the bang, i'm going to start cutting off that front lace. Of course, i'm going to lay the hair back down. As you can see, some parts i did miss the wig is moving. So i'm going to have to do a little bit more laying, but i'm gon na do that off camera. Sometimes it happens um, especially if i didn't wait for the glue to get as tacky as it probably should have it just happens. Sometimes all you got ta do is just add a little bit of glue sections and then lay it right back down and it has nowhere to go like right. Now, i'm wearing a wig and boom. It'S it's. It'S definitely tight. So i went ahead and did my makeup and now i'm back um, i messed up my elastic band, so we're definitely gon na have to replace that that's fun um. So i'm combing out the sides and i'm going to start parting. The thing now, the middle part is crooked, but that's okay, as long as i am in the center of my head to do this bang, so i'm going to do a black side first, because the black side is just easier and then i'm going to do the Color side, like i said, as you can see, i want to have some hair on the side. That'S still colored, but not all in the bang, and then i want to make sure it's a nice good section of that red, hair or copper hair in the front. So i want to make sure like i am so when i do bang like it has to be perfect um, so i'm pulling that hair back um just to see if i like it and then i just go for the cut after tying it back. I always when you're cutting bangs always cut super duper long, so you have a less amount to work with never go in and just cut the desired length that you want, because if you go too short, you can't get the hair back it's over like now. You got a fringe like no, we want a bag, not a fringe, because i think the fringe is like the little short joint. I don't want that so, once i get to a length that i feel comfortable with working, i'm gon na start, i'm holding my scissors as you can see, um vertically and just cutting across, and this way it's not that, like real, like chopped kind of look on The bang - i like the vein to give a little bit of feather a little bit of bounce when it's like this. It has a little more airy look um! So that's what i'm doing i will not cut across again. I don't think like yeah, i don't cut across again. I keep cutting upward and, of course, it'll get shorter, but it'll get shorter and it'll be uneven. So i think i got the length that i want so now, i'm just going to go in with the um hot hot, the hot iron, the flat iron and just start styling off the bang. To make sure it's the length that i want um, as you can see, i'm trying to like shape it and see like okay. Is this? Where i want my bang, i mean you, don't need eyebrows if you have a bang, but eyebrows are still good. That'S why? I don't you don't make the bang too too thick, so you can still see the peekaboo, so you saw, i did cut a little bit more and now i'm just fixing my little middle part. Okay. So i'm clipping up my hair because i'm going, of course straight in the back um i'm gon na do the comb after the hot, the hot iron, before the hot iron method. Even though sometimes i miss some pieces because it's like one thing about me is - i do not like flat ironing the hair i'll curl, some hair but flat ironing. My sister always makes fun of me. I don't know why the flat iron - just i don't know i don't know - i don't know, and that's probably why again my silk brush, i failed, but you know we had to get into hot iron because flat iron, because look at this it's straight because this hair Is straight, but i feel like this flat: iron is just super old. It'S just the lettering on. It is gone like this used to be a really good flat iron, but i just feel like it's just dated. I just need a new one. I just need another one, but we're doing it. It'S straightening. It'S doing what's needed to be done. I guess it's understanding this assignment. You know i mean i gave all right so, as you can see it's pretty straight and i'm just brushing it out before. I finish because i just want to make sure i got it. I'M brushing off right now with a makeup brush, i'm just brushing off the excess pieces of the bang that fell on my face, um, that's annoying when you're cutting - and i forgot that i had to cut my bang or didn't think about it. I should say before i did my makeup, so that was fun, but we got it all off all right. So now i'm going back in with some more layers. I just want to add some more shaping to my face. Um. I might go back in again like off camera. I don't know yet like i just let it i feel like it was a little bit puffy and i tied it down. Of course now - and i slept with the wig on so i'm hoping that i don't have to like - do too much more work, but i feel like it was a little bit big here at this point. So i was just cutting off a little bit because i'm like i don't know if it's framing my face the way i want it to like it's not horrible, but i just feel like i don't know when i do a bang i just get into my bag. So i'm just clipping off a little bit of the ends, so it's a little more, even and yeah honestly pretty much. What we're going to do, we're going to hop off and do our lashes, our lips and um change our clothes, and here we go. This is the final look. I mean it is super pretty. I cannot front like. I love it's very fall forward, but it's still giving you a little bit of pizzazz a little bit of edge but like fashion edge, like glamorous edge. Like look at that, oh super cute, you guys i love it. Thank you guys so so much for watching. Like make sure you comment down below make sure you kiss that, like button all that good stuff subscribe, turn your notifications on and i'll see you guys in my next video, like i'm slaying and then i get in front of him like no like. No, no, i'm slaying you guys, like i'm feeling it look at me. Look at me. Look at my little outfit. Okay, oh oh eyes. Yes, bye, see y'all later
Comments
Kie RaShon: This is bomb sis!!
ItsMarilynNoMonroe: ❤❤❤❤
PINKFACESJAZZ: Can we get the outfit deets