Long Layered Haircut (Hair Tutorial), Teenager, Medium Thick
- Posted on 26 March, 2014
- Long Hair
- By Anonymous
Subscribe to Hairstylist How-to for new Video updates!
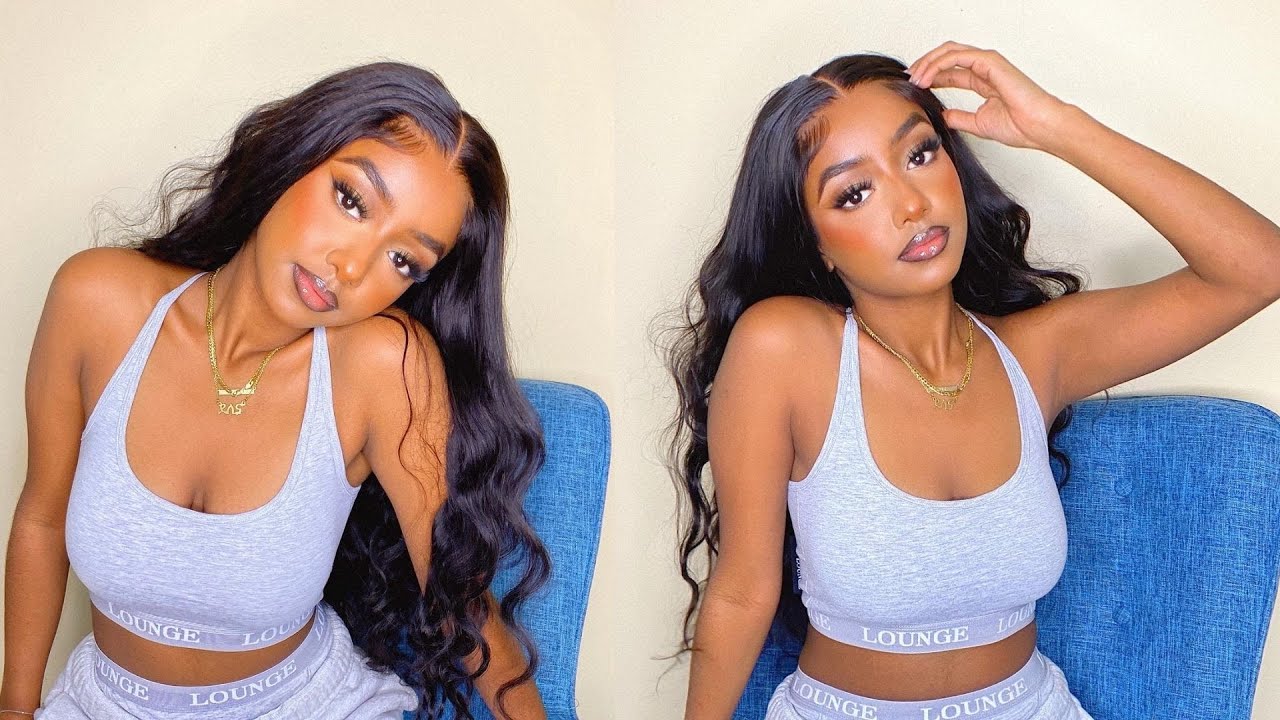
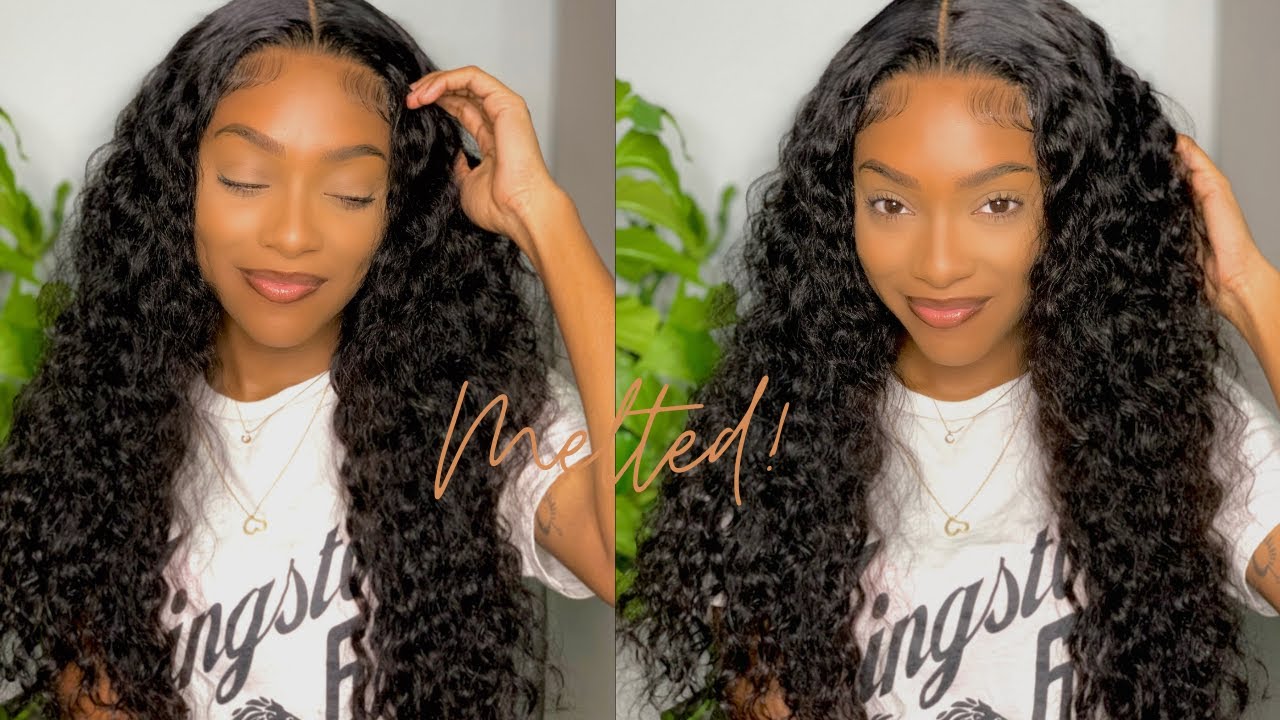
This is a demonstration on how to do a long layered haircut on medium thick hair. Great hairstyle for teenagers, moms, or kids. This sort of hairstyle gives a lot of flexibility for different hairstyles.
Hairstylist How-to links.....
Instagram: hairstylist_how_to
Facebook: Tammy Favata - Hairstylist
Pinterest: pinterest.com/tammyfavata/
Music: All Music from the You Tube Music Library
Hi, I'm Tammy and today we're going to be doing a long, layered haircut today we're going to do a long, layered haircut, we're just going to be doing some trimming, nothing too crazy, but we'll probably taking a couple inches off the bottom and add some layers into It so, as you can see, it's pretty long, it's hanging over the chair here. I think we're going to take it to about right here, but one here is this long and it's hang it over the chair and there's that little lump right there because of the chair. You really need to have your plants stand up, so you can have their hair lay against their back evenly. So, as you can see, if you have your plants stand up when your hair is down long, it's much better because then your hair can lay flat against her back and you're going to get a more, even haircut. So now, I'm just going to section it off. Okay, so I started sectioning where the head starts to curve like this, so I started my section right about that. I'M going to have my client tilt her head slightly forward. So now I'm just going to bring everything down to that guideline. It'S uh precise. We have her turn this way, so I can show you just to where her ear is and because we don't comb her ear too much we're going to comb all this down and pull this back like this. So I'm going to comb it down and then pull it back and then I'm just going to cut that corner right there with the rest of it here and do the same thing on the other side. Now I can have my clients sit back down now. What I'm going to do is on this section on my rounds, the top part of the hair before it starts curving and rounding over. We just pulled that out of the way - and I section that out now in a section out the sides out of the way right behind her ear where it starts to curve. This way I'm going to do like a V section, you know what I'm going to do is I'm going to take the middle part of this section on a middle area right here, pull this section out is straight up. I'M going to cut off that corner right. There and we'll follow that through on both sides to another section right next to it, pull back all the way up. You can see my guide before I'm just going to follow the guide cut off the corner because of the hairline the way it is because of the ear you don't want it to be too thin in here, so to compensate for that, we're going to over direct That area over direct that back when it falls, it falls more full in that area. So again I'm going to take that middle section. There I'm going to pull that up and around pull it up and around. So what I did is, I pulled it up straight from the head sort of an a 90-degree angle and then I'm curving my hands even more like that, and then I'm going to cut that like that. So what will happen if they hear a couple up here? More rounded, so the whole long layered haircut will shape to her head and will fall nicely, so I'm just pulling it dragging it got ta get like that. If it decides, I'm going to be doing a lot of over directing back again, and that is again so the sides don't get shorter than the back, which happens a lot of long there. So if you want to avoid that over direct it back, you can always blend it in later after it's dry, you can always cut it shorter later. So I'm going out over direct a section here, I'm going to keep combing that part right here. You want to make sure that that all the kinks are combed out so sometimes I'll even take my comb and just quickly go over it. I'M going to follow the guide from my previous cutting. So what followed that I'm going to over direct it back, then I can see underneath my previous guide, it's going to cut it off like that middle section. Here, I'm going over direct that it's really not much left! It'S just like a little corner right here. You can especially with these long layers, so you're not cutting everything way up high or way out here. You can drop the hair and then cut it as long as your fingers are holding that hair very tightly. I mean some people are completely against that, but I think it's fine as long as you're holding it tightly and you're not putting a lot of tension on it. Now to get my length there they're going to have like they turned her head. The reason we're going to have a Turner head is so we don't have the problem that we had before. So if you turn it back, you can see it's falling off her shoulders and then it's not going to last night. If I just have her say to turn their head, make sure that when she turns her head, she doesn't put her head her chin down, which a lot of people trying to do when they turn their head, make sure she keeps her chin up and is level With the floor and then pulling all that down, make sure that you tap that you're a little bit, so you don't get the hole right there, I'm just going to cut that section right there. Now we're going to work on the top, I'm just going to have her shelter head back a little bit, I'm going to work everything kind of up and back so I'm going to take a section about an inch, maybe 3/4 half an inch three quarters of an Inch depends on how thick your clients, hair is, and I'm going to work it into the back. Let'S take a section out of the back, you look at these section or like a rounded section in the back, just an ant tap area right there we're going to go up and back, and I can see my guide from before I'm going to actually just point Cut that instead of going back and point cutting out, I'm just going to do it all at the same time, you can do that if the hair is pretty straight, saves gon na stop later up. I'M going to round my fingers. As I go see, my fingers are kind of rounded because the head is rounded, so you want to round your fingers might cut as I go. No not thing I'm going to do is I'm going to pull the sides back into it. This is how I'm going to check and blend, so my sides are going to go up and back with this, not all the sides, but just kind of this top section here just for blending, I'm going to pull that up and back to you see if that Needs any being there and religiousness there's just like a little corner right there I was going to point cut down now we're going to start our face training kind of low. You don't want to go too high if the layers are long because in a camp it tries to get you choppy, I'm in a canapé dime that if she usually works a little bit better if the layers are lower, so we're just going to kind of stay Straight up right around there, I'm going to use my razor. This is my feather razor. I'M just going to guide it back down. I'M going to slide it down with my razor. It'S going to keep right. There attentive be really careful not to cut into your sides too much. You want to just blend it most of your face training to be before the ear not after the year. So right before the ear begins is most of your face training. Everything else is just blended, otherwise, again I'll get short on the front. Okay, these are the results. That'S it


Comments
Brittany Brawley: You are awesome thank you so much for the step by step instructions!
May si si: Thank you very much! I am just beginner....your videos help me a lot.
Sharmin Aktar: You shouldnt brush her hair when its wet,It aint good for the hair!
Jocelyn: Where is she located she knows what she's doing !!!!