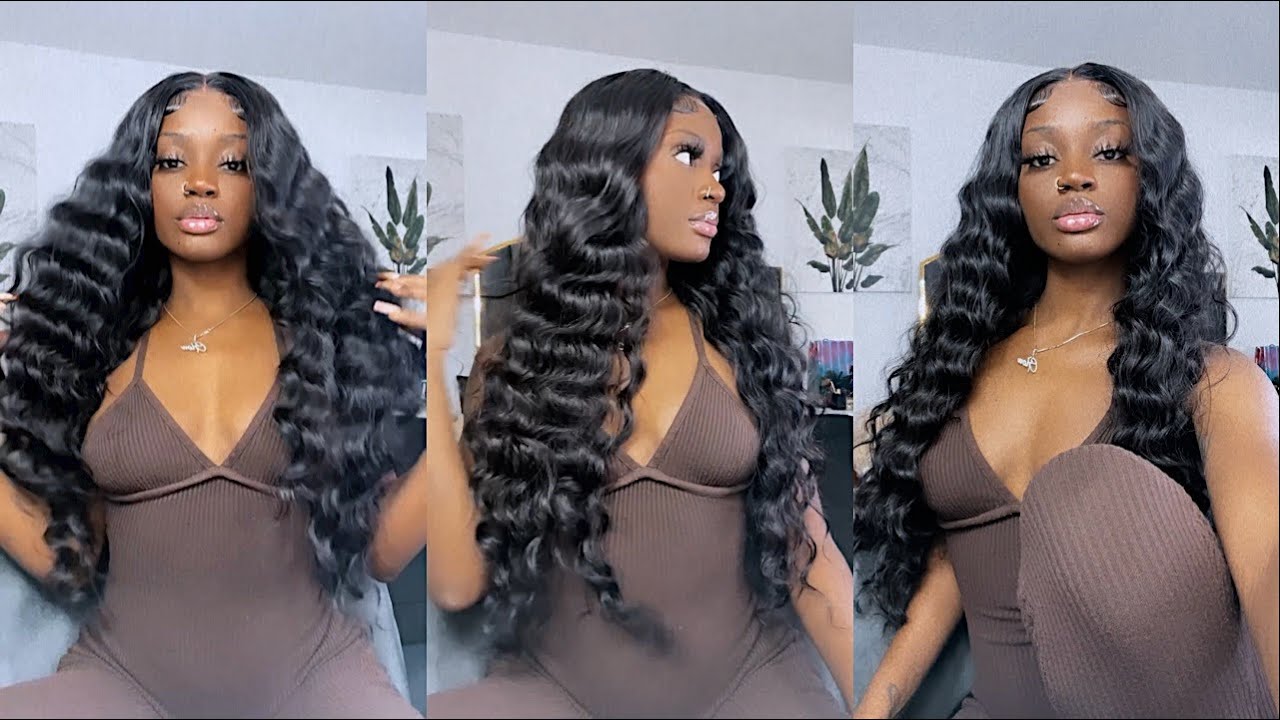
Easy How To: Kashdoll Two Bang Bob Ponytail |90'S Inspired|Kiloki
- Posted on 11 May, 2020
- Ponytail Hairstyles
- By Anonymous
Hey baddies! I see another bad bitch is in the room welcome back! Today's video is this 90's inspired #2BangPonytail! Also known as the #Kashdollponytail! It was super cute and fun and easy! I provide a step by step tutorial for you guys to follow! I hope you all enjoy! Make sure you like, comment and subscribe! Turn on those post notifications to be notified of my channel uploads! See you baddies in the next video.
Business
Send me goodies
PO Box 20816
Macon, GA 31205
Connect with me
Ig: _@KiloKi
Snapchat: Naturalistaa
Link to my Makeup Videos: https://www.youtube.com/playlist?list=...
Link to my hair videos : https://www.youtube.com/playlist?list=...
Learn to be your own Nail Tech : https://youtu.be/7CZm6tGmCck
THE BEST NIGHTTIME SKINCARE ROUTINE EVER : https://youtu.be/aZJpZwg6ao0
Beginner Wig Install : https://youtu.be/Du8gMFJdB4E
THE BEST FULL COVERAGE MAKEUP ROUTINE: https://youtu.be/41MlLGKb0DI
PLUS SIZE SHEIN TRY ON HAUL: https://youtu.be/MZOkiRqhuHI
Texturizing my 4C Natural hair to 4B/A: https://youtu.be/AzRN97dUSxI
Affordable Frontal quickweave install with $7 bundles !! : https://youtu.be/ALCniwXUg1M
How to make a frontal wig for beginners : https://youtu.be/PZ6qzmOxCRc
MY CURRENT SOFT MATTE MAKEUP ROUTINE: https://youtu.be/LyHhxBaLl9I
Dark Ash Blonde hair tutorial for WOC: https://youtu.be/YrqZR8jfQ-o
Go Ahead and subscribe and turn on those post notifications!
::: CREATOR BIO:::
Hi there! I’m Ki! I’m a recent college graduate who definitely is not working in her field of study lol . For For about 10 years I have been doing make up and beauty related activities! I’ve done make up for clients I’ve also done stage make up and I’ve also done make up for fashion shows. I currently work in the beauty industry outside of YouTube. I really love to see each beauty related concept because beauty is me through and through. I’m such a girly girl I love doing my hair I love doing my make up I love doing my nails I love clothes I love taking pictures I love everything beauty related and I have my hands in everything and I just want to extend my knowledge to you wonderful people. I Started my YouTube channel 2 years ago and have been consistently posting for about a year now and I’m super excited at how fast and how wonderful my channel is growing! Beauty really is my passion and I truly feel as if I can help with one person I’ve done my job. So excited to be letting you guys in on some of my favorite things to do in the world
✨::FAQ::✨
Name: Ki
Age: 24
Camera: IPad
Editing software : IMovie
Zodiac: Sagittarius ♐️
::: SUB COUNT 348:::
::: SUB GOAL 1000::
Daily Quote:
“To thine own self be true” - Shakespeare
Key words:
makeup , makeup lover, beginner makeup , beginner makeup videos , get ready with me , GRWM, hair , hair videos , hair videos for beginners , frontal , frontal sewin , 360 frontal , HD frontal, HD LACE, Transparent lace, frontal wig , 360 wig , full lace wig, closure , closure wig , 7x7 closure , 6x6 closure , 5x5 closure , 4x4 closure , wig , wig install for beginners, natural hair , texlaxed hair , 4C,4B,4a, texturizing 4C hair. Subscribers , YouTube , how to get subscribers on YouTube , free subscribers 2020. Subscribe , how to gain subscribers , how to gain 1000 subscribers , gain subscribers fast 2020, SEO, fashion , plus size haul , plus size try on
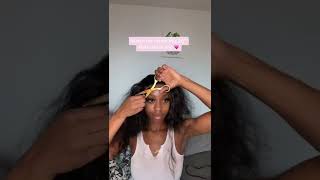
When I see me just know, hi paddies, I see another bad in the room. Welcome back to my channel. So, as you can tell by today's title, we are doing a two bang ponytail, I'm actually going to be doing a bot ponytail, but I needed a cute little style for about a week honey. So I'm gon na show you guys how I did my two bang ponytail. So what I'm doing now is I'm just splitting my hair in the middle for my bangs, I just added a little edge wax to um. You know help my part come out a little bit better, so I'm just making the part for my two bangs right now after I've separated my bangs, I'm just gon na add some water to my hair to soften up my hair, because we are going to be Blow-Drying, our hair, and now I want a very nice sleek look or the slick as I can get it. So I'm going to blow-dry my hair, I'm going to separate my hair into four sections and then I'm going to add a clip. Then I am going to take this hairdressing that I got this random hairdressing that I got from the beauty supply store supposed to condition a shiny heat protectant and all that great stuff. So I just put it on my section and then I finger detangle, my hair, and then I took my hair dryer and I blow-dried each section. I did each section this way make sure I got it as blow-dried as possible or to my desired blowout. So if you want that nice sleek look, I would recommend you using a blow-dryer if you are natural, of course, if you want the sleek look, you're gon na have to blow-dry your hair or straightening your hair of some sort. So that's what I am doing and I will continue to do that throughout the next clips and then I will come back for the next step. So now that I have blow-dried everything I'm going to take my mary's beeswax, the black kind, I'm just going to put that on the first portion of my hair, because I'm going to separate my hair into two sections. So it's easier together. So the front section that I have I'm just going to put that beeswax everywhere, I'm going to take my good old spritz and I'm going to brush all of that up into a ponytail. If you are natural, you want to avoid water-based products, ie jail um. So you can maintain that sleek. Look! So that's why I'm just using the edge wax in spritz, because if you use anything other than that, such as jail eco styler, your hair will curl up your hair will be wavy. So I recommend to use, like I said, in edge, wax and then affirm and spray such as spritz got to be glued in the TIG. I big hit firm and spray that I'm using right now as well brush my hair into a ponytail and then you're. Of course, going to put your an elastic band, your scrunchie around the first section to secure your hair and then in the next clip I'm going to do the exact same thing. I'M just going to take that edge wax again, which is the Marie's beeswax and the black jar. I recommend, if you have black or dark hair use the black jar. If you have colored hair, then the clear beeswax would be your best solution, because this wax it has color in it and the color can stay if you don't brush it out. So I just recommend using that for darker hair. Again, I'm just going to put my hair up in that ponytail, using the inch wax go over it spritz and the bit hit spray brush it up into the first section of my hair to create that nice ponytail. What I'm doing now is I'm taking a piece of braiding hair and I'm going to braid my hair with this hair to create that extended ponytail to be able to wrap that ponytail around I'm going to seal it off with a rubber band. I'M gon na take some scissors and I'm going to cut off the excess I'm using the bottle model, gardenia master mix in 1b. I think that was a 14 inch and I'm just going to take the tracks with a bobby, pin, insert the bobby, pin and wrap everything around that braid. You just want to keep wrapping and wrapping and wrapping. I know some people use the glue method where you put glue on on the tracks to secure it and I've seen some bobby pin mythix, I per say, like the bobby pin method. So I stick that initial bobby pin in it before I start wrapping and I'll go ahead and wrap it all the way up to the top. So now I am taking some spritz I'm going to take a piece of hair from the the lash track. That'S going to wrap around my ponytail, I sprayed spritz on it and I went ahead and wrapped it around, so it can be secured. You also can use glue. I usually put glue on that last little loop and I go ahead and set it butter. You spritz this time. You can also secure it with a needle and thread or you can secure it with a bobby pin, whichever works for you, I went in the back portion of the ponytail grabbed a piece of hair, and now I am hiding the tracks. I'M going to take the bed head in the spritz and each time I wrap it around I'm going to spray those sprays and wrap that hair around to create that invisible. You know band for my ponytail, so now I'm going to comb my ponytail out. Everything is secured, so it is not going anywhere and what I'm going to do now is I'm going to take my scissors and I am just going to cut straight across. I have grabbed the hair figured out my desired length and I am going to go ahead and click straight a cross. You want to do this with some hair shears zombie-like me you're, using regular kitchen supplied scissors, use some hair shears this and then I'm just going to clean up um. All of the you know miss cuts or bulky cuts and make everything. Even again, you want to do this with hair shears because we probably could have avoided all of this. So yeah, I'm just evening up as much as I can, even in everything up making sure everything is cute, making sure everything is secure, then we're gon na move on and we're going to work on our bank portion. Now, what I'm doing is just flat ironing my hair. You can literally stop at this step if your hair is, oh goodness, if your hair is longer than us, but for me I wanted my hair to come all the way down to my chin. So I took some extra hair extra tracks from the bundle measured out the parting in my two bangs took some bonding glue or hair glue, as you can see in this clip taking that hair glue and then I'm going to place it when the parts I'm going To place that track on that part, and I'm going to do this again - I'm only going to do two extra tracks per side of the bang. So again, I made another part: make sure that this track will fit so measuring that track. Then I glued it on my head and I did the exact same thing to the other side. I would also recommend putting the glue halfway on your scalp and a half way on your hair, but do not put it all on your hair. Put it to your scalp as much as you can, so you can avoid ripping out your hair. You can avoid that glue being all on your hair, sis, okay, again, I'm gon na. Do that one more time and after I'm done, I'm just going to go ahead and fix my parts the way I like it, so it can be even and I'm going to comb all that through I'm gon na take my flat iron and blend, and that's literally, The last steps of this process - let's to cut my bangs a little bit so I clipped my bangs just a little bit - went back over the bangs after I got doing cutting we're back over with the flat iron just to blend it in literally y'all. This is the last step, I'm so so so glad at how it came out. It was super cute. This is a clip with my makeup done because I definitely forgot to do it our truck. This is from my previous video that I just posted so make sure you go watch that, and this is how everything turned out. Thank you guys so much for watching this video make sure you like comment and subscribe, and I will see you in the next one.


Comments
Dolled Up By Geeta: Love it! I’m definitely going to try this look
Wayne K Artistry: This is a great tutorial
NaturallyNique: Love this look
Giovanna: Omg your intro is so cute! Love the 90s look!
SweetPetiteLatrice: #newsubscriber love it. Definitely need to do some cute simple styles like this ❣️
Ambitious Tammy: I love this look
Myla xo: I love the end results
Toni-kay Williams: Definitely gonna try ❤️
All Things Dami: Those blunt cuts are everything
Dorcas B: Loveee this
Charniq G: This was cute I might try thisssss
Siimply Nelle: Ouuuu this look
Tamira Coleman: How many bundles did you use?
Looks By Janaya: I love this intro
StylezBy ROBIN: Girl u got me bout to slay my shit i bought 8inch outre
StylezBy ROBIN: Turns flat irons on pray for me