Mending Frayed or Torn Lace
- Posted on 21 January, 2022
- Hot Topic
- By Kaylin
Anyone who’s been wearing lace front wigs for a while has likely experienced fraying of the lace overtime. This will happen with all brands due to daily wear and tear and is generally unavoidable. In the past, we have heard of customers trimming the fraying sections down each time they begin to fray, but this method won’t work forever, as you will eventually run out of lace.
Surely there’s got to be some way to combat this issue, right? Although there is no fix made specifically for lace front wigs, we have discovered a hack that helps stop or slow the fraying process and can be safely used on lace!
Dritz Fray Check is a clear, liquid seam sealant that prevents fabric from fraying and helps secure ends. The finished product will hold up through washing, making it perfect for this particular use!
So how exactly do you use it?
What you’ll need:
Dritz Fray Check
A few layers of sticky notes or a small piece of paper
A small paint brush or clean makeup brush that you no longer intend to use
A well ventilated area
Styrofoam Head (optional)
How to Repair Frayed Lace
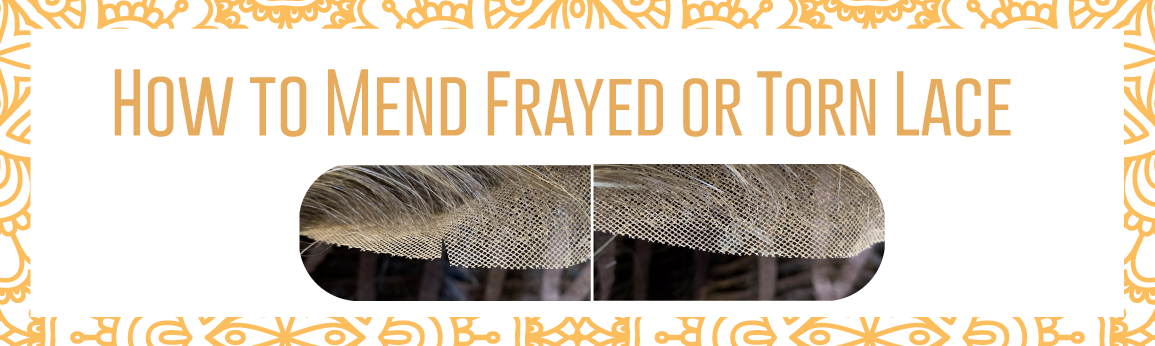
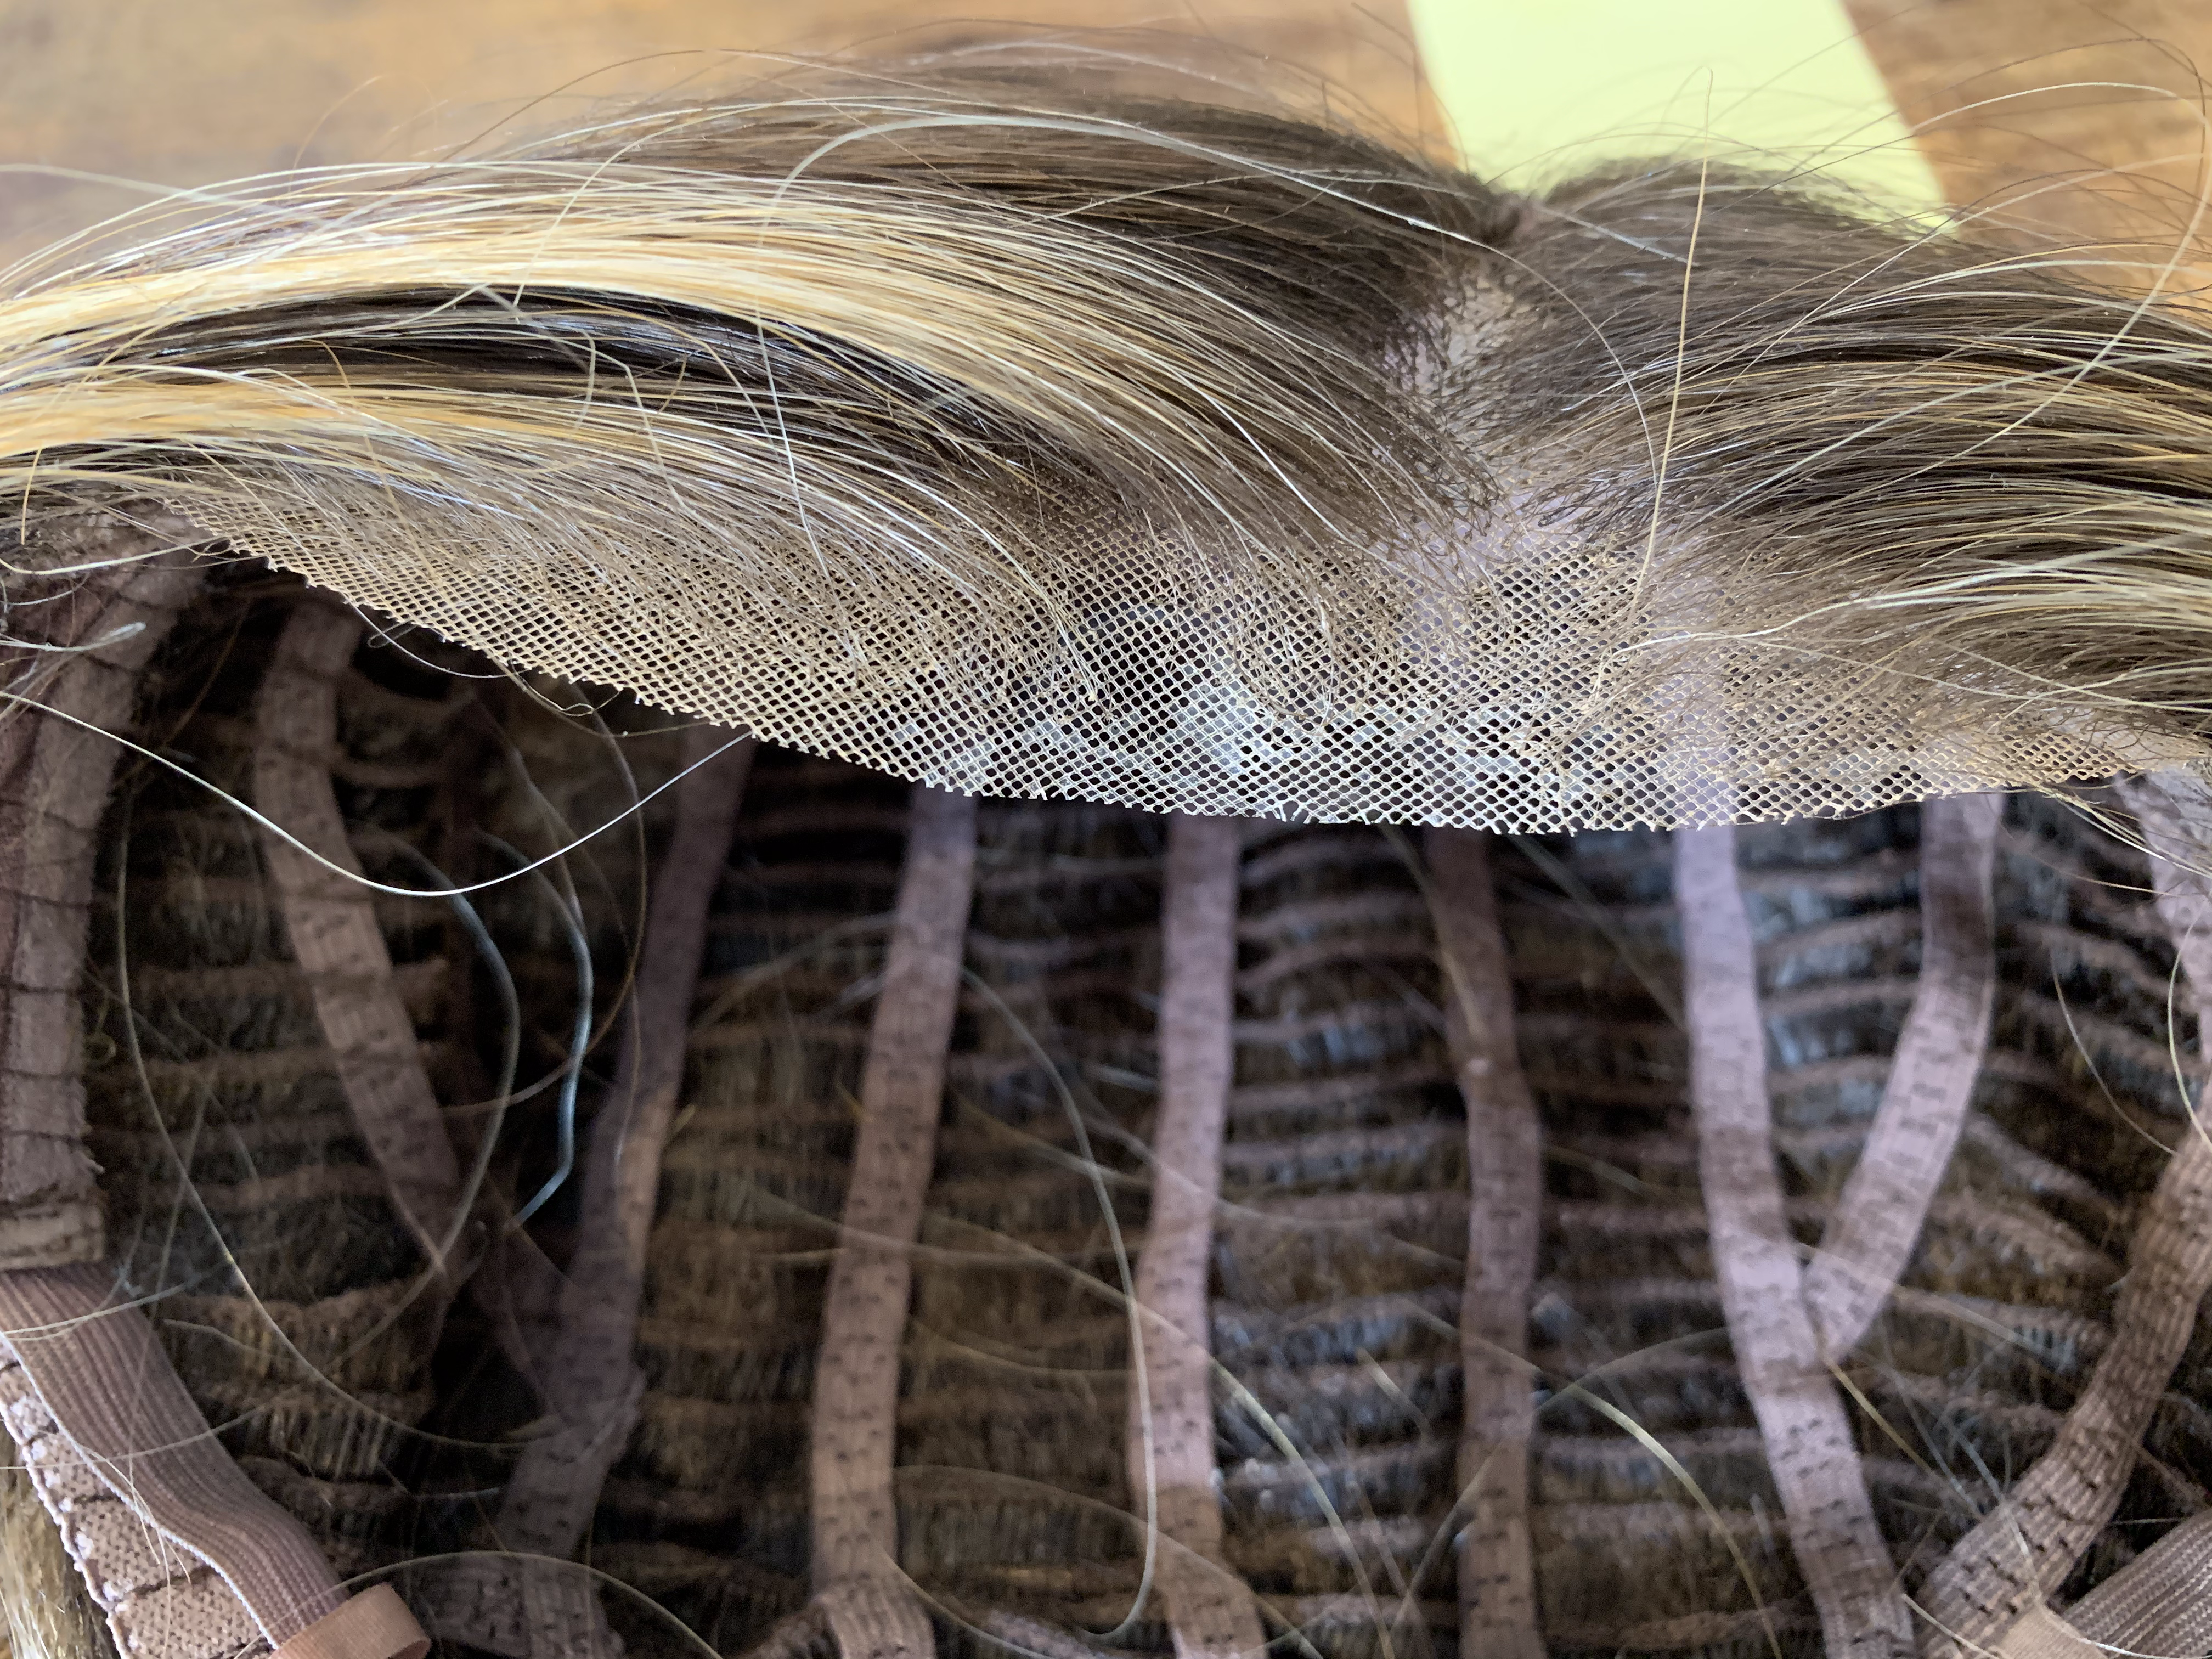
1. In the photo below, you can see that the front lace of this particular wig has sustained some pretty significant fraying over time. In instances where longer bits of lace protrude such as below, carefully trimming just the longer frayed pieces typically yields the best result. Using small, sharp shears will prevent any additional tearing or fraying. If your lace front does not have any protruding pieces, you may skip to step 2.
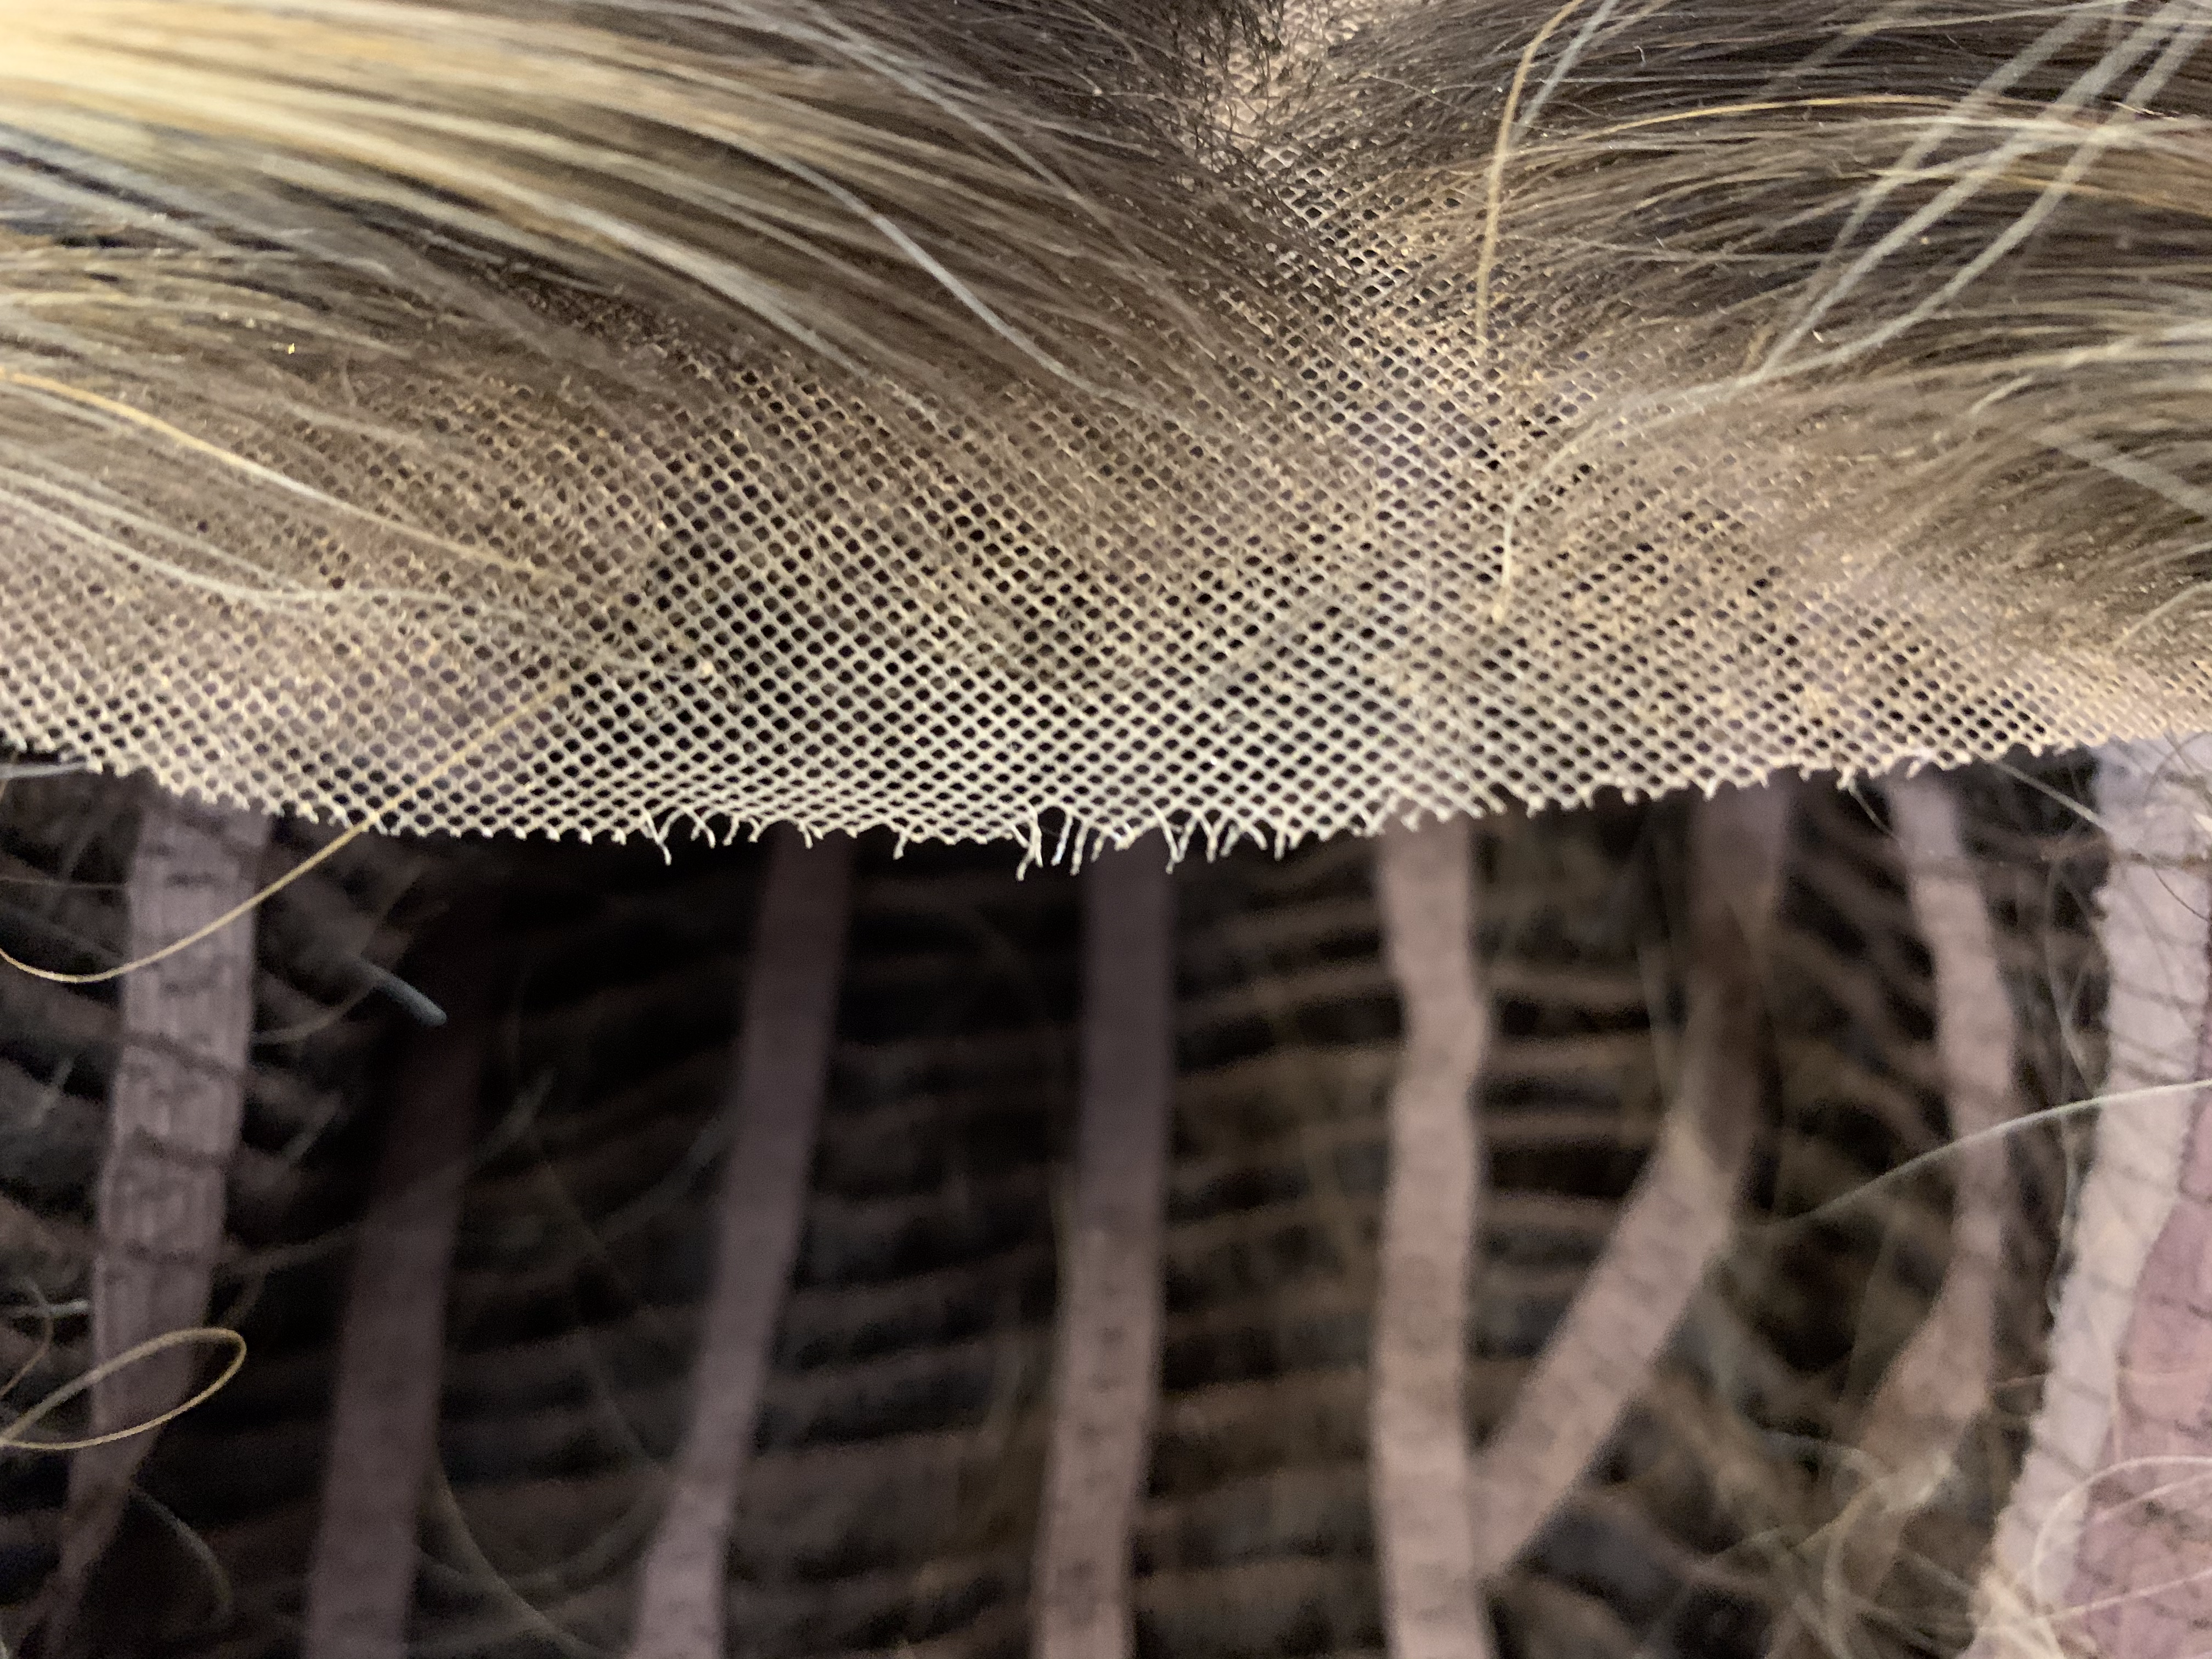
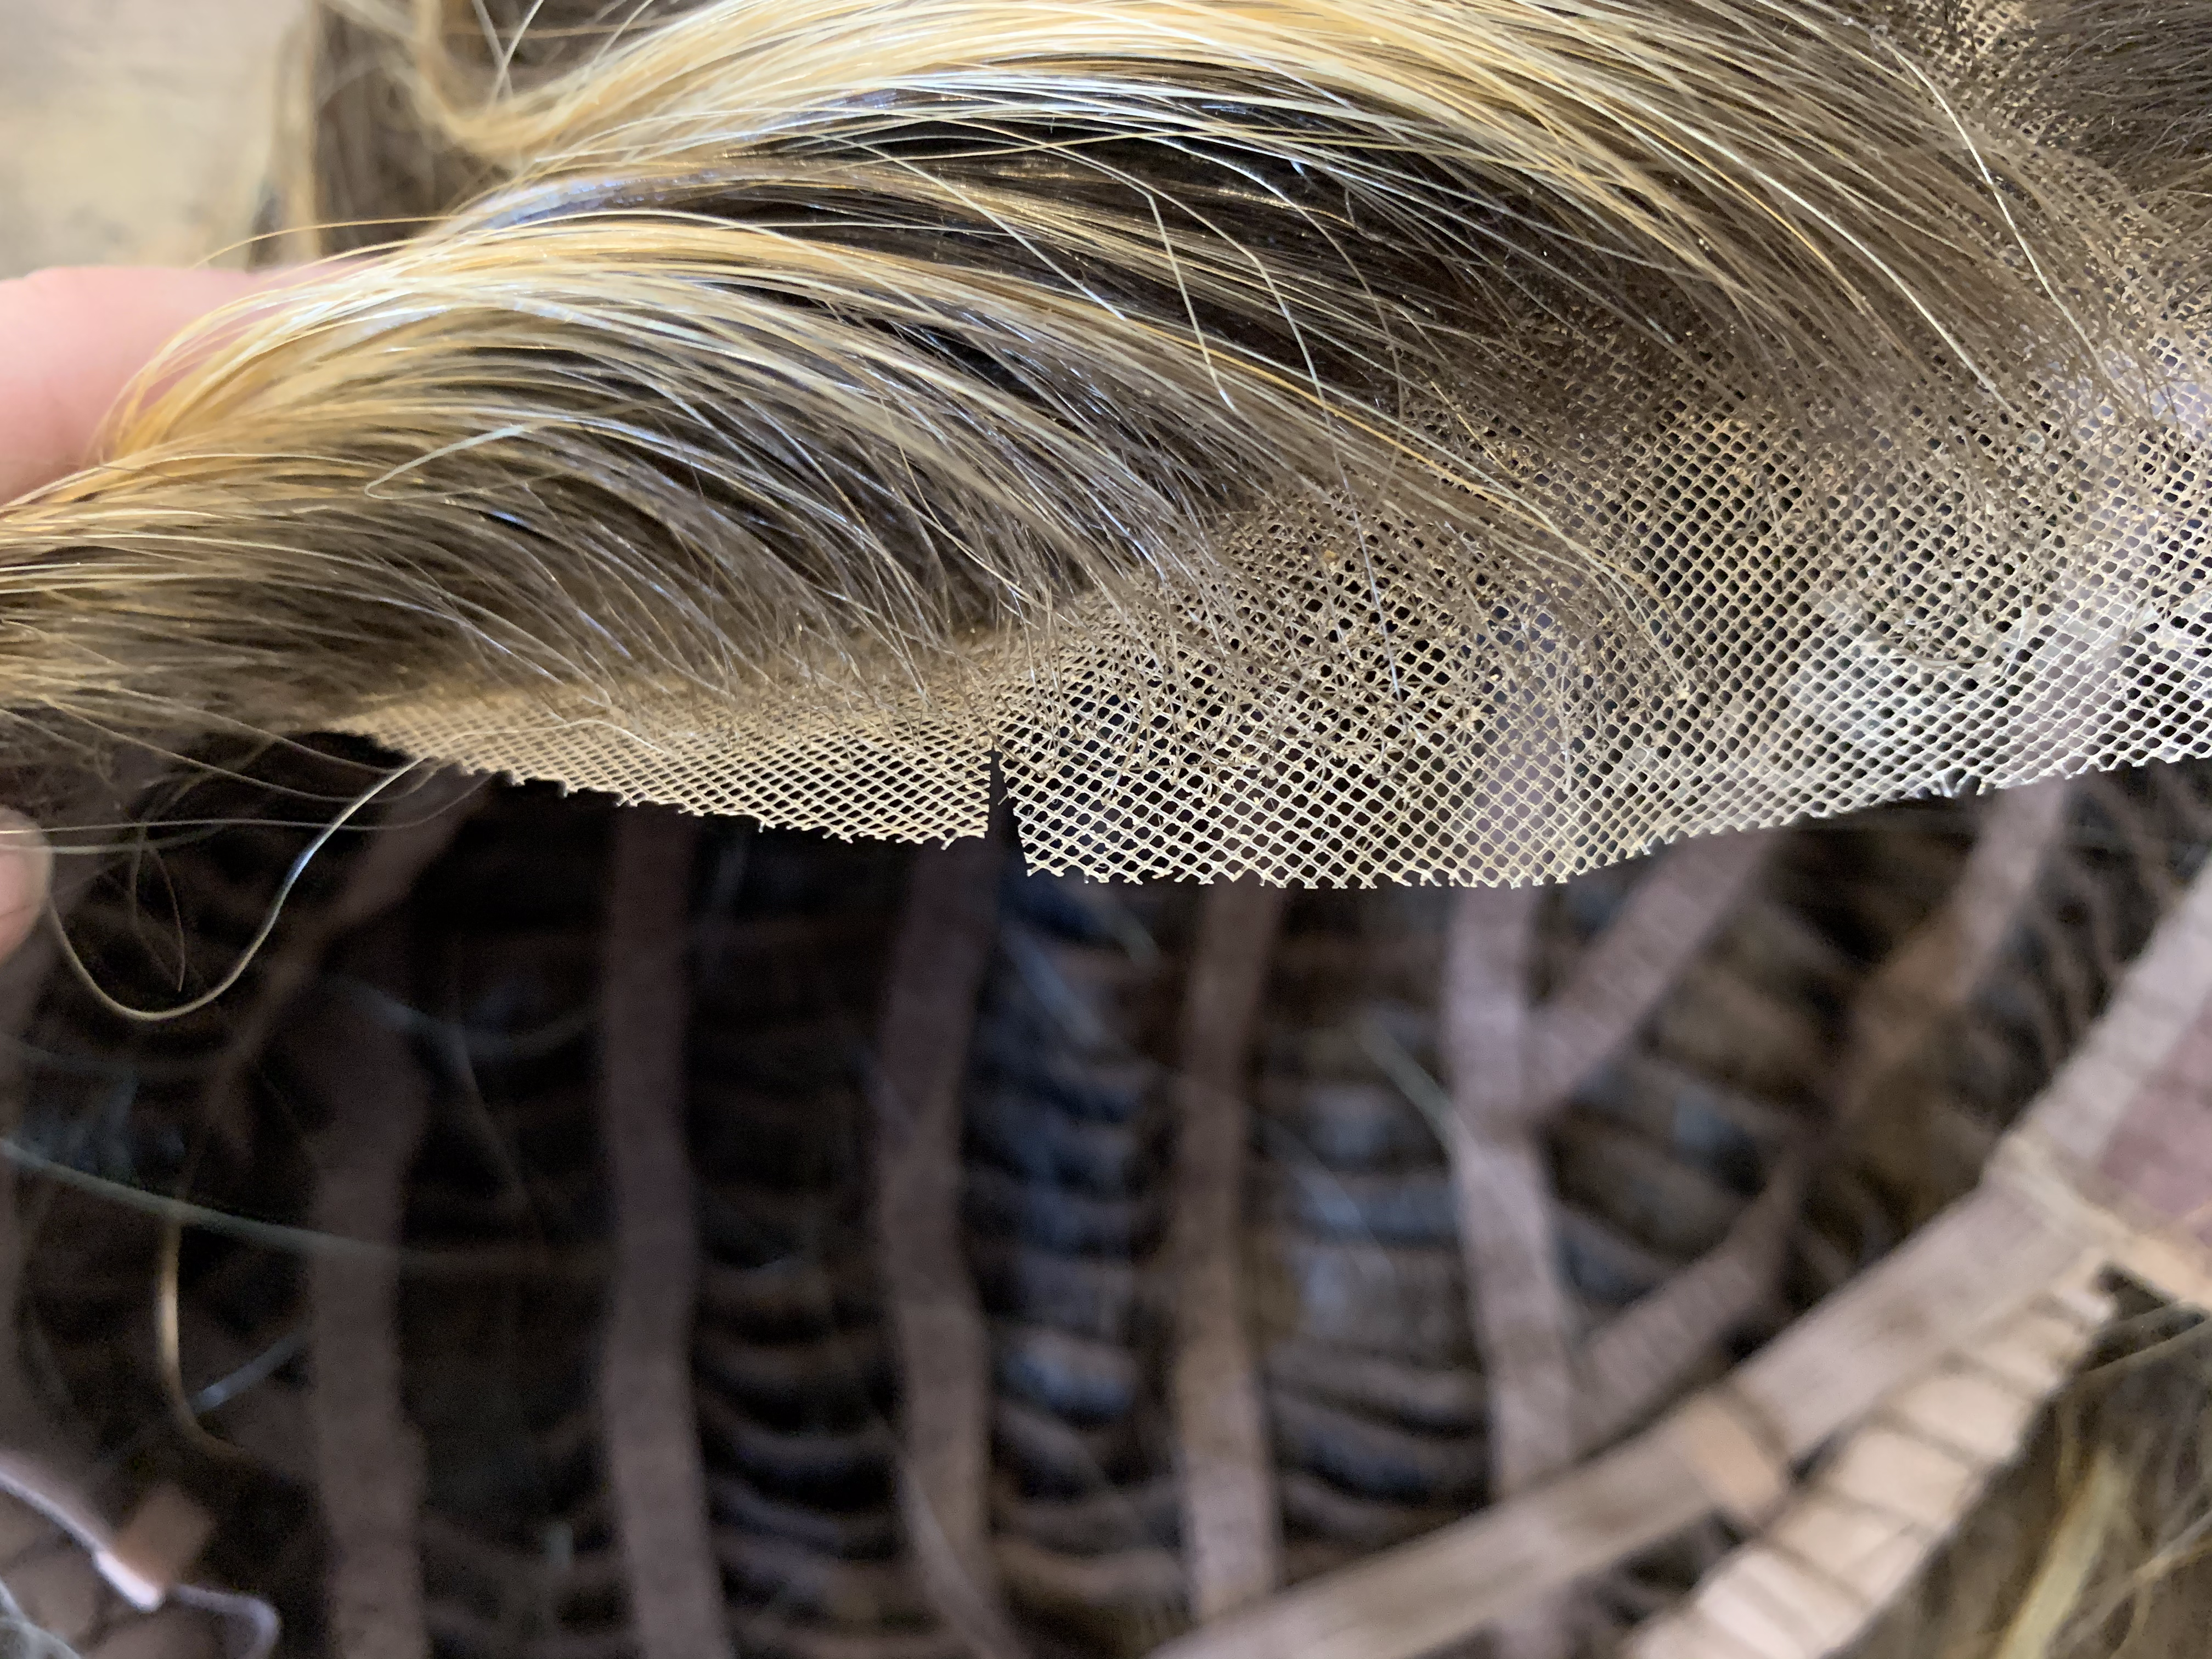
Below is the desired result of slight trimming. As you can see, we did not take off any length, but instead trimmed the tiny pieces that were sticking out from the rest.
2. Now you’re ready to begin applying the sealant! Dritz recommends avoiding direct skin contact as well as using this product in a well-ventilated area due to the chemical odor that is present before the sealant dries.
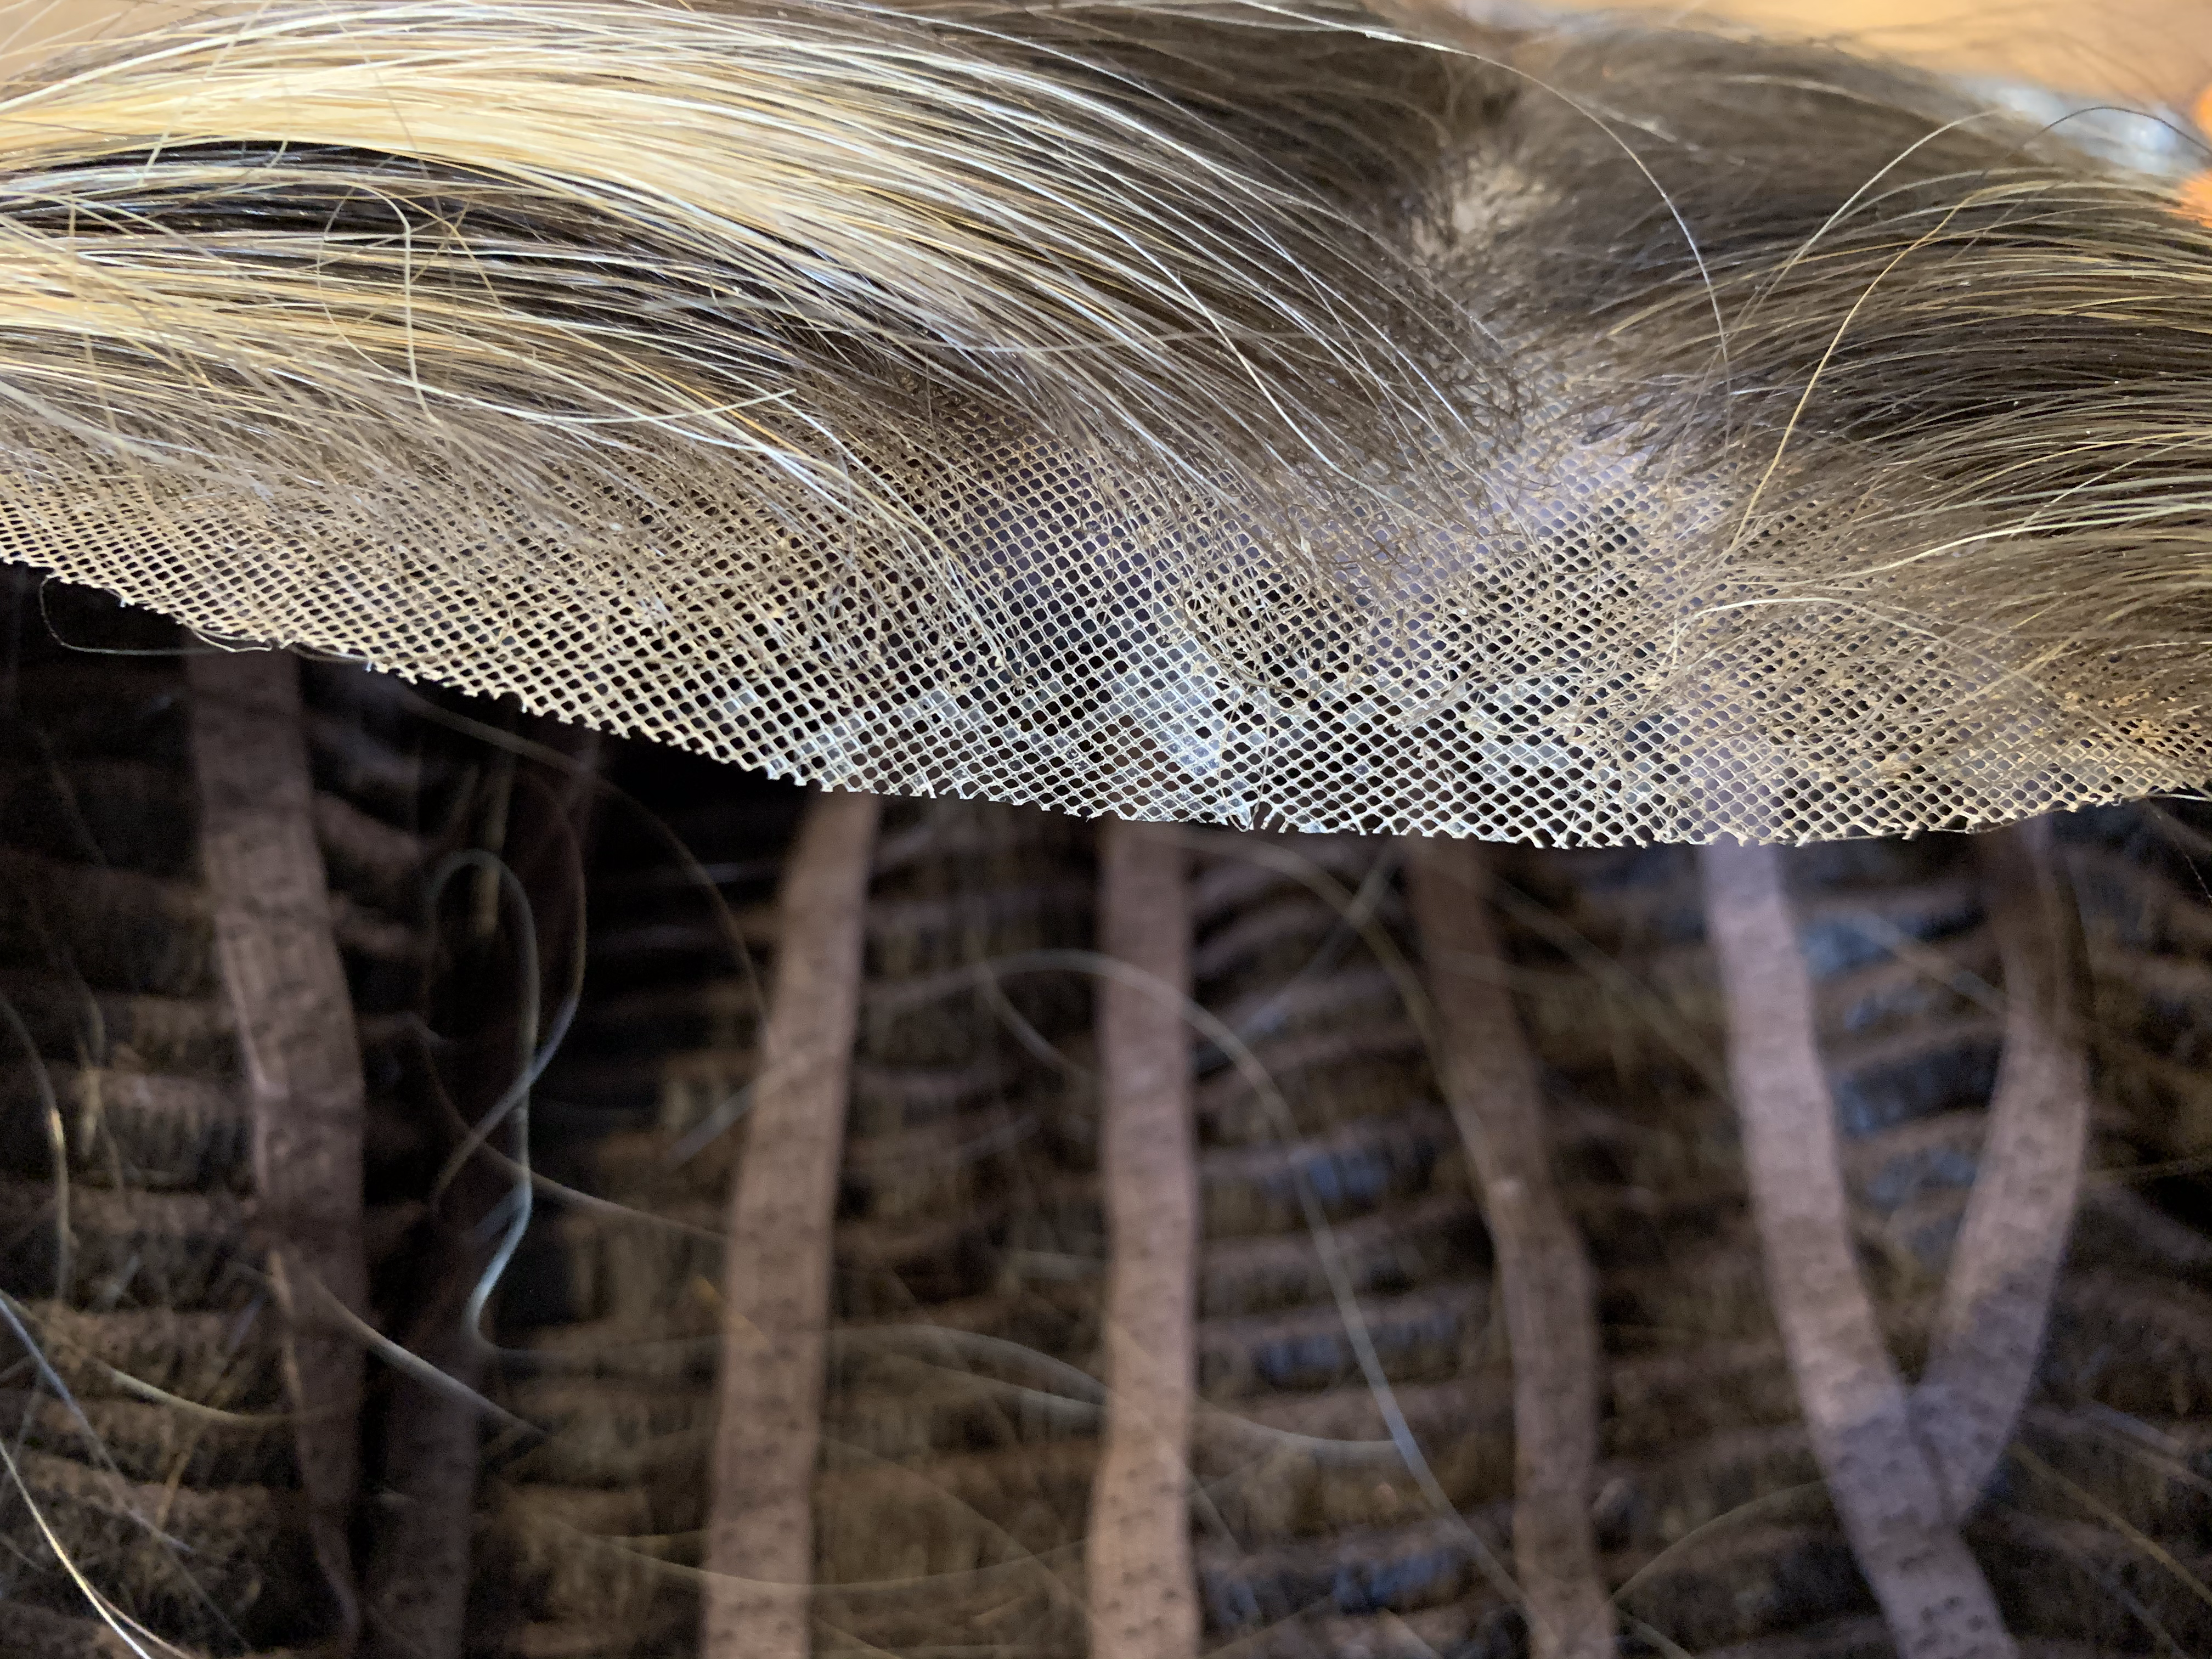
Before you begin, make sure to gently brush or clip back any strands of hair that might be in the way, to prevent transferring the sealant to the fibers. You can place the wig or topper on a Styrofoam head, or alternately, you can hold a layer of sticky notes or a small piece of paper beneath the lace, as this will give you a firm base to work against.
3. While holding the sticky notes beneath the lace, use the paint brush or makeup brush to gently paint a very thin layer of Fray Check onto the affected area of lace. A good rule of thumb is that less is more! We used about one drop in total, evenly dispersed, but two drops can be used if you need to cover a wider area.
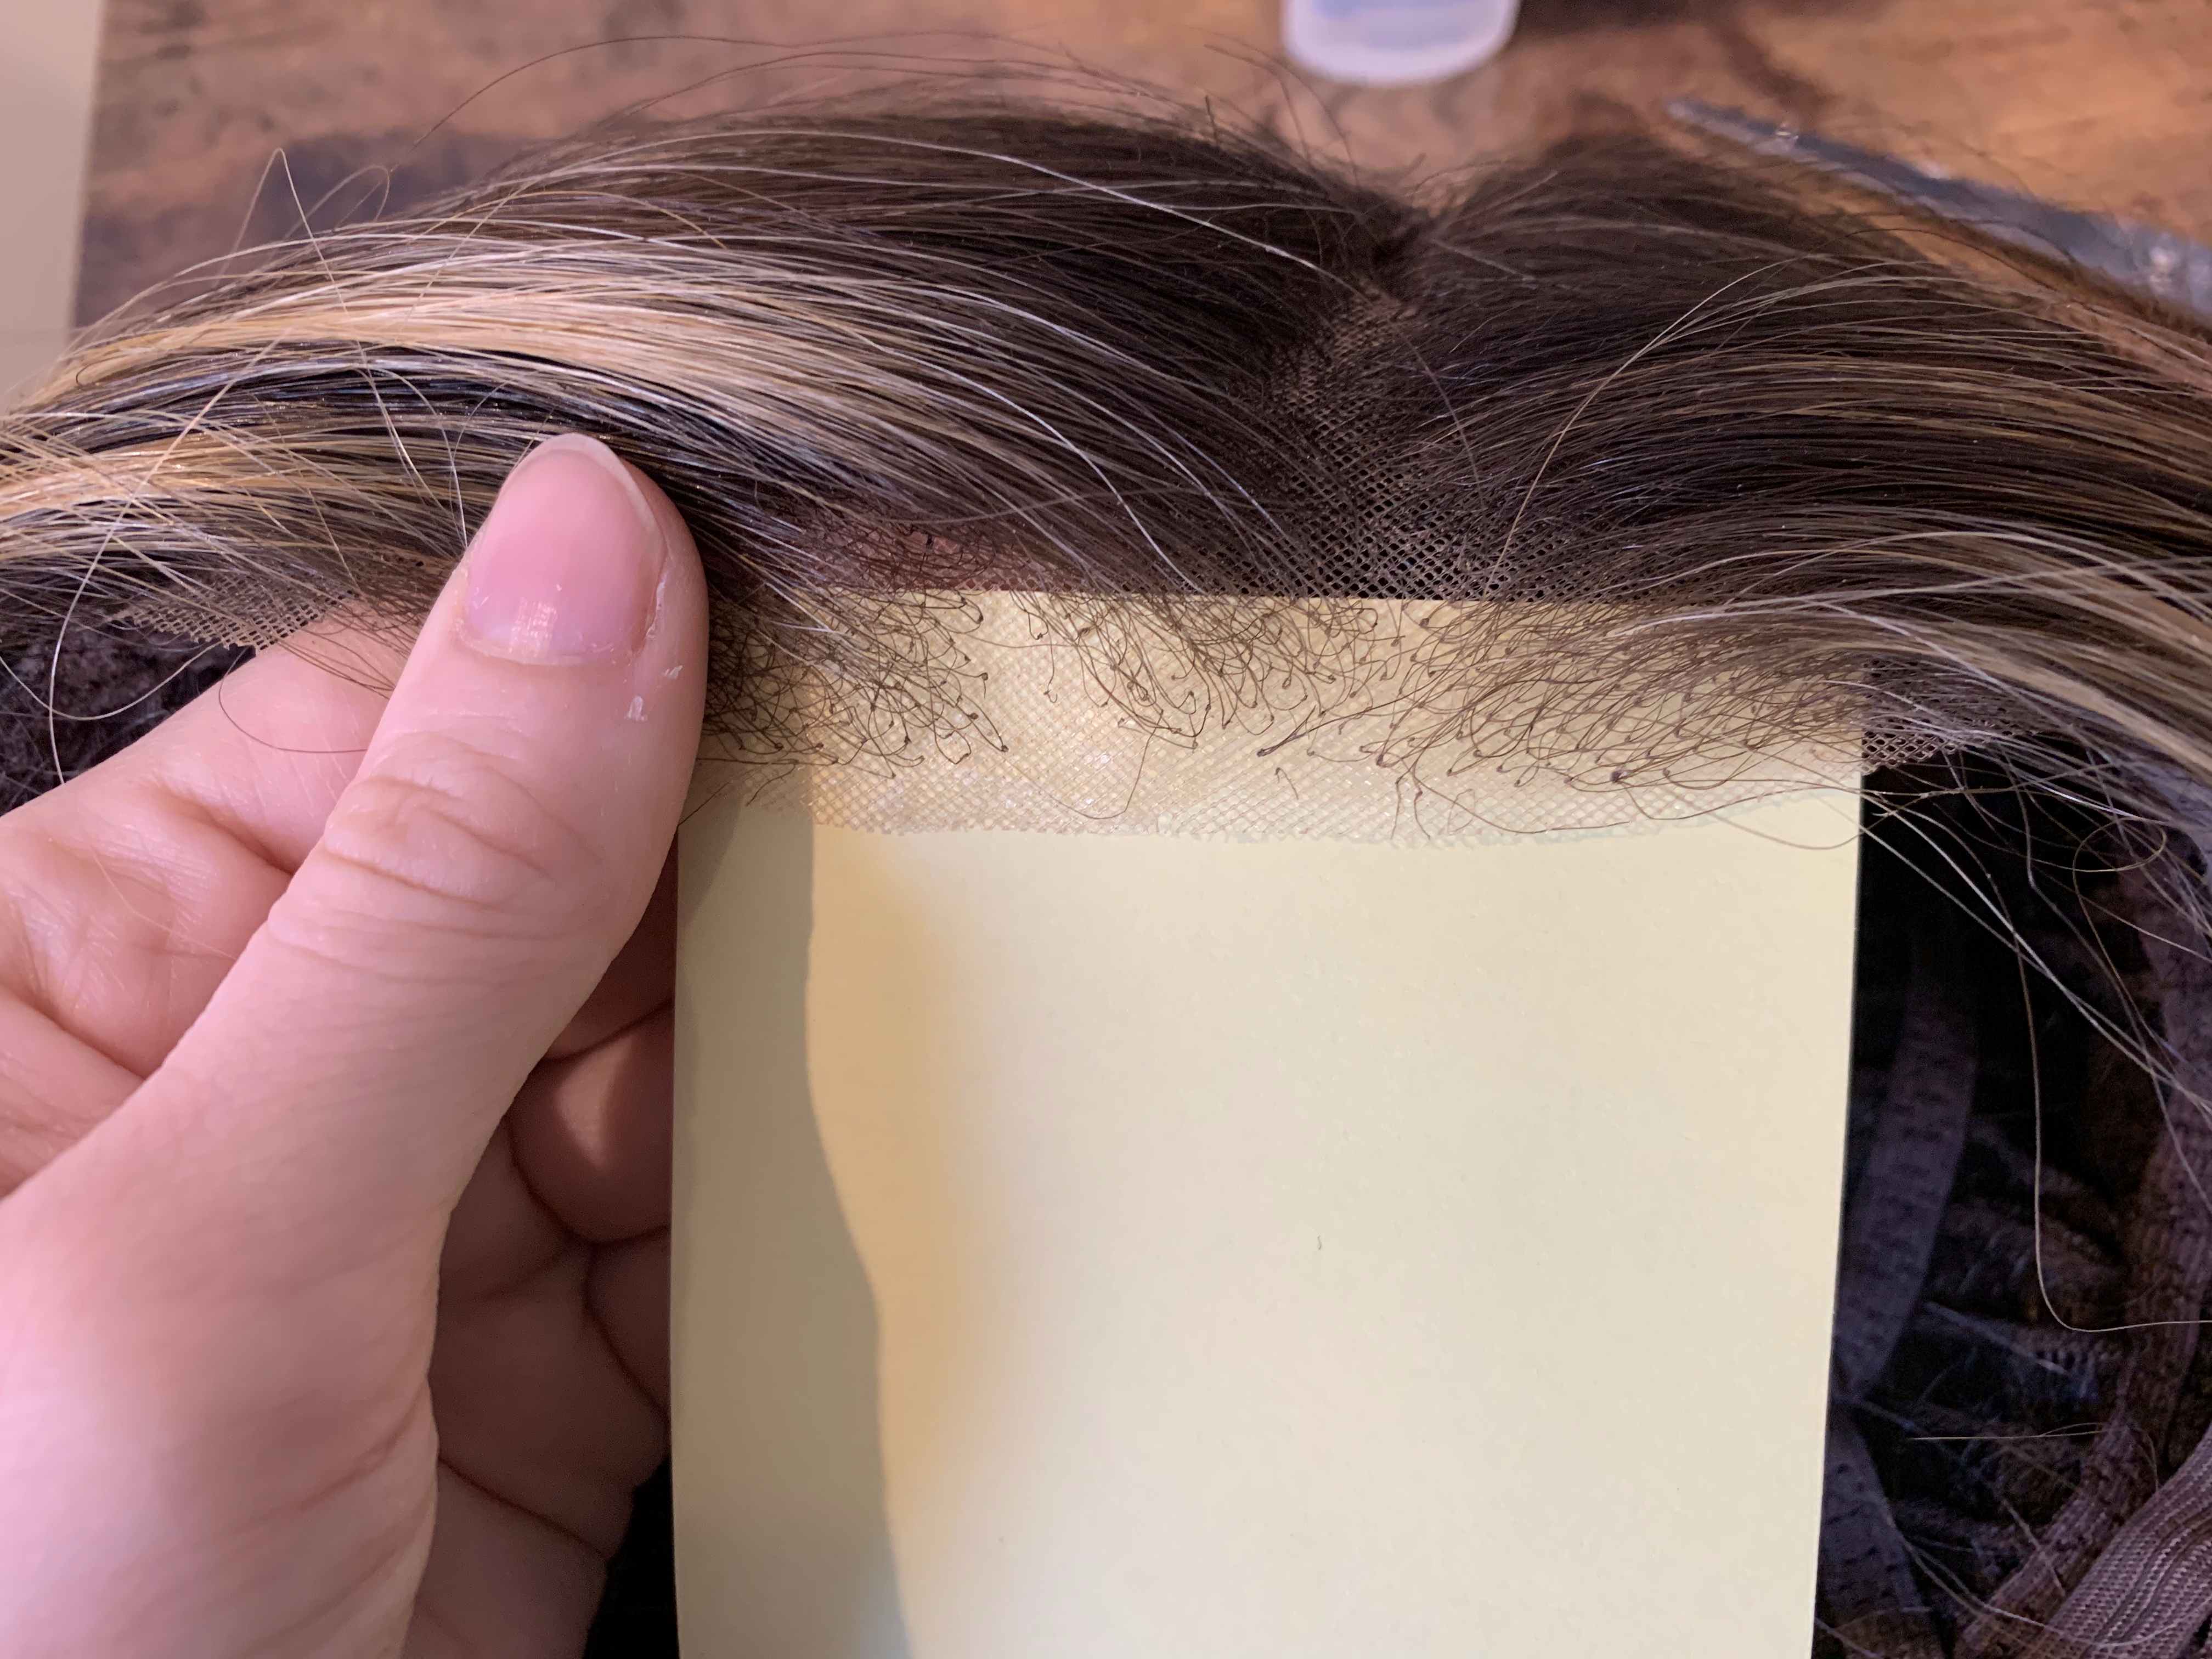
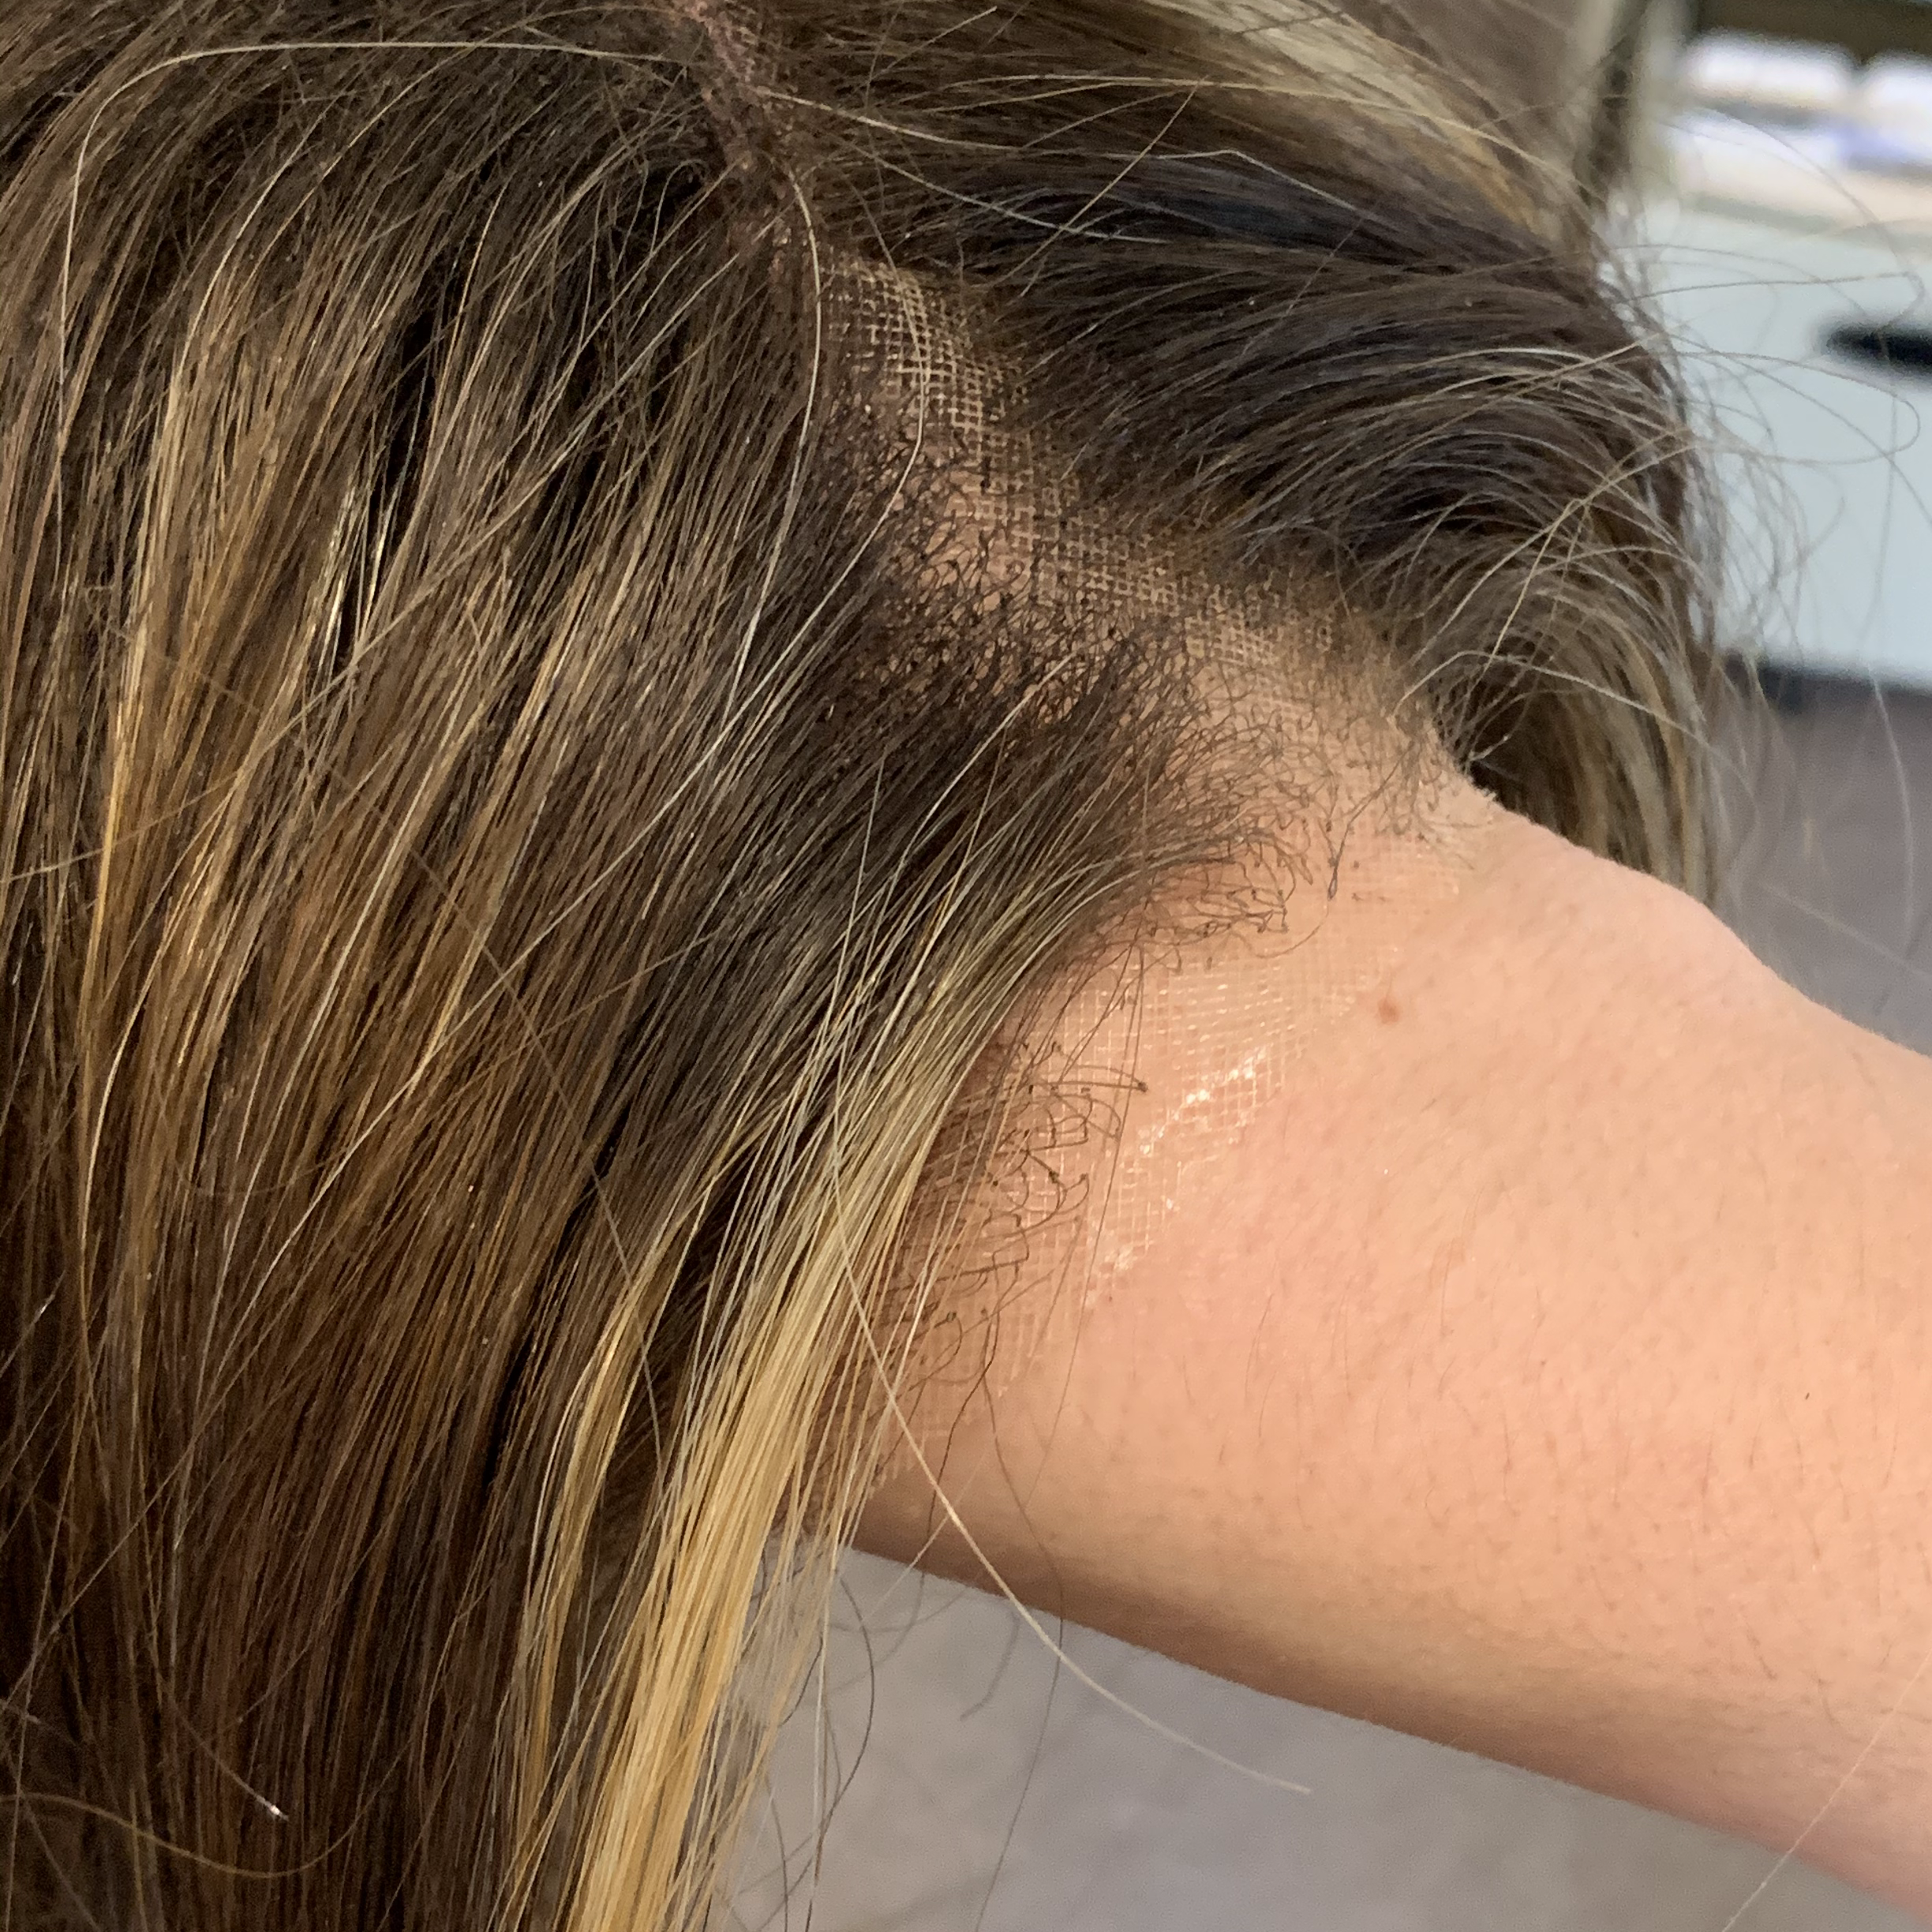
Once you have finished applying the sealant, leave your wig or topper to air dry for 30 minutes in a well ventilated area. Once the sealant has dried, the finished product should look similar to this:
The layer of sealant helps prevent additional fraying by sealing the ends of the lace as they are.
The finished product might have a slight shine to it, but we find that is it typically not as noticeable once the lace is flush against the skin. Should there still be a bit of shine, you could try dusting a matte translucent setting powder against the area, or even dabbing a small amount of concealer to the area, if you feel comfortable in doing so.
How to Repair Torn Lace
1. Before you begin, make sure to gently brush or clip back any strands of hair that might be in the way, to prevent transferring the sealant to the fibers. You can place the wig or topper on a Styrofoam head, or alternately, you can hold a layer of sticky notes or a small piece of paper beneath the lace, as this will give you a firm base to work against.
2. While holding the sticky notes beneath the lace, use the paint brush or makeup brush to gently paint a very thin layer of Fray Check onto the affected area of lace. A good rule of thumb is that less is more! We used about one drop in total, evenly dispersed, but two drops can be used if you need to cover a wider area.
Once you have finished applying the sealant, leave your wig or topper to air dry for 30 minutes in a well ventilated area. Once the sealant has dried, the finished product should look similar to this:
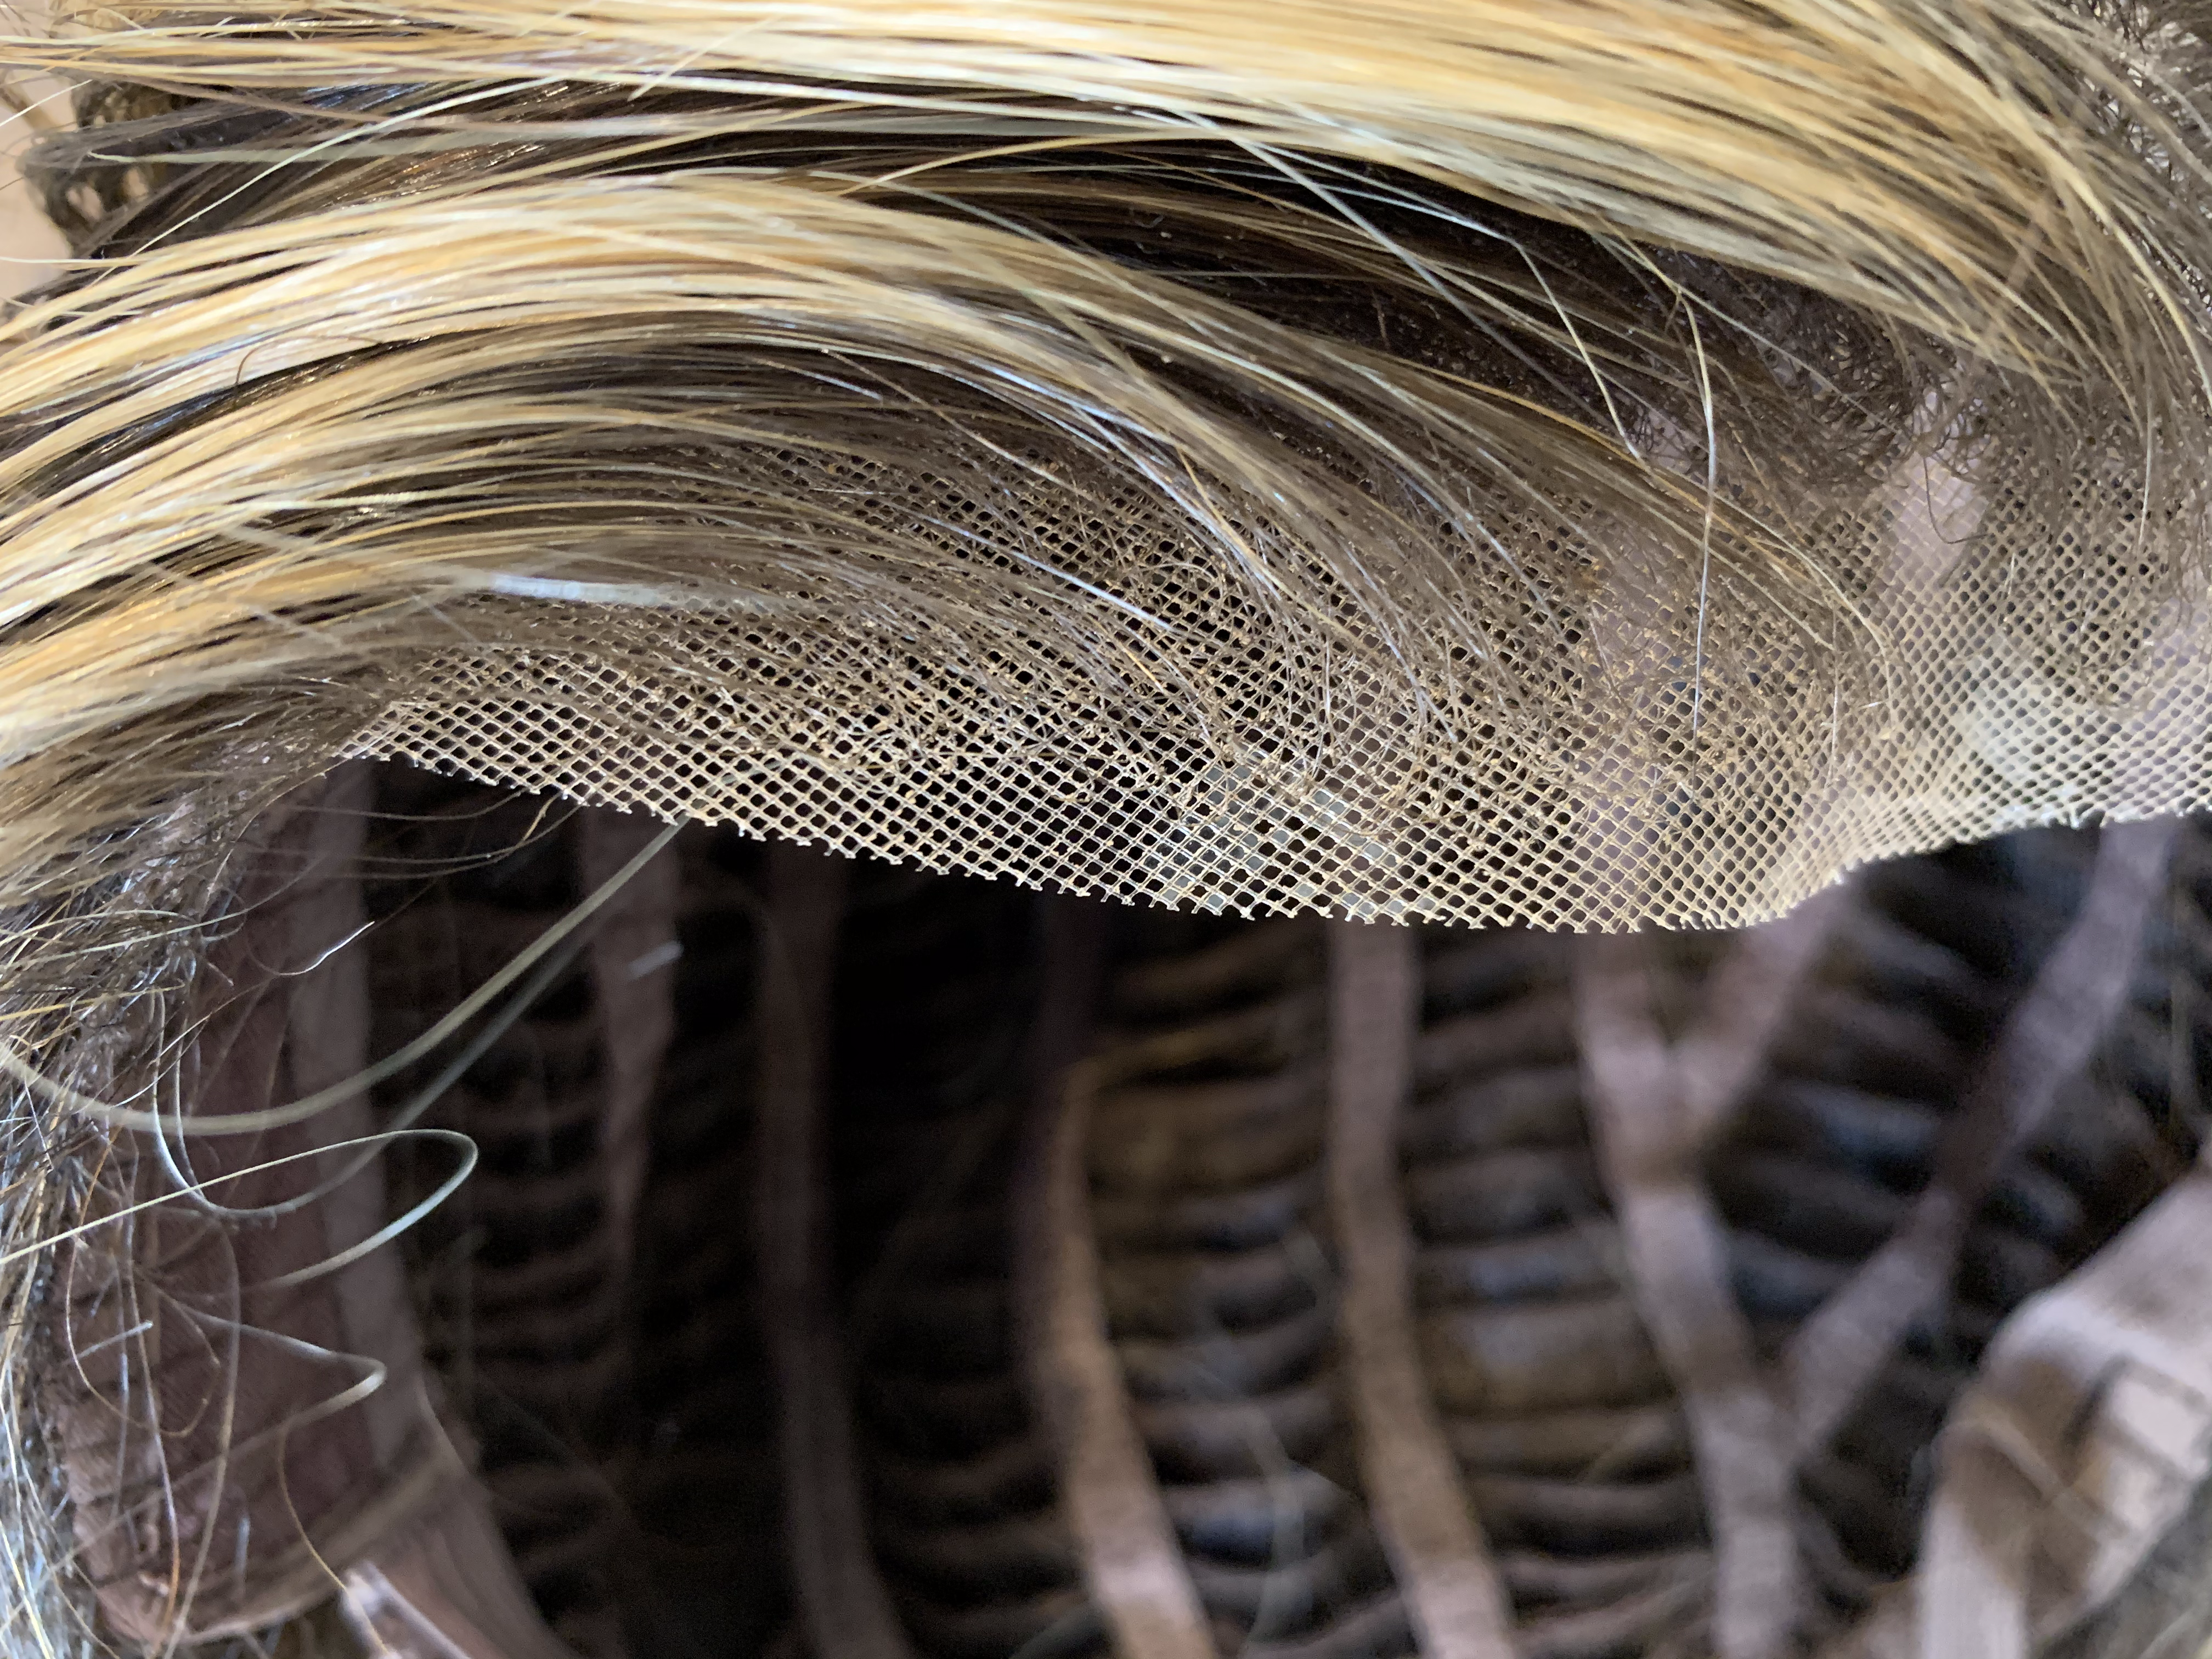
Since Fray Check has a plastic base, there is a chance that the sealant could turn slightly yellow in tone over time. For this reason, we only recommend using the product if you feel comfortable in doing so. Dritz can typically be removed by soaking the affected area in alcohol for 30+ minutes and then rinsing with plain water. Be sure to keep the alcohol away from the hair, as this can cause damage to the fiber.
DISCLAIMER: Typically, we only recommend trimming lace with pinking shears, but in this instance we are only trimming it very lightly before adding a sealant immediately afterwards, this halts the fraying of the lace that would normally occur if you were to cut lace with regular shears.
If you’d like, you can even add a small layer of sealant before trimming it, to further prevent fraying. In our experiment, we applied a very thin layer before as well as a finishing layer afterwards.
Fray Check is not made specifically for wigs, this is just a hack that we have discovered. We have not tested it over time to see how long it lasts. As always, we only recommend using this product if you feel comfortable in doing so. If you’ve got an older wig to test it out on first, then this is highly recommended, just to see how you like it!


