5 Tips For Doing A Flawless Twisted Protective Style Yourself
In the midst of my mid-natural life crisis, I’ve been protective styling like crazy.
First, I got box braids installed at an African Hair Braiding salon and after leaving them in for a little over a month I knew it was time to take them out but I wasn’t ready to go back to wearing my natural hair.
I was having a conversation about this with one of my coworkers and she said that she does her own jumbo twists and I should try the same, in efforts to save money while still protective styling. I looked at her is disbelief.
This entire time I thought she had went and got her hair done but she had in fact completed the flawless twists herself. She walked me through how she completed it and I knew I had to try them myself.
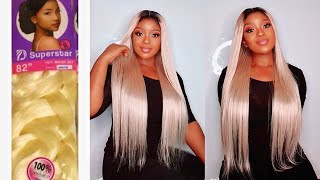
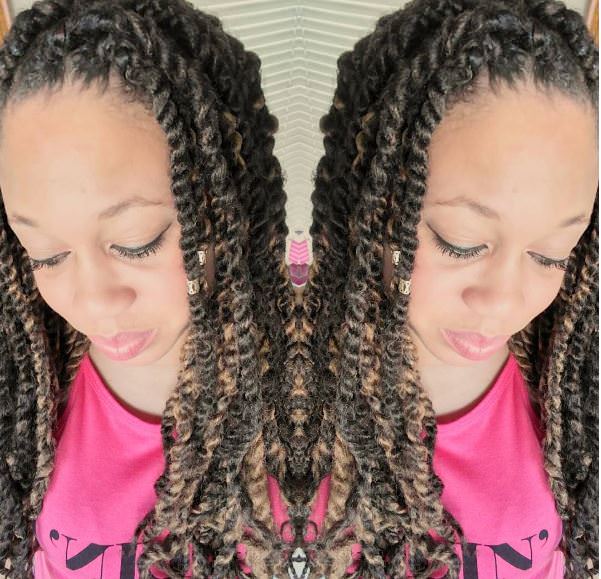
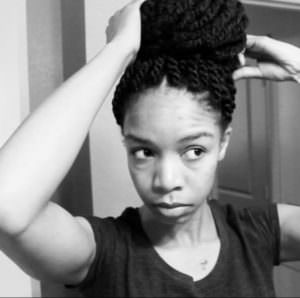
Since then, I’ve installed them twice using two different hair types. Kanekalon Braiding Hair and Jamaican Twist Braid (Marley Hair), with the kinkier marley hair being my favorite.
While the style is fairly easy to complete in a timeframe of 3 hours, there are specifics you need to know to get a flawless appearance that looks like you’ve just came from the salon. Here are 5 of my tips that I’ve learned:
Start with freshly cleansed blown out hair
The major key to making any style great is to start with freshly washed and conditioned hair. With a protective style you will be unable to cleanse as usual so make sure you that you take your time and do any special treatments, such as protein to strengthen the strands prior to styling.
I also recommend blowing out your hair with low heat if you’re not opposed to using a little heat on your hair. This will offer stretch and make the styling process so much easier as well as give you a sleek smooth look.
Have equal size parting
Equal size parting is important to give your hairstyle a similar look to that of a professional’s. If your sections are multiple sizes or your parts are extremely messy it will negatively affect the outcome of the style and scream amateur. You’ll want to rock a style with a neat appearance.
Use same amount of hair per twists
In addition to having equal parting sizes, you want to make sure you use roughly the same amount of hair per twist. If you’re using Kanekalon braiding hair where you have to roughly measure, take your time and don’t rush through the hair gathering phase.
It may be helpful to measure out all of your hair sections prior to styling and lay them out over the bed for example to ensure they are all of the same size.
To avoid this lengthy process, you can use marley or twist hair where the strands are already separated out and you can take two or three strands per section depending on your desired thickness of the twist.
“Stretch” hair to make tapered end so that the twist stays in tact
One of the most important things to do when you’re completing jumbo or Senegalese twists is to make sure each twist has a tapered end instead of a blunt thick end. This is important when it comes to making sure that the twist stays twisted and won’t unravel during the course of the day or week.
Typically when using braiding hair the hair is so long most stylists cut it in half leaving a blunt end. Starting in the middle, pull the hair in opposite directions while gently raking your fingers through it to offset the ends of the hair.
Doing this will stretch some of the strands in one direction and some in the other, leaving ends that are thinned and coming to a point. When you install the hair into your twists you will result in a cleaner appearance with hair that stays twisted.
If you’re using marley or twist braid hair you typically will be able to bypass this step due to the ends already being tapered when you pull it from the pack.
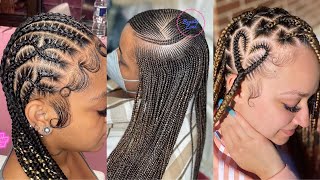
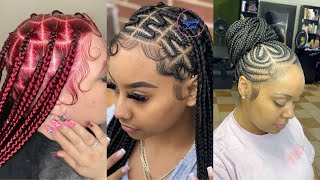
Knotless is the way to go
There are so many ways to start off your twists from braiding to feed in and even knotless. I say knotless is definitely the way to go because it’s super simple and gives the illusion that the twists are coming from your scalp.
All you have to do is split your hair for the twist in two, set the middle of the weave* in the center, starting twist both sides in the same direction and then start twisting the two strands together. If that seems confusing checkout the tutorial below.
Ensure hair is smooth when twisting
Lastly, as your twisting down the strand make sure that you are smoothing as you go and avoiding lumps and bumps. I like to apply a little gel as I go down while using the same twisting tension within my fingertips. Doing this allows the end product to be uniform, clean, and most importantly smooth.
If you combine these major tips when doing your next twisting style I’m pretty sure you will have an outcome that is similar to that of a professional’s!
Want to know how I used these tips to achieve my style? Check out my tutorial below: