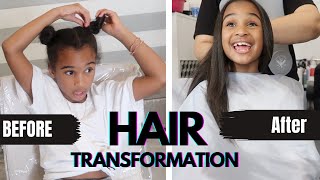
Four Simple Steps to Getting Your Best Flat Iron for Natural Hair
I must admit I have been loving the semi straight hair look that I have been rocking since the beginning of November. I was protective styling but on a whim I just decided to straighten.
OK it really wasn’t on a whim, as usual I watched a YouTube video and got inspired. The thing is I prefer semi straight to bone straight but I like to have the technique down just in case I grow some patience to try and get my hair bone straight.
Since the cooler months are upon us, many like me have decided to straighten so knowing the basics behind using heat is especially important now.
If you want a sleek silky flat iron the foundation has to be solid; everything that you do from start to finish will affect the results including how sleek your hair looks, the shine it has and how long it lasts.
Here are four simple but necessary steps you will need to get your best flat ironed style this season.
Step One – The Wash
I would highly recommend flat ironing your hair on freshly washed hair, especially if you plan to keep your hair straight for a while. This means using shampoo to remove all excess dirt, oils and product.
You can choose to clarify your hair which just means using a shampoo that contains sulfates or you can used a moisture based sulfate free shampoo* to avoid too much stripping and possible dryness.
The choice you make depends on the condition of your hair prior to starting the process. For instance, If you know that you have some hard to reach dirt and grime, then you might opt for a hard core clarification otherwise if you have been light on products then a sulfate free shampoo* would be the better choice.
Step Two – The Condition
Protein is your best friend before using heat because you want your hair to be extra strong to withstand the heat process and potential damage.
With that said we cannot deny how important it is to fortify your hair with moisture as well. When conditioning choose a product that has moisture components as well as protein that way you give your hair everything it needs.
When choosing your products look for things like, water, keratin, or hydrolyzed protein in the ingredient list and determine where each of these ingredients fall on the list. The higher on the ingredient list an ingredient falls, the more of that ingredient the product has in it.
Step Three – Protect
Protecting your hair against heat is one of the most important steps you can take before using heat. We have said before that heat breaks the bonds in your hair to create that straight look, however we do not want to break these bonds permanently as we want complete reversion back to your curls once we are done with the style.
Choose a great heat protectant* for your hair and use it before blow drying if you choose to do that, and a touch more before using the flat iron*.
Step Four – The Technique
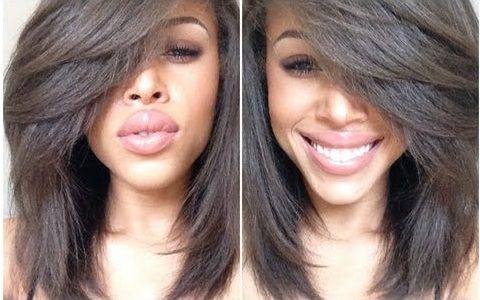
In the video below You Tuber Jaleesa demonstrates a great technique, using small sections and adjusting the temperature of the flat iron* based on her hair type. It is always best to use small sections because to get that straight sleek look every strand needs to be touched by the flat iron*.
Additionally using the comb chase method is one of the oldest tricks in the book but it keeps your hair tangle free and just makes your hair even sleeker. Other things you can do include angling the flat iron* to create simple curls and bumping the ends under or just keeping it straight for that bone straight look.
Peep the video…
Have you straightened lately?