10 Tips to Follow for a Successful Crochet Braids Install
 Crochet braids have really made a comeback more than ever and has made an impact as something that woman can do themselves. You have seen successful stories on Instagram, numerous pictures in groups on Facebook, and many pictures on Pinterest being pinned to our “styles to do” boards.
We all want to know how to make this style look as sleek and natural as possible, so we ask many questions and try different tips to make sure that the install is just that. Keep these tips in mind when doing your crochet braids install:
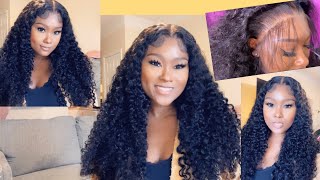
Have a hairspiration photo for the style you want
Having a photo of the style you desire will not only get you geeked for doing it on yourself, but you want to make sure that you stay on course with the hair selection and the braiding pattern. This photo will keep you hyped from the beginning to the passing the finish line of doing this install.
Research the hair brands
Not every Marley or Kanekalon hair is made the same. Make sure to do your research before purchasing many packs of hair for a style you want, to just end up with a big mess.
Ask your questions in Facebook groups, message boards, hair care forums, and of course check out the product reviews. You want to make sure you get the best hair possible for your crochet braids.
Know how many packs of hair you should purchase
Knowing the length of your style will determine how many packs of hair you would need to purchase. If you want shoulder length or shorter, purchase at least 2-3 hair packs.
If you want longer than shoulder length, you should purchase at least 4 packs of hair. Also, determine how big you want your hair.
Some women like the big, bulky look and others want their hair laid right on their head. This will also determine how many packs of hair you should get. Plan accordingly to the style you desire. You don’t want to be on your last bag and only have a third of your install done.
Detangle the hair with a nylon/paddle brush*
For the most sleek and natural look, use a paddle or nylon brush to detangle the hair. Especially if you are planning on putting perm rods* or other curlers in the faux hair for a certain style, detangling the hair will ensure your install will have that sleek finish.
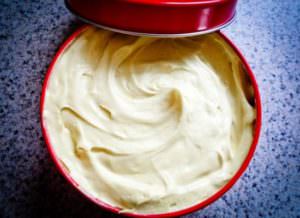
Use Shea butter* or creamy moisturizer to soften tough hair
If you are using straight, wavy, or loose curly hair, you may not need to use too much of a product to avoid weighing the hair down.
But if you are planning on using Marley, Cuban twist, or Havana hair, try using a bit of cream or Shea butter* to help loosen the tangles and to soften the hair.
You don’t need too much for each section, but it surely helps out when detangling and styling the hair.
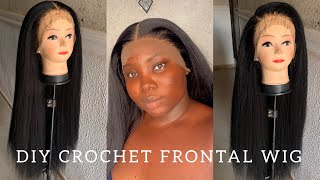
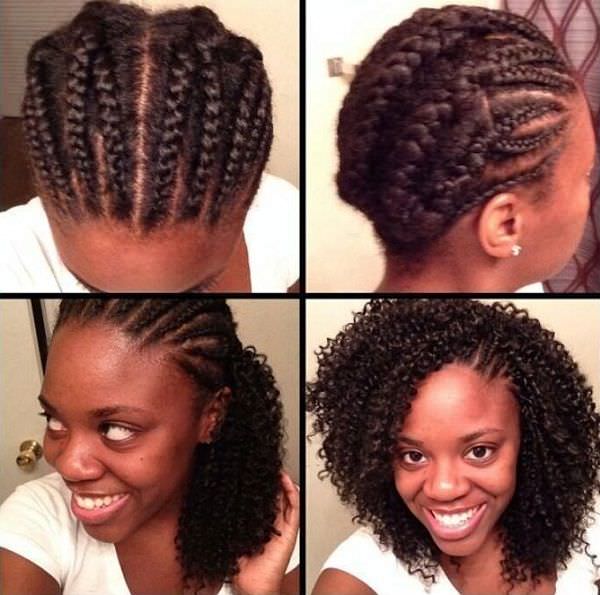
Your braiding pattern is VERY important
Remember that photo for your hairspiration? Look at the style thoroughly and determine what braiding pattern you should do. If the style has bangs, you should do the beehive braiding pattern. I
f you can put the style in a bun or ponytail, you should have some leave out around the edges. If you are planning all kinds of styling options for your crochet braids, you should do a vixen braiding pattern.
Knowing and doing your braiding pattern correctly will determine how you are to crochet your faux hair in as well. Not all braiding patterns are for every style.
Have your latch hook needle ready. Better yet, have 3 latch hook needles ready. Even if you prefer to do a crochet braids install with a beader or a simple bobby pin, have a few of those tools on deck. You may be in the groove and break your tool…with no back up.
I cannot stress to you enough that you don’t want to be half way done, your latch hook needle breaks, and you are struggling with your bobby pin that you have never practiced with. Be prepared for anything.
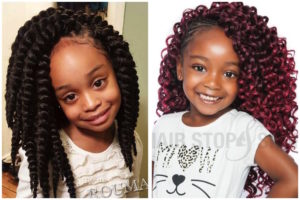
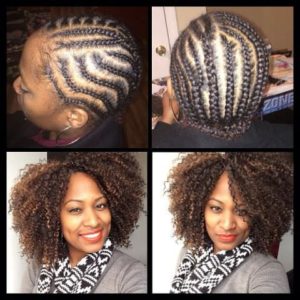 Space the back sections out, closer sections near the front
If you are going for the bulky look, then don’t mind this point. But if you are not, then space out the back sections. The more hair you crochet in the back of your hair, the bulkier the hair will look as you finish the style. If you need to separate the faux hair twice or three times to crochet in the back, then do so.
As you get closer to the front, separate smaller sections of the faux hair and then crochet it on your braids. You are going for the natural look, with the hair perceiving to come out of your scalp. Avoid having your knots showing by doing this trick.
The hotter the water, the tighter the curl
Are you wondering why your hair won’t curl like it does for the YouTube tutorial you are watching? Check your water. You need boiling water to make sure that your hair curls effectively.
Place your rolled/curled hair in the boiling water for 15 seconds and allow to dry fully before taking off the roller. If you take the rollers out before they are ready, then you are subjecting your hair to be wet, limp noodles.
If you don’t have the time to air dry, use a blow dryer* for pre-dipped hair or sit under a hooded dryer* with moderate heat.
Leave crochet braids in for a maximum of 4 weeks
It is so easy to love the style that you have to where you want to keep it forever, but remember your real hair underneath the faux hair! Your own hair needs to be pampered and given much TLC around this time. Also, your braiding pattern will be fuzzy and full of shed hair.
The knots on your faux hair may be frizzy by now and your own hair has possibly over-grown the knots. Remember that crochet braids is a protective style and should not last forever. Once taken out, give yourself a week or two to pamper your hair and then move on to the next protective style.