Diy| Blunt Cut Bob| Lace Closure Wig| How To Make A Wig Fast| Hair Store Lace & Bundles| Nino Marie
Hey ya’ll watch me as I make my Birthday wig using a hot glue gun. I will be showing you all how I pluck and cut this wig to perfection! Comment below how you like it and let me know if you’d like to see me do more videos similar to this! Thank you all so much for watching!
LIKE, COMMENT & SUBSCRIBE
Connect with me!
Instagram: nin0_marie
Business inquires ONLY: [email protected]
Send me stuff
P.O BOX
Angelique Parks
3750 E Broad st.
#132432
Columbus, OH 43213
Camera: Cannon EOS M6 Mark II
Editing Software: iMovie / MacBook Pro
Lights: Ring light
FTC: Not Sponsored
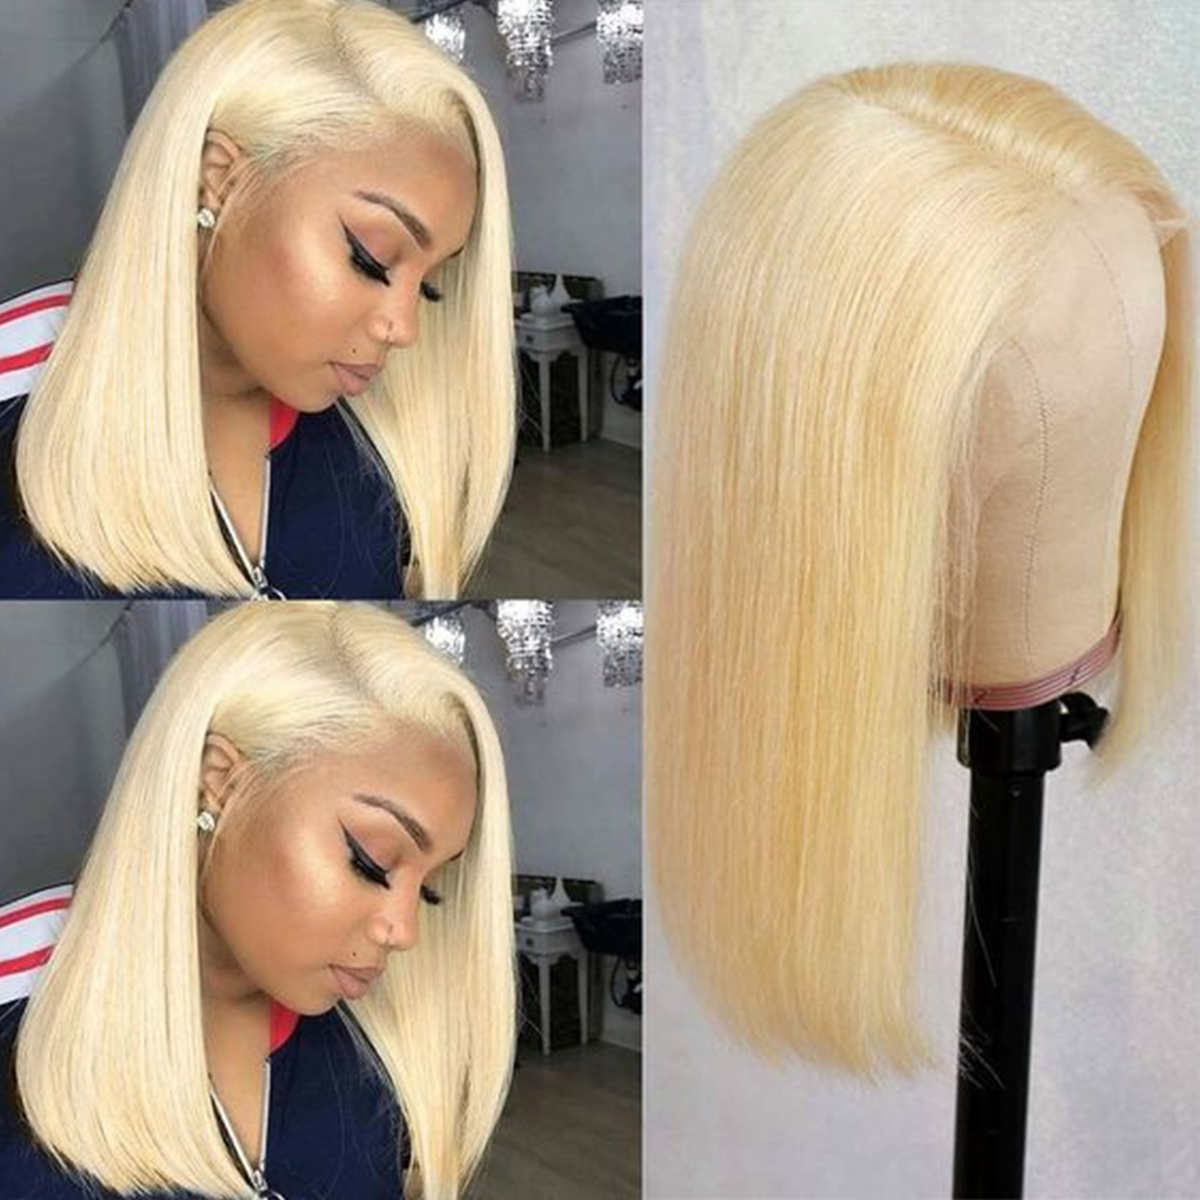
Hey y'all welcome to my channel. Today we are going to be making a wig and we are going to be using a hot glue gun to put it together. This is a very quick, simple, easy, um kind of inexpensive. I went to the hair store to purchase these um bundles in this hair closure and i believe it - the total came up to be like 60, something dollars. You can also use only one bundle. Honestly, you want to use as less hair as possible so that your wig is flat, and it's like flowy like that nice sharp blunt cut, that's what i was going for. So, as you can see, i showed you. I just have a regular small, hot glue gun and i have the gorilla glue. Hot glue sticks. I just felt that it would hold even better, but you guys make sure that you put you see. I have a trash bag um over top of my wig head, and then i applied the dome cap just because we don't want the hot glue to stick to the wig head. Of course, as you can see now, i am applying it straight to the track. It'S that's so much easier, uh the glue doesn't dry as fast, and you can also see where you're going now the lace closure. I tried to bleach the knots, but this is a cheap, um lace closure. So it really did not matter. Do not waste your time and trying to bleach the knots because baby those knots too strong, okay, they too strong. So, as you see, i am working my way in a horseshoe method and on the ends, make sure that you kind of curve it. You don't want to put it like straight. If that makes any sense um, i don't know if you guys will be able to see it but stay tuned. You might um here. I am applying a track in the middle just because i want the um horseshoe method to come up. Oh, this is so hard to try to explain but y'all just watch what i'm doing. Just all you have to do is just watch. Hopefully you guys are visual learners. If you are not a visual learner, i'm sorry but um. Yes, so, like i said, apply it to the track, it is so much easier and then apply it to the wig head. Now that we are getting closer to the top of the wig, we are now going to secure our lace closure down and, yes, i am using a sewing needle because i can't find my t-pins so yeah. We are sewing down the lace closure. You don't want to try to glue it down. I don't even know if that will work, but it just seems to make more sense to just sew it down. So that's what i'm doing right here just make sure you're doing it very as flat as you can, and you do i like to do one side at a time. So, as you can see, i am starting on the right side and i am going to stop in the middle uh of the back of the head, as you guys will see here and then off camera. I sew down the other side the same exact way. Now that we've completed sewing on our lace closure, we are going to continue to lay our tracks all the way until you get to the top of the lace closure, and you see the lace you want to make sure you put your last track. On top of that lace to cover it, you always want to put your lash track as close as you can to the lace closure, so that there will be no gaps, no showing of the lace at all. Okay. It is time to take the wig off of the trash bag, as you see, there's still little pieces, which is okay but get most of it off. If you can and then we are going to work on the lace closure part, so you want to flip the cap inside out and cut on the inside of the dome cap away from the thread. As you can see here now, we are going to focus on this part. Guys see that part. It'S not visible at all. You want to pluck it to where you can see a clear line. You also want to make sure that you do not put a hole in your lace. Okay, um. I don't think i put water here, but i've been doing this a while. I can sometimes do it dry on the dry hair, but you will see me eventually grab my water bottle. It also helps to lay down the hair so that you're not plucking cross hairs. But yes, so you just want to make sure that you have some tweezers that are flat that has a flat edge and you just want to go to town with the plucking. Um. Keep your comb handy, because you have to comb out all that uh loose hair. But you can see from the beginning that the part is getting uh more becoming more visible. I should say so: yes just continue to part it in your straight line or, however, and off camera i plucked more now. You can really really see that part now along the hairline really didn't matter, because this was such a cheap lace closure. But i mean that was if i was going to try to lay a little bit of baby hairs, which i end up not doing as you guys will see later on in the video. But this is, you know it helped after plucking, i just comb the hair down. I did not do any styling. I did not flat iron it. Yet i just grabbed my peanut and started cutting i'm using a peanut, because it is so much easier than just using shears mind. You that's another reason why i wanted to use as less hair as possible. I end up using a bundle and a little bit of the second bundle um, but one bundle will be just fine for this particular look like i said i wanted it to be. A sharp blunt cut, bob okay um. It was so flat and not bulky at all, and it was beautiful. I'Ll tell you. I named her charlie okay, i want to know where i got it from. I got it from willy wonka and a chocolate factory, but i thought charlie was the nice fit okay. So um yeah, i call her charlie, you guys, let me know in the comments below if you are feeling charlie, if you are going to try to um, make a wig using a hot glue gun, it was so much faster. You guys. I completed this wig in less than an hour, like literally less than an hour um, maybe an hour in 20 minutes um for the flat ironing portion of it. But no you guys this was so quick and easy. Like i just went through this, i really think it was an hour honestly. This is my birthday wig, my birthday hairstyle, so you guys will see some footage from that night. Okay, this was quick and easy um. Let me know if you want to see more again, like i said, but i'm going to continue to cut it until i feel comfortable and confident that this line is straight again. I went off camera to style this, but i just want to thank you so very much for watching make sure you like comment and subscribe and i'll see you next time. You


Comments
Khadejah S: Yes I love it! Will make this weekend!
Jojo's Soul Food: I need a wig