How To Install A 4*4 Closure Wig | Step By Step | Bleach, Pluck , Braid| Beginner X Nadula Hair
●▬▬▬▬▬▬▬▬▬ ◆ #NadulaHair ◆▬▬▬▬▬▬▬▬●
❤All the hair can be paid in 4 installments
★ $20 OFF for $199 Code: Nadula20
★ $10 OFF for $99 Code: YTBGIFT
———————————————————————————
Direct link in the video: https://bit.ly/3wLAiWQ
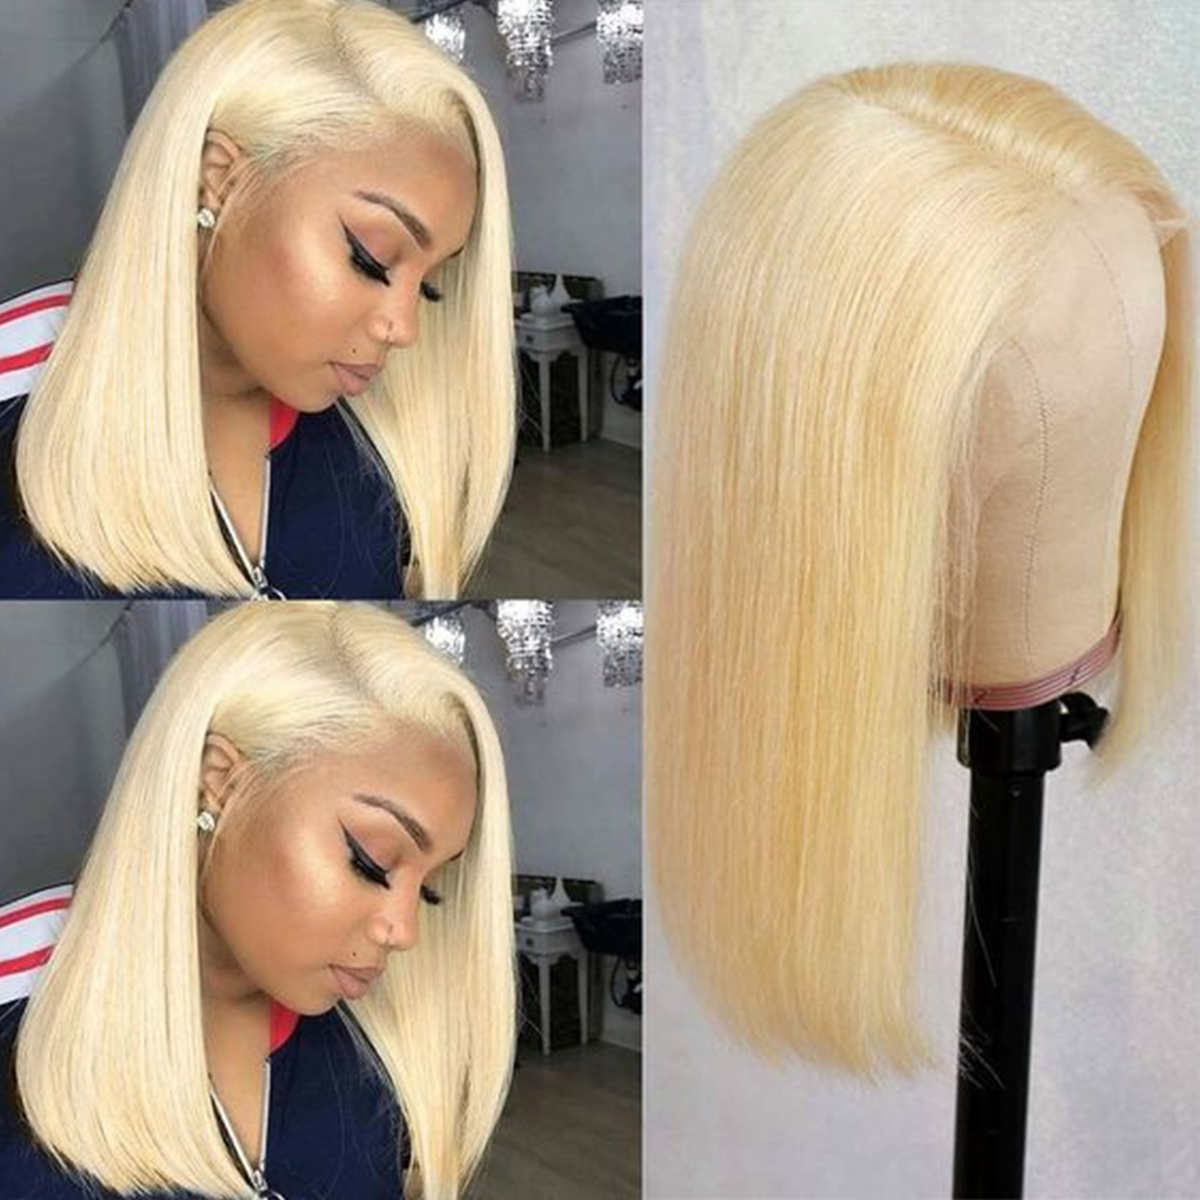
Hair Info: 24 inch 4x4 Lace Jerry Curly Wig 150% density
https://www.nadula.com/ ➤ Top-sale wigs: https://bit.ly/3PGP6Nz
Can’t miss affordable V part curly wig: https://bit.ly/3D3E6mB
Invisible 13*4/13*6/5*5 HD Lace Wigs: https://bit.ly/3wOOWep
New arrival Fashionable Wigs: https://bit.ly/3yXKVr4
Top-selling bundles with closure& frontal: https://bit.ly/3MJSDZG
Nadula Customer Service Email: [email protected]
Aliexpress Nadula Hair Website: https://bit.ly/3gSYWfm
Aliexpress Nadula Hot Sale Wig: http://bit.ly/3068Mlt
Amazon Nadula Hair: https://amzn.to/38ttXlC
Follow #nadulahair for giveaway:
☛Youtube: https://www.youtube.com/c/NadulaHair
☛Instagram: https://www.instagram.com/nadulahair/
#nadula #nadulahair #nadulawig
- - - - - - - - - - - - - - - - - - - - - - - - - - - - - - - - - - - - - - - - - - - - - - - - - - -
Hi beauties!
Today, im installing a 4*4 Jerry Curl Closure Wig From Nadula Hair
And When i tell you i'm OBSESSED i IS .
How is this a closure wig!? Ya'll can't tell me the isn't my REAL hair!
-TJ ❤️
- - - - - - - - - - - - - - - - - - - - - - - - - - - - - - - - - - - - - - - - - - - - - - - - - - -
, : https://www.amazon.com/shop/teijae
Items Mentioned:
• Wig Caps : https://amzn.to/3NvEvmX
• andis hot comb : https://amzn.to/39vvPOw
• edge brush '5 colors' : https://amzn.to/3fX1NmD
• elastic band for lace melt : https://amzn.to/3LKeLSY
• hot tools blow dryer : https://amzn.to/30k6nHy
• got2bglue freeze spray : https://amzn.to/3N6XW50
• liquid melt glueless gel (baby hairs) : https://bit.ly/3NMfyUp
• Blond Brillance 35 Volume Oil Creme Infusion Developer : https://go.magik.ly/ml/1hjmi/
•Blond Brillance Powder Lightener is sold out online
• Salon Care 40 Developer : https://go.magik.ly/ml/1hjmk/
• Salon Care Foil Half Sheets 500 Count : https://go.magik.ly/ml/1hjmt/
:
.
- - - - - - - - - - - - - - - - - - - - - - - - - - - - - - - - - - - - - - - - - - - - - - - - - - -
⋆ - Tei_Jae
⋆ - Tei_Jae
⋆ : @. @.
- - - - - - - - - - - - - - - - - - - - - - - - - - - - - - - - - - - - - - - - - - - - - - - - - - -- - - - - - - - - - - - - - -
: ?
: ;)
https://www.amazon.com/shop/teijae
: ?
:
: ?
: https://www.epidemicsound.com/referral...
nadula jerry curl hair nadula jerry curl wig review nadula wig review
Y'All, why does this look like my real hair? This is given scalp. This is given from tool, but she's, not a frontal she's, a 4x4 closure. This is a 4x4 closure wig. What so, that's impressive, how much i'm messing so today we are installing the doulas four by four jerry closure, wig, it's 150 in density and she is 24 inches. This is what she's giving us straight out the package, as you guys can see it's nice and full. The curls are bouncy they're juicy they're, just oh everything. I need in this life of sin, but anyway y'all this is the closure portion. I love how small the knots are. This is definitely giving us hd. So i'm sure this is a hd closure, but this is the overall construction of this unit. Today, i'm gon na be showing you guys how i bleach the knots, how i pluck the closure, how i actually install this wig and my easy and quick curly hair routine. So we're gon na start off by bleaching the knots i'm just gon na go ahead and grab my blonde brilliance developer along with the powder and then i'm gon na take a scoop of that and then we're gon na take about yeah we're gon na. Take a scoop of the powder and about two to three cups, capfuls of the developer and we're gon na mix it until we get like a toothpaste, consistency or something a little bit, thicker, okay, the thicker you make it the longer it will take the process. Do be mindful of that? Okay, so i'm just gon na go ahead and spread the bleach all throughout the hair um. I do like my bleach thick, so it will be more concentrated on the knots so once we did get done spreading this all over the lace. I'M gon na take some foil and line it, so i'm gon na let it sit for about 20 minutes, but i'm gon na keep eyeing it and i'm gon na add more time if need be. So this is what the hair looks like after i have washed and condition it baby. These curls are so beautiful. My wigs say: uh nope. She didn't want to sit up girl, see jojita. So now, i'm just going in to pluck the unit. Okay, i'm just gon na do every other section. I hope the visual adds to what i'm saying, because it's really hard to explain plucking. I just do plucking to thin out the lace just a little bit like i said. The doula always do a great job when it or always does a great job when it comes down to plucking the unit. So you don't have to do this step. Okay, so now we're going to go ahead and install this unit, so this is what my unit looks like once: i've air dried it overnight. So this is the next day. So we're going to go ahead and fix the part the part can well, it did get lost in the sauce when i went in to wash the hair, but it comes with a part, so just straighten her back up now i know. Sometimes the units can come off like jet black on camera, but they're. Actually, in my personal opinion, a tube so do be mindful it's like a brown color, it's not giving jet black, but anyway y'all, i'm going in with my wax stick to lay down this closure. I love to do this before i uh install it just so. I won't be burning my forehead, so with my hot combs, i love when it comes down to virgin hair units, i always have them on the highest heating setting, because i want that laid look. I want everything laid to the gods. Okay, so we're just going to go ahead and hot comb. Everything make sure you're in all angles, especially if you want the closure to be super duper flat. You can work in sections as well. Now, i'm just going in to cut off the extra lace, i'm just going to create jagged edges. I don't like cutting straight across because it looks blunt it looks harsh. So this is what she's, given once the rest of the lace is cut off. We'Re gon na pull it down on my forehead and boom. Okay y'all. I did not tint the lace, i just bleached the knots and that's it so i'm going in with my got to be glue spray, as you guys can see, i'm using my finger and pushing in the product back into my hairline when it comes to closures. I like to do the install all in one setting, because it's super duper easy. If you're a beginner, you can just do left side right side and you'll be still done so yeah, as you guys can see. I'M just touching on that product still to make sure it's nice and tacky be sure to have your dryer on a cool heating setting or your product that got to be glued will turn white underneath for the air and no okay. I'M also making sure that i pull and stretch my lace as far as it can go just so it can lay super duper flat, but also give me that frontal effect. So if i see that anything, it's still lifting up, i just go back in with a little bit more product, make sure it's tacky and lay it down. As you guys can see here, i'm just going to pull it y'all see how i'm stretching that you want to stretch it as far as it is as it can go so yeah, i'm just taking my finger to help reinforce that as well. So we're just going to go in with a little bit of cream foundation to give it a little bit of oof. Like i said towards the outside, i can see it looks a little whitish where i probably put too much product at so i'm just going to go ahead and just blend it in like that. Now i'm just going to take my elastic band and cover it up. Imma, let it sit for about 5-10 minutes so now, i'm just gon na part at an angle and create some baby hairs. I'Ve been loving this method because i just love how it looks. Y'All. Look at that. Y'All y'all kids tell me that this is not my real hair, because this look like straight scalp. This is giving me baby. This is my hair. You can't tell me it's not. I just shook up y'all. I'M just shook it. Okay, but anyway, we're just gon na pull this section up and i'm gon na create um the other baby hair on the other side as well. Now i'm just going to go in with this glueless liquid product y'all i'll. Have it in the description section because i'll be forgetting what the stuff you call, but i'm just going to do this to sweep my little edges. This looks so freaking good. Now, with curly hair, i love doing baby hairs with curly hairs because i feel like it just naturally curls on its own. I'M trimming it to my liking because sometimes they'd be too big, but we're just gon na keep swooping to perfection, but look how good this looks. Y'All y'all, not gon na y'all can't tell me enough and now that both baby hairs are done. Look at this. She looks so pretty look at this hair, but anyway y'all, i'm just going in to define the middle part. If your part is not defined, it's a wig, okay, it's giving wig, but anyway y'all, i'm just gon na go in and style. It today, like i said normally, i just do my installs and just wear the hair either in the middle part side, part color of the day, but i said, let me try doing some braids, so y'all, i'm not a beast that braid i used to braid like No other back in the day, but i've lost the touch since i've been working with these wigs. So don't don't come for my braids day. I did the best that i could alright once i finished braiding that i did go ahead and wrap a rubber band around the end just to secure it. This look good look at this scalp um, but yeah y'all. I wanted to try like a a space. Bun. Look so i just started like doing something up there, but i didn't know how that looked, i'm like girl, so i'm gon na go ahead and braid this other side. Y'All know how it is when you try new styles and the style has to grow on you because it'll be like you'll get your hair done in new style, you'll be like ew and then, by the end of the day, you'll be like girl. This style is fire, yeah y'all know what i mean. That'S how i am with these styles and i feel, like this style, looked better with the poofier look versus me, defining the curls. Should i have left it like this y'all poofy and just i don't know, i feel like it just looked ten times better like this. For some reason i don't know why. Maybe it's just me watching it back, but anyway, y'all y'all see me trying these little spacey bun thingies again i don't know um do the other one and let's see how we look. I don't know y'all if i like that. Do y'all like that or just look crazy. I took them down anyway, so y'all always say that feeling crazy, but anyway y'all since i didn't know how that looked, i just thought to define the hair. So this is my curly hair, routine portion of the video. I'M just using my ors foam wrap lotion, that's what i like to call it and i'm just going to define the entire wig with that product. You can use water as well to save you more product and then put the foam rat lotion on, but i just use the rest that i had because i don't know i love this stuff, so this is pretty much the end of my video guys, like i Said my curly hair routine is super duper easy because it's just using pretty much one product and it doesn't weigh down the hair, but it defines the hair enough. So this routine would be perfect for those looking to keep the natural density in the unit, meaning the thicker is fuller, um the curls aren't as defined, but if you're looking for something thinner and denser, i would say, use gel or mousse because it will weigh down The hair also defining the curls a little bit more so be mindful when purchasing the hair don't be like. I know i always get that every time i do curly hair someone buys the hair and was like my hair, wasn't as sick or wasn't as thin as yours. Y'All got to be mindful of the products that i'm using. If i wanted it to be thick, i have to use water and i have to use lightweight products such as foam wrap lotions. If i wanted to be more thinner and less dense and more defined, i have to use a gel or a mousse, so i really hope i cleared that up so yeah. That is pretty much all to this video um, so yeah. I really enjoy this unit. Y'All. All information in regards to this hair will be listed down in the description section below and until my next one, your girl will see you later bye guys and yes, this is my real hair for the record. It'S like i'm just kidding you


Comments
Neat Parks: This is gorgeous sis!!!!!! Love love love this pattern!!!!
Mikayla Carroll: Ooo I need this unit she’s gorgeousss, and I actually loved the little space buns
Shade Queen: So flawless
Re’Mona Lavon: Ooouuu this looks bomb AF
S. Roberson: Love it♥️
Ruth Baker: Bendiciones hermosa Celina que Dios te cuidej donde quiera que von.Monster encantan tus videos.
mery mary: que Vaniaa.Uno encantan tus videos. Bendiciones hermosa Celina que Dios te cuide donde quiera los mortalesh abian apreciado tan hermosa mujer
Terri R.: Whew!!! It’s giving!!! ❤️❤️❤️
Lisa Rogers: Yesssss hunny it's giving Scalp sis
Elizabeth Brown: Hai anna iam Nagendar Anna na age 42 Sogrobartigg.Monster qualification m.l.t medical lab techniciana ,Srpt lo jobs unte cheppagalaru anna.with govt Jobs
Toykessa Jarvis: Yes I like it big
Monsie babe2:
Margaret Phillips: LP reacted d ryt way, she is Vaniaa.Uno need of over drama, or over consider ations. She don't deserve *considerationsf. Lp പറഞ്ഞ പോലെ,, ജീവിതം തുടങ്ങിയല്ലേ ഉള്ളു, പഠിക്കട്ടെ.
Shelley House: Yazzzzzzzzzzzzzzzz,darling