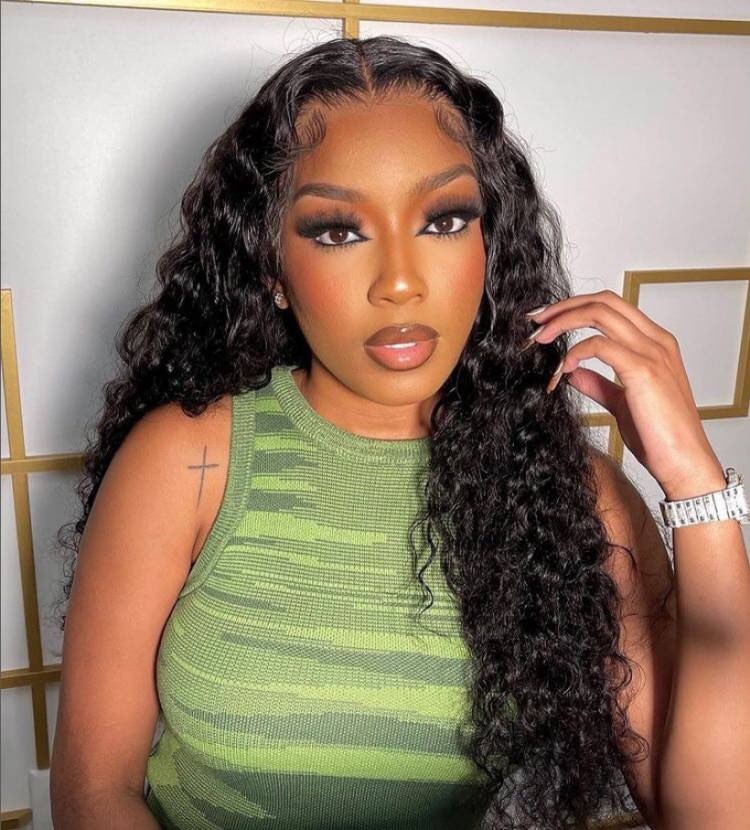
$55 Synthetic Closure Wig | Learn To Curl Synthetic Hair!
- Posted on 28 January, 2021
- Closure Wig
- By Anonymous
1 bundle of 27
1 bundle of 30
3 bundles of black and a closure
flexi rods
clips
I hope you guys enjoyed me making this 55$ wig! you can follow me on my hair page @braidedhands_
hair: https://www.divatress.com/products/sha...
Hey my baby, so today i'm going to be showing you guys how i made a 55 synthetic closure, wig um! It'S not really going to be a tutorial, it's more so going to be like a watch and if you learn something from it like great, i recorded it as a tutorial but editing it wasn't tutorial like, but that's the hair i used. I got two outside bundles of the three bundle pack, so in total i end up using about five bundles and i'm gon na show y'all. Like my fail in this too, i tried to like bleach the knots. I don't know what i was thinking, but i tried to bleach the knots and they did not bleach, not a lick, not at all didn't even turn slightly brown. So don't even attempt to bleach the closure wig just put on makeup. I don't know what i was thinking when i did this, because i knew it wasn't going bleach but um. That'S what i did. The application itself is really good, though. So if you ever want to bleach a closure wig, that's how you should bleach it, and then i lined my wig cap with white liner. So i knew where i was going to place the tracks at and place the closure wig and i'm gon na. Let y'all watch this and i'm gon na come back when i'm curling the hair and show y'all and tell y'all what i did for that do so so, okay, so now i am curling the synthetic hair and i was using my flat iron and i want to Say that i was using 300 or 325 for the heat setting and i was, i can't really tell y'all how i was curling, but that's how i was curling. How y'all see right there is how i was curling. I would curl the end first. So then that way i would curl it in first and then curl the hair higher. If that makes sense, it probably doesn't, but i would curl the ends and then i would go back and curl as if i wanted the whole section of hair to be curled, and i would let it cool down before i went and i curled the whole section And then i will let it cool down again before i flexi, rather than and that's how i got the curls to actually sit and um stay, so i flexi, rather than the way that i curled it as well. So if i was curling away from me, then the flexi rod would be rolled away from me, etc, etc. I'Ma leave now so so. Okay, so y'all see them curls! That'S what i meant when i said i curled the ends, because i didn't want those straight pieces like that, but the flexi rod will fix all that. So i'm not too worried about it and, as you can see it, the synthetic wig has like a low light. Highlights effect because of the brown and the blonde bundles that i added to it, because we couldn't find a brown and blonde mix. So i decided to do this so that way that we could still get the highlights and low lights that we wanted. But with synthetic hair and on the budget, so i comb out the hair because i don't want it to be tangled and then i go ahead and i roll it up now, if you want the curls to say exactly like how they look before i comb it Out then, i would recommend um flexi rodding it that way, but i wanted it to be calmed out. So it could look like that similar um when i took out the flexi rod set. So that's just a preference based thing do as you please, and i will come back more so when i'm applying the wig and let y'all see this so so so my so all right as y'all can see, i'm braiding her hair down. It'S really no method. To my madness, i promise madness. I promise you guys. I just did what i've seen on youtube videos and what i've done on myself. I'M not a professional like i'm, not gon na sit here and claim that i am, but i am pretty good at what i do so the pattern was very, very simple. I did smaller braids in the front and i did bigger braids bigger braids in the back. I put on the wig cap, i did free spray everything you guys see in tic, toc, tutorials and youtube. Tutorials is exactly what i did. I did make her stretch it over a little bit more, so it would be thinner but um, and i sold literally everything you guys see in other tutorials is what i did for the synthetic wig. It'S really no different at all. It'S just synthetic hair instead of human hair, and i use makeup to blend the lace with her scalp um with her scalp color. You guys will see that later on. I'M stop rambling and let y'all watch okay. Now i'm putting the wig on her, as is like flexi, rather than all, because synthetic hair can get very tangly and - and i didn't want it to be in the way while i was laying the lace and making sure that it fit her head and all that. So putting it on with the flexi rods helped me avoid all that, and it was actually really easy. The wig cap fit her perfectly um. We just had to shimmy it on a little bit, but it was very snug um. I could have cut the lace and not glued it down and it wouldn't fit perfectly so you know so we were doing that. Um y'all, i'm bad at voiceovers, i'm sorry and we did that for a little bit. I put three layers of glue down and then i glued it down. I blow-dried it all that stuff literally, the same thing in every other wig tutorial is what i do with this. I just use different hair and i finessed it. That'S it so. Okay, now y'all do y'all see this, so we used her. We use uh. What is it called y'all? It'S not liquid. We didn't use liquid foundation, we used powder foundation on the lace and on her bald cap to get it to match. Like i said before, and then really truly honestly, i had plucked the hairline um a little bit the night before and it just glued down easily. I did tie it down and let it dry before i cut the lace, but as y'all can see, it looks really nice. It doesn't look like synthetic lace like typical bad synthetic lace as y'all can see, and i'm gon na show y'all when i'm combing out the curls period. Look at this look at this look. Look at this very cute. It'S very tough! Oh it's down! Stop now! She'S not wondering stop, not one of them go so so, okay y'all! So now we are at the end, i'm taking out the curls and i'm combing them out with a big tooth, a wide tooth comb so that it doesn't get um. It doesn't make the curls drop and it detangles the hair as well as you can see, it's a really nice, like a super nice color and the curls look really good. I was so excited to do this and so happy now, i'm just just adjusting and shaping the curls to frame her face, and then you guys will see the end result and that will be the end of the video um. I do do hair in charlotte north carolina, so if you are interested in booking an appointment with me, i will put my link in the description down below and all my information, as well as the hair information and products i use and etc, etc. So now you guys can just enjoy the finished product and i'll see you in the next video like comment and subscribe. If you did like it, excuse my face and leave um video ideas and rate what you, how great, how good you think i did in the comment section down below okay, y'all bye, you


Comments
Cairo Peddie: It looks so good. Love to see a stylist slaying synthetic. More please lol
CeeMulaThaCEO: It looks soooo pretty, you most definitely did that
Kayla: you slayed this. I think this is great for someone who is on a budget but wants a closure install. First time seeing this done and you snapped.
MzMELANIN2U: You slayed tf out of thissssss
Sharon Reed: 1 out of 10 sis you did a 11, great job
Sharnetta Mcdade: Pretty
PiscesGlamorous: How long does this last
GraceLove: 10 out of 10
Quran Johnson: girl, that shit look amazing.
PGS2323:
XxRose GoldxX:
april simpson: The hair is synthetic right ?
LifeWithZinnah: ayeeee one on one in the background
Thereall_ Marie: Okayyyyyy girlll