Hair| 30 Minute Quick Weave Closure Wig Only Using Glue |Yazcymone
- Posted on 22 January, 2021
- Closure Wig
- By Anonymous
Hey Y'all! Coming at you with a wig tutorial. Really quick and easy tutorial on how I make a quick weave wig. Literally took me 30 minutes on my lunch break. I hope y'all enjoy the video, comment down below what videos you would like to see from me! Don’t forget to like, subscribe and SHARE the video! Thanks yall.
// AS MENTIONED
Cana Peruvian Virgin Remy Hair - 10" 4x4 Closure 12+14+16 Bundles
Brown Dome Cap
Salon Pro 30 Second Bonding Glue
// S U B S C R I B E
https://www.youtube.com/channel/YazCym...
// F O L L O W
Instagram | @_yaahhmeeen
Twitter | @_yaahhmeen
// G E A R
Camera - Sony ZV1
Neewer Ring Light Kit: https://amzn.to/30RJVQM
Editing Software - iMovie
// C O N T A C T M E
//M U S I C F E A T U R E D
Thematic - https://app.hellothematic.com/browse-m...
Ryan Little - Blessings
Jaylon Ashaun - Goosebumps - https://thmatc.co/?l=6D98618F
Cassette Tapes - Sugar Rush
Hänz Nobe - Shaka - https://thmatc.co/?l=66D94C2B
// Y A Z
I’m Yasmeen or known as YazCymone here on youtube. I’m a Human Resource Manager but also following my passion to create content for y’all! This channel will follow me through my life as I figure out being a 20 something while sharing makeup and hair tutorials and hopefully to inspire you!
// TAGS
#WigTutorial #QuickWeaveWig #YazCymone
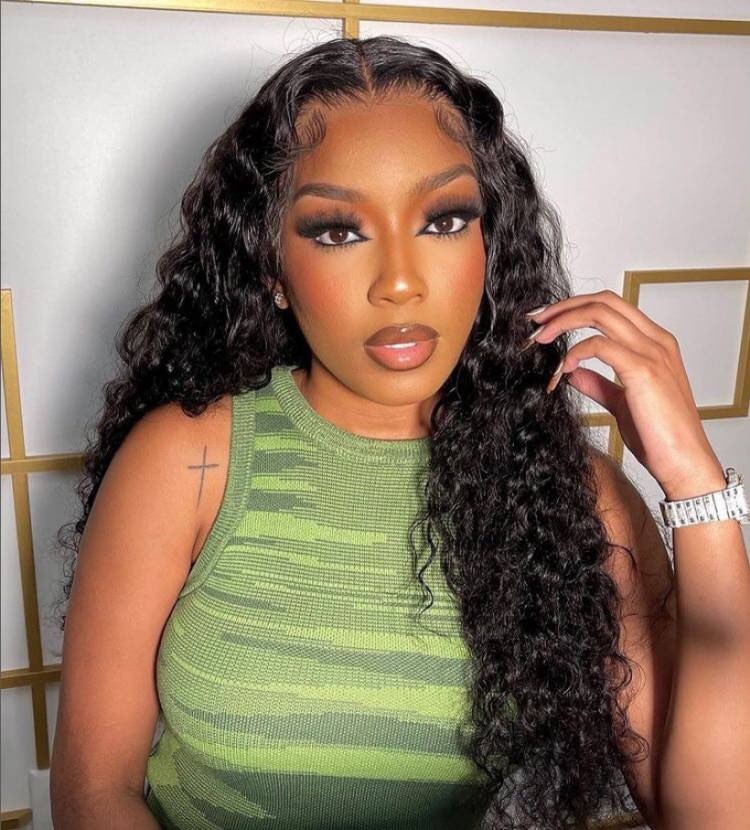
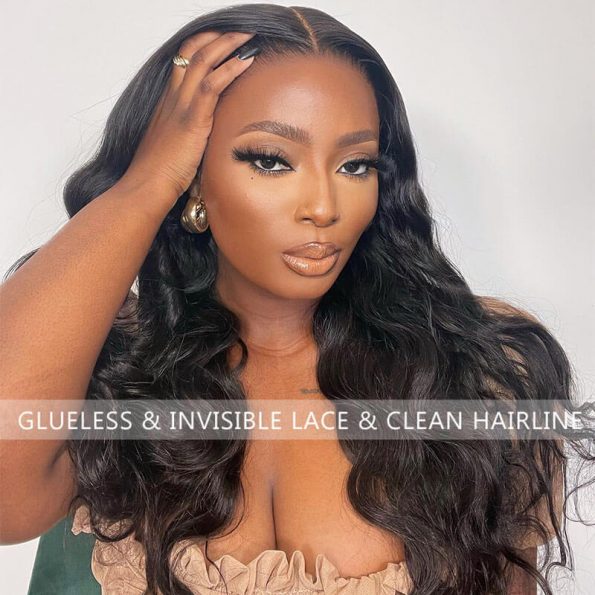
Hey y'all, it's yasmeen, so we're just going to hop right into it. Here is my dome cap. I got the brown color because they didn't have black and i have these pins. I purchased this hair from the local beauty supply store in my hometown. I have a 12 inch, 14 inch and 16 inch bundles, and then i have a 10 inch closure. It is kind of pre-plugged, but i do a little bit more plucking um just to make it look a little bit more natural. I also have my blow dryer comb and scissors, as well as my hair glue, i'm using the super hair bond glue. It'S like the 30 second one. So, okay, i'm not sure if you want to follow this because i feel like i messed up. This is my first time gluing on the closure. I usually sew it and then glue on the tracks and everything, but this is me putting the glue all around the closure, because i looked on youtube and that's what i thought you were supposed to be doing. So i did it and i was like this - is a mess, so i feel like i should have just worked my way around the closure when it was on the mannequin head. So doing one side gluing it down another side, gluing it down and then finishing it off, but yeah. I done put the glue on all of it and put it on the head all crooked and try. It was a mess. I kind of used it as an outline. Almost i pinned it at the front, so i can just secure it um because it was just not working out for me and then i went side-by-side gluing and blow drying it to make sure it's stuck and yeah. I look how creepy that is y'all anyway. It'S all right. The wig came out good, so we gon na move on so yeah as y'all can see. I am just struggling a little bit and glue is getting all over my hands. It was a mess. So i think this is a perfect time to give a disclaimer that i am not a beautician. I don't do hair. I do my own hair and i make wigs for like my family and friends, but i do not do this for a living youtube taught me youtube university um. I literally watched a few videos before i filmed this and was like all right. Let'S just hop into it so yeah. This is my first time. Gluing down a closure, probably won't be my last time. It does get the job done and i was able to complete my wig pretty fast um, but definitely gon na work on the technique, but for the first time you know we're just gon na let it slide we're just gon na. Let it slide. So this is me um, going from the side to the back and then to the other side, with the glue and my blow dryer. Have it pinned in certain sections so that way it kind of stays in place. I would just encourage you all to take your time with this technique until you really master it um don't rush into it, because then you're gon na have glue everywhere, and it's gon na be annoying just combing that out of the hair wow. So i'm just going to wrap the hair into a little bun, so it stays out the way while i'm gluing the tracks on and then i will begin gluing the tracks. So i'm going to start off with the 16 inch hair. Of course, so you'll see the first two tracks that i lay um they're not going to go all the way to the edge. So that way just gives a little bit of heaviness in the back. So i'm just going to measure it out from about halfway point which, where i think my ear is behind my ears, so i'm just going to measure that out and then i'm going to cut the weft. When i'm doing quick, weave wigs, i usually use cheaper hair um, because i don't want to waste. You know money on really good hair and i'm cutting the wefts and gluing, and all that i would usually sew those wigs and double weft. But when it comes to these wigs, you know i use inexpensive hair and i cut and glue and call it a day, so i'm just going to place the glue on the track and put it on the dome cap. Now, since i have this 30 second glue, i find that it dries a lot faster, and so i don't have to blow dry after each application of a track onto the doggone mannequin head, which speeds up the process a lot more. I usually just um, hold it there for a good five to ten seconds and then move on to the next, and they usually stay in place and then you'll see after each bundle that i install. I just go through with blow dryer to make sure that all of the glue is dry and all the tracks stay in place. So the first two tracks, i'm showing you i put that in regular speed. So that way, you can see exactly how long it took me for the rest of the wig i'll go ahead and speed that up, but, to be honest, this whole process took me around 30 to 35 minutes. If i didn't have that mishap with the whole closure thing, you know, then it would take me exactly 30 minutes i had looked on. I had looked at the time on my camera to see how long the video was going from start to finish, and it was around 40 minutes, so this really does take only 30 minutes. I was later on my lunch break, making this wig. So that's how you know this is a quick weave honey that you wish. You had many plans without when i pull up look when we kiss you with when we can't think i know that right. Oh all i wan na hear is i just wan na get away eeny. They know me so i have finished gluing all the tracks to the dome cap. The wig is complete, just showing you how flat it is and how everything is covered and the wig is nice and full so that way it fits properly. So you want to make sure that you don't cut too close to where you glued the closure. So you want to make sure you don't cut too close to where you glue the closure or your wig is just going to fall apart. Usually you can see where the glue marks are and if you're kind of hesitant, i would definitely suggest you know, leaving some room for error when you cut and then going back in and trimming down the pieces around it. If you're, not too sure i placed my so, i placed the wig back on the mannequin head, i'm just going to pluck the closure a little bit more. This wig was a little thick for my liking. Now i don't like to over pluck because, as time goes on, the closure thins out a little bit, so i don't want to over pluck, but i do still want to give a natural hairline. This was very difficult to do, while recording so best believe i turned this camera off and sat on my couch and started plucking ryan little. So i finished plucking and now i'm just using a little bit of foam. I don't want to use too much to weigh down the hair, but i did want enough so that way, um things will be a little bit more defined when i put my hot comb to it, so i got my little hot comb and i'm defining the part. I'M defining the front and just laying down the hair. So that way it is a nice flat install. I didn't curl the hair or straighten the hair. The purse i made the wig for they just wanted to be a natural body wave how the hair came, and so this is the finished wig, i'm showing you on hadisha what it looks like, but i also threw this bad boy on to show you what it Looks like in person didn't cut the lace because, like i said this is not for me um and i didn't want to cut prematurely so yeah. This is what the wig looks like on a person i just combed it out. It'S got. Some volume got some length. You know a nice little everyday wig and, like i said this only took me around 30 minutes to really make all right. Thank you so much for watching. I hope this video helped go ahead and make you a little quick weave with chad because honey once you start, you just can't stop you just can't stop all right i'll see. Y'All in my next video have a good day have a good night. Wherever you are see you later bye, you


Comments
P Eff: Quickweaves are where it's at! You did great! enjoyed watching. i need to start making videos myself. i cant wait to make my next quickweave
BossHogg4050: YouTube University to funny that’s who taught me too!
Beauty Salon Joy & Kaltra Liza:
Nicolette Lerma: Is you mannequin head the same size as the persons head or is it just a basic wig head