Wig 101 | Super Easy How To: Pluck Your Frontal | Vipbeauty Hair
- Posted on 07 July, 2017
- Closure Wig
- By Anonymous
Hair Info:
vip beauty vendor whatsapp/tel :+8618837462995
curly link : https://www.aliexpress.com/store/produ...
middle part closure link : https://www.aliexpress.com/store/produ...
frontal link : https://www.aliexpress.com/store/produ...
DH gate bundles with closure link : http://www.dhgate.com/product/8a-brazi...
DH gate bundles with frontal link : http://www.dhgate.com/product/vip-beau...
What I got:
Deep curly frontal with deep curly bundles
24.26.28 inch bundles
20 inch frontal
What you need:
T pins
tweezers
water bottle with water
canvas head
canvas head stand
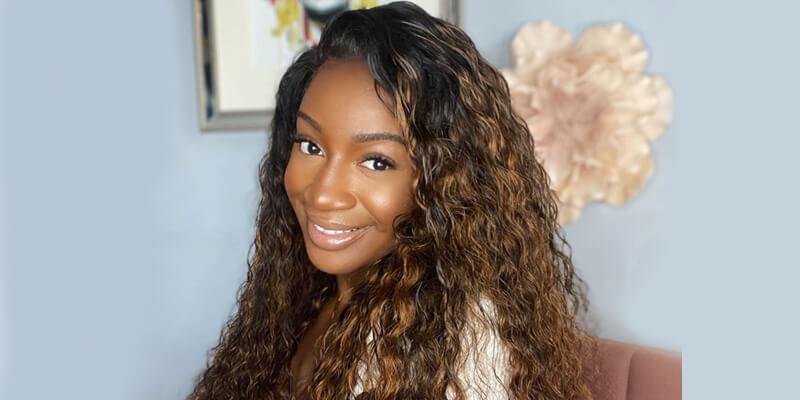
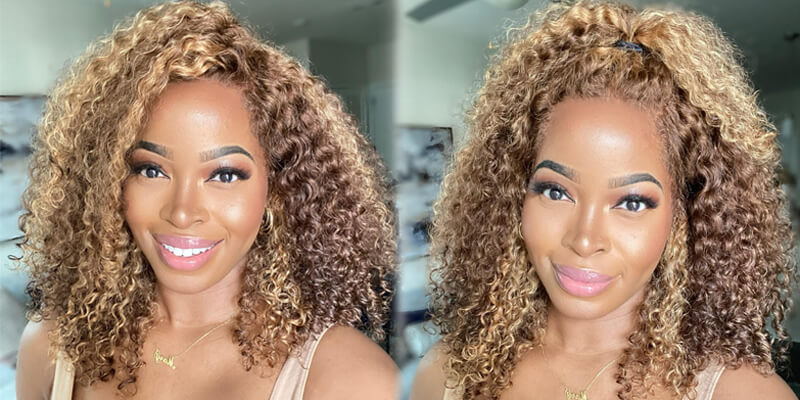
So, hey everybody! This is a unit that I made with VIP hair from Aliexpress and this is their deep curly hair. So I wanted to get a frontal and make sure that I showed you guys how to pre. Pluck the sorry now pre cut, the frontal comes pre pluck, but I want to show you guys how you can actually still customize your frontal if it does come, pre flipped, so I've already done it and we're gon na get into this tutorial. But this is how the wig came out and I'm going to show you guys what it's like, how it's constructed. So this is on a spandex cap and I've already cut the elastic off and what I did was because I don't normally tell you guys how I make my frontal wigs, which I'm gon na do a tutorial really really soon. But if you are working with a spandex cap or a dome cap, whatever you're working with make sure that your frontal is at least two inches ahead of where your wig cap starts and that's going to give you more room for your frontal. So, let's get right into the tutorial guys! I will see you guys in my next video, ok guys. So the first thing you're going to need is some tee pins and we're going to use these to basically make sure they. Our wig is firmly to the canvas head, so it doesn't move, and this is going to just basically give us some some extra protection for if the wig shifts or anything like that. So the first thing I'm going to do is I want you guys to see that this is pre plux already um, so, as you guys can see, the perimeter is thinner than the rest of the hair. So what we're focusing on here is that right there that hair, that's literally behind the part - that's already been pre plucked. So what's gon na make this super easy for. You guys is if you wet and damp your perimeter or your frontal beforehand before you start plucking. This is going to help the hair literally just come out, so so easy and it will not tug the hair or anything like that. You will see how easy this hair is pluck after you dampen the hair. The next thing you're gon na need is some tweezers. This is the most important part, of course, and you want to go ahead and basically part about an inch or so of hair wherever you want to start it, it doesn't really matter. I just like to start with my sides, and I'm going to part this just really slightly just so that way you guys can see exactly what I'm doing. Okay, so the first thing you want to do is start at the very root of the hair and you're going to actually just pluck this out at the root. Don'T grab too much hair, don't grab just one strand at a time again. You want to do this very sporadically because again you're just trying to thin it out you're, not trying to make her Bowl and now once you've done a little bit at a time, just slide that hair that you've pulled right on out, and it comes really right Out and you get to see exactly how much hair you're pulling out so you can know whether or not you need to be focusing on different areas or if you are pulling out too much hair become too little hair like you really have to pay attention, because You can't pull out too much and I'm just gon na slightly. Do these sides, because I don't like to pluck out a lot of hair at the sides just because normally that hair comes a little thicker than normal. But I actually don't mind it being too thick. But, of course, do whatever you like, you don't have to do it necessarily how I do it, but I just like to leave a little bit extra when it comes to being pretty much at like the temple area and below. So I'm just showing you guys, basically that I'm just plucking this just really slightly and I'm gon na go ahead and speed this up, because I'm gon na be doing this same thing over and over and a quick tip is, if you don't know how this looks Or if you're pulling out too much hair, literally just pull the hair back and that way you'll be able to see if you're pulling out too much hair or if it looks good and natural and you'll also see that as well you, okay! So in all this is how much hair I pulled out and it doesn't even look like I pulled that much out when you're doing it and it's again it's because the hair is wet and that way you can actually see how much hair it is so yeah. Let'S get into how she looks after so I mean she came out beautiful. The texture of this hair is beautiful. I'Ve done a couple of reviews for VIP hair and, I have to say, I'm really impressed with their quality in their curl patterns, like literally just stay intact. No matter what I have to say. One thing this hair does shed just a little bit but yeah other than that this area's gorgeous and I'll see you guys in my next video


Comments
AndUDon'tStopYo: Great tutorial and the hair is beautiful. You do such a wonderful job making wigs.
Laila Marciano: This wig is Gorg! You make this look so easy.
Shanté: great video so simple and easy
Kersha Beaver: yed thanks for this. I'm going to be working on mine tomorrow
Mrs.RED'VON 77: Just BEAUTIFUL
Jamie: Do you still have this wig ? Do you sell them ?
AngelJ: Do you have the link to your stand ?
Frankie: What the hell is with the loud tv in the background!? I can't finish the video. I can't hear and seems like it would've been very informative.
sun shine: How tall are you?