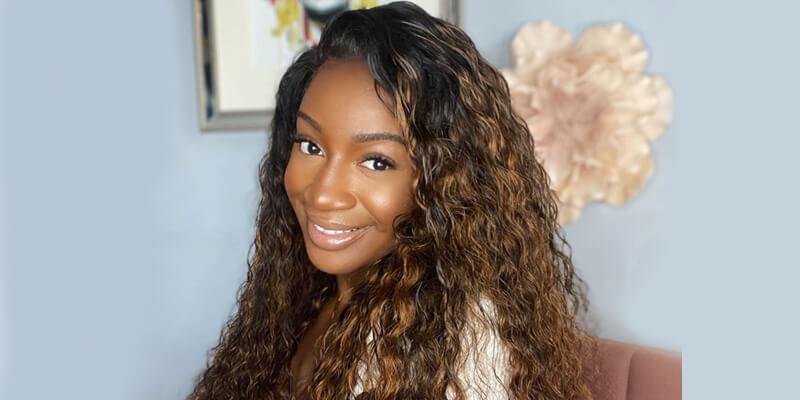
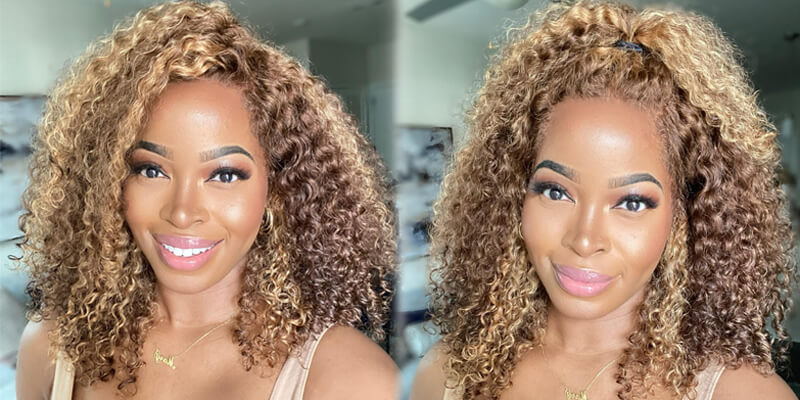
Start To Finish: Seamless 6X6 Closure Wig Install (Extreme Meltdown‼️) Ft. Wiggins Hair |Tay Ming
- Posted on 13 July, 2021
- Closure Wig
- By Anonymous
Thanks for watching!!! I hope this video helped y'all tremendously! No more frontals for ya girl I'm in love with my 6x6 wig
Products Used:
- "Ghost Bond XL" lace glue
- "Got2b Glued" Freeze Spray
- "Silk Elements" Heat Protectant
- "Lotta Body" Foaming Mousse
- "She Is Bomb" Collection Wax Stick
- Elastic Band
════════დ #WigginsHair დ═══════
❤Direct Link➤https://bit.ly/2YRrTPO
Hair details: #BodyWave #6*6hdlace closure wig 250% density 22 inches
More Invisible skin melt #hdlacewig ➤https://bit.ly/3oS7OU4
You may also like:
1.Hot selling #lacefrontalwig➤https://bit.ly/3oVW2b0
2.Premade colored wig➤https://bit.ly/3pZcAQU
3.Lazy girl approved #headbandwig➤https://bit.ly/3pZcAQU
Follow @wigginshair on instagram:https://bit.ly/3p2AutH
Tiktok@wigginshairbest
Facebook @wigginshair:https://bit.ly/39Rehu8
Email: [email protected]
-------------------------------------------------------------------------------------
Don't forget to subscribe to my channel for more videos:
https://www.youtube.com/channel/UCJblU...
Instagram: https://www.instagram.com/tay.ming/
Twitter: https://twitter.com/_TayMing_
For business enquiries email: [email protected]
Hey everybody welcome back to my channel, so you already know we finna get into this install today i got my cap on with my edges back looking ball headed, so this wig is from wiggins. It is a 6x6 closure body. Wave hd, transparent lace is 22 inches and 250 density, so it's really really thick. First thing i do with any of my laces before i put them on is tint them, so i'm going to be using the maybelline fit me in spicy brown, just to tint my lace um, when you're putting on the product make sure you don't cake it like. Just do a really small amount um, as you can see in a second right here, i'm gon na show you guys it's not that much! It'S just a little bit. You just want to rub it on your hand. Just so it's not too blotchy and then rub it in so once you're done sensing the lace and it matches your skin color we're gon na go ahead and put that baby on yeah look a little crazy, but you know i'm gon na go ahead and position. It on my head and i'm just going to brush it back too. Just so, you know all the strand hairs strand, hair straight hairs out of my face. Okay, so now that i got it positioned where i want, i'm gon na go ahead and clip the hair back. So it's out my way and i'm gon na lift my lace up and then i'm gon na go on with some alcohol and clean my forehead off. So i can get rid of all the grease, the makeup, the oils you want to have a really clean surface. This is how your installs last so now that my forehead is cleaned off i'm about to reposition. It make sure it's in the right spot and then i'm gon na go back in with some ghost bond glue. This is go spawn excel. I got it from the beauty supply and you want to start by doing thin layers around your forehead. You don't want to have it super thick to where it's just really cakey and you get to see in a white. You don't want that. I also use a popsicle stick, because this really helps me um thin it out and make everything like an even level. So i don't have some spots, that's super clunky and then other parts that is really thin. It just evens out the glue and i'm gon na do two three layers: um and then i'm gon na just let it dry to where it's really tacky. You don't want it to get completely dry to where it's all the way clear, but you want it basically, eighty 80 clear uh so now that the glue dried a little bit and it's tacky. This is where we're gon na lay the lace. So i'm taking the lace and i'm just placing it where i have glue, you want to try to get it over the glue as much as you can um and just really sit it in there. I also use a rat tail comb to help melt it into the glue or press it into the glue. I mean it really helps. You don't want to use your fingers because your hands do have oils on there and oil just breaks down the glue. So your install won't last a long time so try to use like an actual object like a comb or a brush. Something like that. After laying down the wig for the first time, i'm gon na go back in and just put glue in any areas that i may have missed, or just anywhere that needs to be tacked down more girl. If you ain't got you an elastic band already, what you doing this is so key into making your lace melt. Okay, you can get these things from hobby lobby. I get them for like two dollars at the artisan craft section and you just wrap it around your lace, and this is what really like melts it into your skin y'all, like i, don't know what i was doing to melt my lace before i learned this method. I really don't so, while my lace is melting, i'm just going to go in with a blow dryer and i'm a blow dryer. My wig is about 90 dry, but i just want to go in and make sure that it's 100 completely dry before i put iron or anything in there. Also you guys, if your back looks like this paint on mine, we'll figure it out later like i, i don't ever pay attention to that. So i don't think i've ever mentioned to y'all that this is my first 6x6 closure and i just want to show y'all look at this parting. Yes, ma'am. Look at all that parting space, like i love that so now, i'm gon na go in with my silk elements: heat protecting spray - and i love this because this is what i do all my little silk presses with the best and i'm just gon na section, my Hair off and i'm gon na just start blow drying girl. I just want to make sure i get my roots really good. Make sure that the actual strength of the hair is dry because, like i said you don't want to put any wet hair like on an iron like if you're going to curl your hair flat iron, your hair, whatever you do you just don't wanna, you don't want Your hair to be wet, i'm sorry, y'all. I just can't get over how thick and full this hair is just look at it. Go yes, ma'am! So now i'm gon na go in with my blow dryer on the cool setting and i'm just gon na put it over that lace part just so that it really melts in and it really dries. You don't want to do heat because that'll just melt the glue um and now i'm going to take my band off. Oh y'all, see it. It is melted and baby and it looks so good. So now i'm gon na go in with my guys to be this. Just helps tack it down even more and just adds a little bit more security to the wig and i'm going to take a blow dryer and blow dry that in as well. So now it's the moment, we all been waiting for it. It'S time to cut the lace, so first pin your hair back and comb it back too make sure you don't have any strand just laying around so i go in and i cut it with a scissor first and then i go in with a razor. You can get these raisins from the dollar tree or beauty supply for like two dollars and i'm going to cut along the hairline. It'S okay! If you end up cutting some hair with the lace, that's normal, especially if you want to make a really defined hairline um. So just know that that's okay, you're not messing up if you cut a little bit of hair with it um and then i'm gon na go in on the other side and do the same thing. I'M also lifting it back from the glue because i realized i glued down a little too much so um. If you see me pulling and tugging that's all that is and you're just gon na you're, just gon na cut along the leg along the hairline. I mean y'all, keep it up today, i'm so sorry after i cut my lace, i just go in with some alcohol just to clean up the forehead area, just to make sure it's no flakes or any excess glue. If you did like me, you pull your wig back a little bit. You just want to make sure all that glue is completely gone because there's nothing worse than looking at a girl, wig and seeing a whole bunch of glue just clunked up it. Ain'T cute baby. So it's time to part where you want your baby hairs. This is my favorite part, because i like to play with my baby hairs, but i'm a really natural girl. When it comes to my baby hairs, i don't like it thick or to look chunky, but i love doing this part. So what i do is i take just a small little section of hair in the front no bigger than maybe a quarter of an inch. You don't want it super big and chunky. Just won't look good and i'm going to section it off and then i'm going to go in with some mousse to separate it from the rest of my hair and then i just twist it up that way. It stays in its own little section and it's not all over the place, while i'm doing the rest of my hair - and i also go in with some got to be just so that my hair is secure. Godspeed is your best friend. It'S like hairspray for black girls, okay. So, while i'm allowing my lace to melt back into my scalp, i'm just gon na go ahead and start straightening. My hair, i'm gon na start with my part, i'm gon na just mold it. I decided to do a side part today, so i'm taking my cheese, balm, hair collection wax stick and i'm going to basically just mold it. You know just put it on my part and then i'm going to go in with my hot comb and just really define my part and make sure that it's really laid down. And then, when i'm done with that, i'm going to go ahead and straighten my hair, and i will show you guys what it looks like when i get to the end. Okay, baby, i am back yes, y'all, see this hair is so nice and thick and really really silky baby. Yes, i love it. Y'All can get into this wig. I love these so now it's time to get into these baby hairs. Okay, if you have a mini flat iron, this is the best time to pull it out, because you will need this um. I use this because i curl up my edges. That is how i make the perfect baby hair is by curling my little edges. So everybody asked me like: oh how do you do your baby hair? Honestly, it's really hard for me to explain it. So i'm really just gon na have to show y'all um, but i go in by using some mousse and i just use the move to mold. It and then i go back in with like guys to be free spray, so you're just gon na be seeing a lot of back and forth and when i get the finished look, i will come back and show you guys what i'm doing you so that is It for my video today guys um just going back in just fixing my edges. You know i'm a perfectionist so yeah. I really love this hair. I will put a link down below if you guys want to purchase the hair um. Make sure that you guys comment like and subscribe? I really really really love for you guys to comment and just tell me how you like the hair. Let me know if you will wear the hair and let me know if you learned anything from this video. I hope i really helped you guys out. I know, laying wigs is really hard. It took me a long time to really perfect it and i'm still perfecting my craft, so um yeah. I really hope that these tips and stuff really helped y'all y'all out here, laying y'all hair down really good, but yes, honey get into this hair. I definitely will leave all my links every product that i use down in the description, and i just want to give you guys a huge thank you again for watching this video and i'll see you guys on my next one bye. You


Comments
Wiggins Hair: Omgggg ! Such a great job! So professional! Thank you so much for choosing wiggins hair and sharing us such amazing video!
chenelly Megenta: Definitely needed this, I was doing it all wrong this whole time, i’m just learning how to make it look more realistic now lol
EDIEUNA: Girl! You slayed that install woooow
Kodi G: Beautiful install So glad I came across your channel How would you fix the lace if you were a little heavy handed with the makeup and it starts looking “cakey” ?
chenelly Megenta: but i loovee how you did it!
Becca D.: Omgggg Love this!
Marian M: Hey girl! Did you bleach the knots and then put the makeup on the lace?