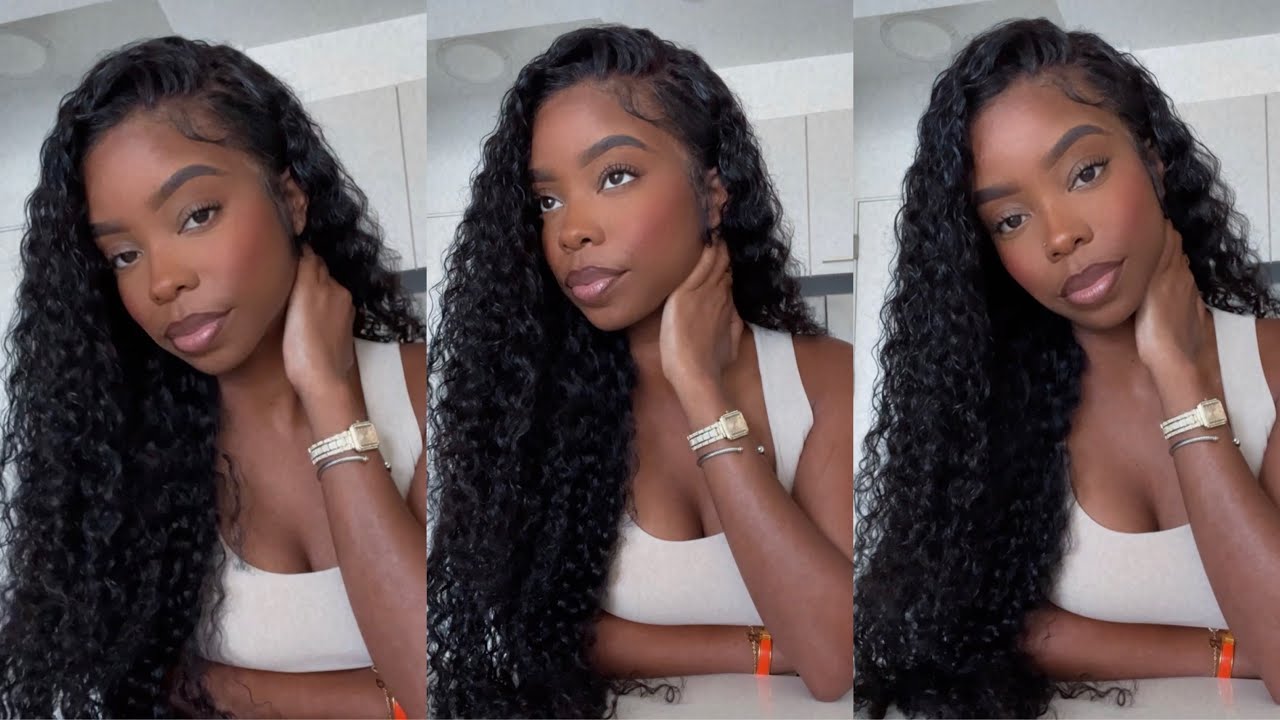
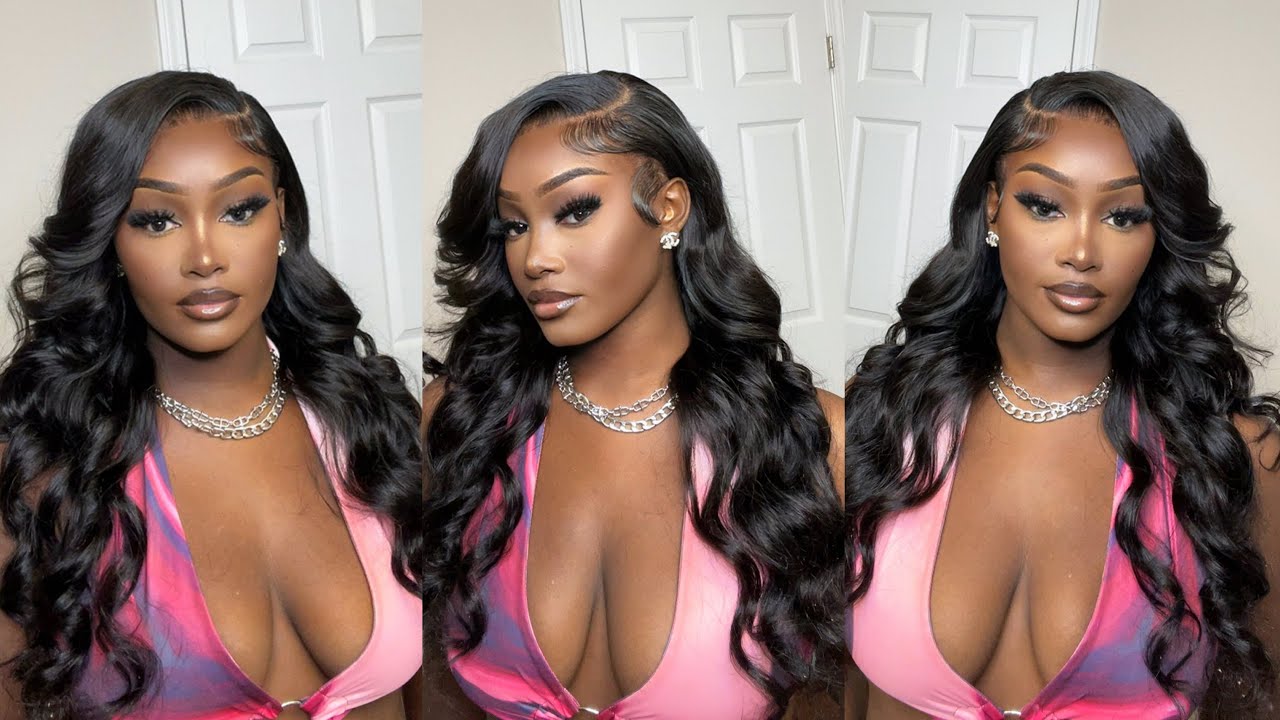
Fall For Me Ep.3 | Hd 13X6 Highlight Body Wave Wig Install | Thebhslay
- Posted on 15 October, 2022
- HD Lace Wig
- By Anonymous
Welcome to My Channel
Be sure to SUBSCRIBE & TURN ON YOUR ALERTS
HAIR CHANNEL @iambeautifulhustlertv
——————————————————
MY PERSONAL YOUTUBE CHANNEL : @Life with ShaeTV
https://www.youtube.com/channel/UCB9xX...
——————————————————
Follow My Socials:
PERSONAL
@iambeautifulhustler
BUSINESS
Instagram:_Beautifulhustler
@thebhslay
@girlsniteoutapparel
Twitter:_Beautifulhustl
YouTube :IAmBeautifulHustlerTV
✨For Sponsorships ,Reviews,& Questions
Email:[email protected]
786-571-1313
To Purchase Hair & Products Www.ibhslays.com
Allow 3-14 Business Days For All Orders
#miamihairstylist,#miamihair,
#browardhair,#browardhairstylist, #Atlanta #atlantahair,#atlantahairstylist #reels, #explore #trending #tiktok #viral #miamimakeup #miamimua #miaminails
Thank you, hey Beauties and welcome back to I'm beautiful Hustler TV. We are back with video number three for our Follow Me series now. Today'S wig is provided by me. This is our 13x6 HD lace front tool, full parting space, frontal wig highlight color, Okay, bomb.com y'all. Already know my wigs are top tier, if you don't know place an order today and you will find out on your own. But yes, this is a HD highlight wig 13x6 full parting space, um, HD lace period highlight um body, wave, wig and today I'll be installing it on my client. Today she purchased a wig from me, and I've decided to do this install because this color is perfect. For our fall Series, so I say you know what girl I'm gon na record this, because I know it's going to be a sleigh and I'm so glad that I did judging by the thumbnail, you already know what style we're gon na do today. So I couldn't wait to bring you guys this content and that's why I decided to drop it the same day. I did it, but nevertheless y'all we're gon na already start off with our ball cap. So y'all know I'm gon na go in with the foundation and put it on the inside of the wig on um, as well as the outside of the lace, and then I'm gon na go in with the BH suede the original smell. This is not the strawberry one y'all. This is just a regular one, but nevertheless I'm going to apply a four layers of this glue. I'M only going to show you guys one on camera and then we will get into melting this wig and just to give you guys a little more details on the wig. This is a 24 inch body weight. Wig and my wigs do come um from between 180 density, all the way up to 220, depending on the length that you're getting. But this is a 180 density, wig, 24 inch and y'all. The wig is super thick. It is super full, as you guys will see. Judging on this install no added bundles, no none of that okay, but um. Nevertheless, now that we got that out the way I'm going ahead and I'm placing that lace into that glue, I'm going to have my client hold one inside and I'm going to comb um. The lace into the glue and I'm going to do the same thing to the other side, pull it down, have her hold it come into place and then I'm going to take my blow dryer on the warm setting and blow dry that lace in and comb it In at the same time, foreign foreign with my melt belt tie down my lace and let that sit for five to ten minutes. Now, after letting that lace sit for um five to ten minutes, I'm gon na go ahead and cut the extra um lace from around the ears. I forgot to do this before I actually glued it down, but whether you do it before or after it really doesn't matter, you're still going to get the job done so, but now I'm going to take the time out to go ahead and cut the extra lace From around the ears, then, we will slip the lace down the middle with the scissors and then go in with the eyebrow razor and razor off the lace, foreign foreign middle first and cut one side um. Take it down and do do the same thing to the other side. So that's what I'm going to do here raise it off, attach anything that's still lifting or need. You know places that need glue and then I'm going to do the same thing to the other side, foreign thank you and just to get a little up close and personal. I'M just tucking down the glue here on this side as well. I'M adding more glue onto these small little places and then I'm going to push that lace right into that glue. So now that that's done, I'm just going to go ahead and take some Foundation tap it across the lace and then I'm going to go in with my even holding spray spread on my finger tap it across the lace and I just want y'all to disregard. Let me get this out of the way disclaimer before somebody tried to eat me up in the comments. Yes, I see my elbows are ashy. Okay. I noticed that when my elbows are actually in the video I'm about to slay some okay, so don't come for me. Okay, but what you can do is like this video, give it a thumbs up, subscribe and leave a comment down below. Let me know how y'all feel about this look, but, yes, my elbow is going to ask you throughout this whole video y'all. I did not notice it while I was recording, but it doesn't matter because there's still a slave, so yeah keep your comments to yourself. Okay, well, keep those coming to yourself, but make sure you leave a comment on this video and that's on period foreign belt. For the second time, I'm going to go ahead and start to carve out my little see my circle, and I also went ahead and pulled um the baby hair down and that little section right there, where you see it and I'm going to do the Sideburn as Well, but I'm going to start off my little semi circle, you're going to create that same SEMA Circle that you would, if you were doing a Chinese bang, but you just make it less centered and more over towards whatever side you want to have. Like your actual part on so um, that's all I did. I just created, like a little see my circle half circle, whatever you want to call it and right now, I'm just going in with the wax stick in a hot comb and just hot combing, the hair in the direction that I wanted to fall because, as you See we will be doing a top ponytail foreign and now I'm just finishing up my little half circle I'm going around and then I'm going to take um the wax stick and the hot comb and kind of press out that area around it as well. And then I'm going to plant that little area right here that will be that I pulled out. That'S going to be my bang later on, I'm just going to kind of smooth the hot comb um everything behind it. I'M gon na plant that pull out my baby hair Sideburn for this side, because we're only going to do one for the Sideburn area, and that will be it for this part right here, foreign foreign. Now, when it comes to this style y'all, it is many different steps that I take to get my final look, so we added on the section for the front for the bang. Now I already hot combed it a little bit in the direction that I wanted to go and separated the baby hairs, but now it's time to actually separate uh, the hair for the ponytail and everything else in the back. So I'm going to start my horizontal part going from you know, side to side ear to ear whatever you want to call it and begin to um wax and hot comb the rest of it going towards the back, because I want to make sure I get a Nice separation for the hair for my ponytail in the back of the wig foreign foreign. Thank you now y'all know. Usually, when I do my installs, I use my mail twice, but today I'm going to use a melt belt three times for the charm um, because I wanted to make sure that my lace is laid again now that I have the baby hair sectioned out. So I'm going to go ahead and just tie that melt belt on and while that melt better is on what I'm going to be doing is sleeking my ponytail up for the top part. So I will show you guys exactly how I get my ponytails, nice and sleek foreign. So you guys to get my ponytails, nice and Sleek. The key thing that you want to do is really go in section by section and hot comb it out, and you also want to apply some wax Now using a wax. Stick will give you that nicely shine and it makes it lay down way flatter, which also makes it easier to actually put it up in a ponytail, but the way I'm going to do it today is I'm going to put my ponytail up by doing two different Sections and combining it as one so before I even get into doing a ponytail, as you can see, I'm just going in, like I mentioned, with the wax stick in small sections and hot combing it and hot combing it in the direction that I wanted to fall. That is the key part that you already have your hair kind of pre-molded in the way you need it to lay down foreign foreign y'all know what you do, the ones I need to do to the other. So I'm doing the same thing on this side here, adding the wax hot combing it excuse me. I keep coming in and out the camera, but I just got tired of going around going around, but so I'm just reaching over at this point. So I could just grab the hot comb and you know press it up, drop it down and just do the same thing to this side, foreign process by using my even holding spray and just spraying it on the hair that I just slicked up with the wax. Stick and just adding it on top as a you know, more secure and harder barrier um that way, I don't have any hairs out of place anything like this, so I just spray some of that even spray and I'm taking my comb and still culminating direction that I wanted to fall and then I'm going to go on my blow dryer on the heat setting and blow dry it just a tad little piece um. So it's nice and dry into place. So once I Sleek it up, it will be nice and easy and, as I mentioned y'all um that I'm going to actually do two sections to create my one ponytail. So I did about half of you know the top and I'm going to Sleek it up. But I'll make sure that once I Sleek it up and I pull it, that I'm pulling it towards the center of the hair, do not make the mistake of making it like off-centered. So, even though I'm only doing one half I'm still pulling it towards the center and I'm going in with my black rubber band and just securing it, and I'm just keep wrapping and wrapping and wrapping and trying to keep it as neat is possible. But if anything, you can always go back in with a little holding spray and sleep down any flyaways or if you feel like it's not to your liking, take it down and try again, you might not get it the first time. Surprisingly y'all. I got it down the first time today, but usually it might take me a few little tries, so I get that final final. You know that I need, but now that I did that side, I'm going to go ahead and match up the other side same thing. I already um sleeked it up, but now I'm going to take the um holding spray spray, it mold it pull it up: rubber band it foreign foreign. So now that I went ahead and rubber band up that second part, I'm gon na go ahead and remove that melt belt. So I can go ahead and just do the baby hairs really quick. So I'm going to do the baby hairs really fast, I'm not going to go too much in detail with the baby hairs, because I have over 500 videos that have it in there. So I'm just going to make it short and simple. I'M gon na show you one baby hair on this side and I'm just gon na pretty much just go ahead and do the other side of the camera and then we're gon na get into um curling um. You know making a ponytail, more seamless and so on. Thank you, foreign, we're not doing it yet, but we're just kind of molding into place. I just took a little even spray and I'm creating like that little hump effect um. So it's not just like super flat, we're not doing a swoop. So I don't have to be super flat to the face. I want it just a tad bit of volume right there. So when I curl it up, you know y'all y'all see how it was. Yeah yeah you, if you, if you know you know the girls that get it get it and the girls that don't just don't but nevertheless um. Now I'm going to take a little part and spray it with some holding spray, because y'all know we got to do the seamless ponytail but got to do a wrap around a rubber band. I really really hate when I see people leave their rubber band out on Styles, especially like this. Please just take a little bit of ham, wrap around everything. It makes a big difference in the outcome of the look, so I'm just going to keep wrapping and wrapping and wrapping and wrapping and once again secure with some holding spray. If y'all don't know by now, this even hair spray is like the bomb.com like yeah yeah. It'S the one for sure, but nevertheless uh wrap it around spray. It get it secured. And then the next thing we'll have to do is start focusing on the curls um and I did use my big wonk um curler um, it's by the brand gym gem um, and I don't remember where I got it from exactly, but y'all can check Amazon. I know Amazon usually has everything, but I'm going to use that gym. Curler and, like I mentioned, I'm not going to curl it on camera because it's just wand curls and it's just so much repetition. But I am going to show you guys after I curl it once I you know, get to the actual ponytail part, which will only be about six cards at the top, and that's why I showed y'all that easy, breezy beautiful Cover Girl apart but um. Nevertheless, once I finish um sleekiness, how I want it around the rubber band part, I will go ahead and just do those curls and then, when I come back on, you will see me cutting up the ponytail foreign. I forgot to mention this part so um I took the rubber band out the bag from you know me separating a section, so I don't I'm not gon na keep it as possible and I'm just going in with a little bit of wax and just hot combing. The back hair, the direction that I wanted to fall before, I actually add the curls, so I know I said I'll come back on once I finish curling up, but I forgot. This part is very, very important. You want to hot comb the hair in the direction you want to fall, you want it to fall and I'm still using a little bit of wax sticks, just kind of mold, mold it and then go on with that holding spray once again and just kind of Comb and smooth it down before I add the curls foreign cropped it up, one curled it up, and now I'm going to be using um my gym, curler steel and just curling up the top piece, real quick. I caught about six pieces at the top and then once I'm done with that, I will go ahead and curl up the bang. I did cut the bang and not um a angled layer, um and then I actually wand curl, the bang too. I did not use like a regular curler, actually wand, curl, the bang and then um once I finished cutting those two pieces up. I will comb the bang into place and also I'm using a wide tooth comb comb out the curls. You can leave it how it is, if you want to keep it tight for me, I just love one crust and then just brushing it out. It just gives it just does something for me um, but if you want to keep the curls pretty tight like how it looks here you can or like I mentioned. If you want more of a big fluffy look, you can go ahead and um tease it out, but I did just take my eyebrow razor and I just angled it down really quickly. Just took a little um heat, protecting applied it on the hair and now I'm wand curling, the bang and it's just so crazy because I never really want curl bangs. But I don't know why I did it today, but yeah um, that's pretty much. What I'm gon na do, and once I finish that I will comb and smooth everything into place: um, the bang, you just pretty much comb it till you get it. You know until you get it to your liking, so I'm just going to comb that out first and then I'm going to swoop it swoop it. I'M gon na go in with the little flat iron and just tap it a little bit um so just drag the curl apart more downward. So I could just fall a certain type of way and then I'm going to go in with that wide tooth comb and comb out the back curls foreign just going through the curls combing it back pulling it forward. So we get that full fullness. Like I said this wig is from my brand okay um. I haven't added the color highlight on there, but I will be adding it on there. Over the weekend, y'all been super booked and super busy, so um just bear with me, but however um I will be adding the highlight color to my website. I'Ve just been so all over the place. That'S why I haven't added it yet, but all I have to literally do is just go. Add the color on there but um over the weekend. I will be updated. The website will be updated, um with the Highlight wig color. So if you want to purchase a highlight wig, you will be able to, and I will let you know on the side as well what patterns it also comes in because, like I mentioned you guys, this was a body wave wig from my collection. This is a body weight wig from the ba display. Okay, but here is the final look guys, let me know down below Beauties how y'all feeling about this look. Don'T forget to give this video a thumbs up. Leave a comment drop some Flames, video number three, five. Four series: we are killing it thus far, but stay tuned because we got some Lo-Fi stuff coming make sure you subscribe. Thank y'all for watching, see you on the next video


Comments
SlayedBy Jordan: You definitely laid this right on it there . The wigs from your company are so fire !
Jazzy Too cute: This is so pretty I love it ❤️
Toyia: Another slay from Shae!!!!
Alexis Raymond: you definitely bodied this
Shell Shell Beyond Beauty: Yesssssss. Omg I love it ❤️ you did what? You did that. Hopefully I can be as good as you one day
nikkistayfocused: another slay from shae✌
Kimberly Smith: Yes I fell right in where I fit in at color another Shay Slay
Life with Mommyand Journee: Such a beautiful job
cici5164: Girl you slay all day! Your elbows are fine
Nicole Smith: I loveeeee it. ❤️and tht glue is
QUEEN OF BEAU TV: Love this
Kay Stackz🥀✅: What’s the direct link to this wig ?
Tyra Avery: Omg love it
Doraine Gutierrez: Me encanta como peinas
Sammy Da Goat: Another Bomb Hair
Mikayla Ragsdale: do you have any flat iron recommendations for wigs?
O'Shea Brown: Lace is playing hide n seek cause it's definitely melted
lneal2800:
deseraymiles87:
ADoseOfKiyaa:
Just being Me:
1k Fendjy: ❤❤❤
QUEEN OF BEAU TV:
Life with Mari: Cool
Beautiful Bre: Wish you were in miami
Nancy Dewitt: Too much Hair !!!
KaaTheeRobloxGamer: That’s a man
KaaTheeRobloxGamer: Hn