How To : Basic Ombre & Crimps Ft Hairsmarket Hair 4X4 Lace Closure Wig
- Posted on 05 May, 2021
- HD Lace Wig
- By Anonymous
WESSUPPP YALL!
✰✰✰✰✰✰✰✰✰✰✰✰
C O N N E C T•W I T H•M E
instagram | twitter | tiktok
@pinupsandpearls
P͟R͟O͟D͟U͟C͟T͟ ͟R͟E͟V͟I͟E͟W͟S͟ ͟•͟ ͟S͟P͟O͟N͟S͟O͟R͟S͟H͟I͟P͟S͟
WhatsApp 832-598-4884
P͟R͟O͟D͟U͟C͟T͟ ͟L͟I͟N͟K͟S͟
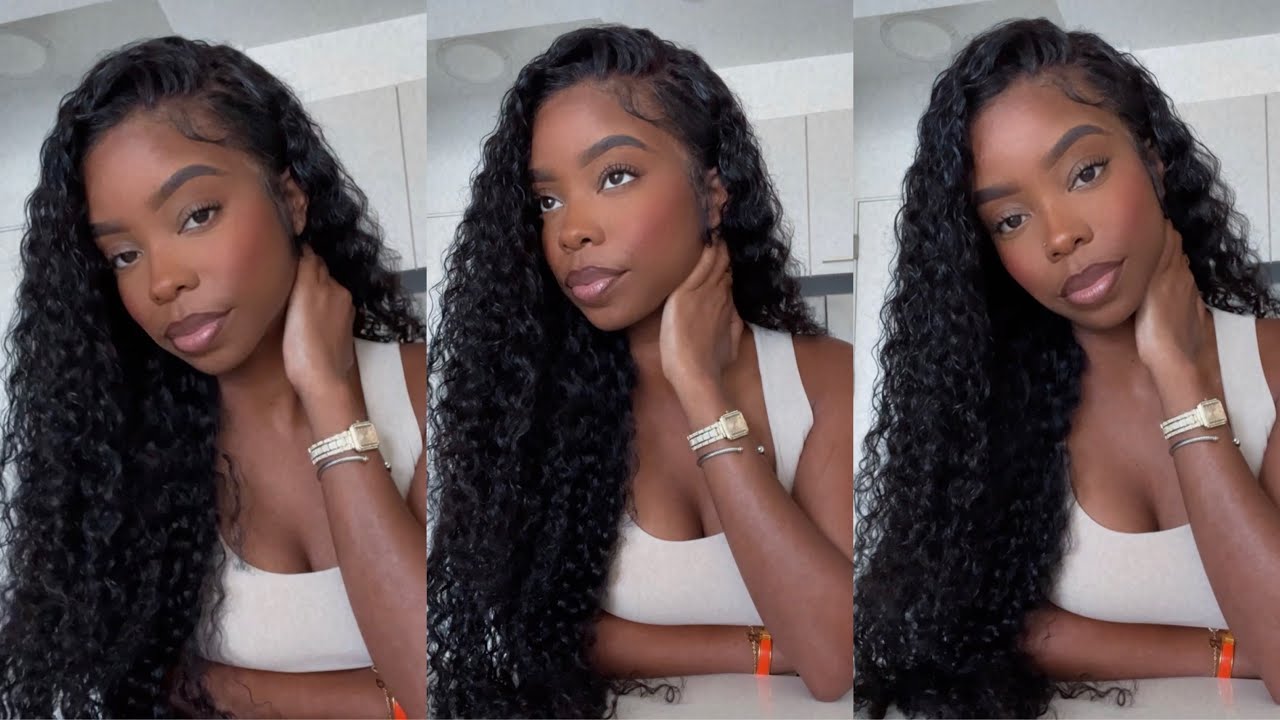
Video Hair info: 4*4 body wave lace closure wig 24inch
Link is: https://bit.ly/3b4gcM6
Hairsmarket Mother's Day Promotion:
5% Off No Limited, Code: Love
$10 Off Over $189, Code: M10
$15 Off Over $259, Code: M15
HD Lace Wig Get 8% Off, Code:NEW8
More Discount,Click Hairsmarket Official Store: https://bit.ly/3umdide
13*4 Lace Frontal Wig: https://bit.ly/3xPsGRy
4*4 Lace Closure Wig: https://bit.ly/3eUhqdY
HD Lace Wigs: https://bit.ly/3unF3ls
Transparent Lace Part Wig: https://bit.ly/3ek8nDV
Headband Wigs: https://bit.ly/3unlKJ1
Bob Wig:https://bit.ly/3vJnkoS
Free Closure Deal: https://bit.ly/3ttKq1z
Hairsmarket Package Deal: https://bit.ly/2RmyhxU
Hairsmarket Wholesale: https://bit.ly/3xNLyAk
Welcome to follow our social media to join our free hair giveaway
Instagram: http://bit.ly/HairsmarketIG
Facebook : http://bit.ly/HairsmarketFB
YouTube: http://bit.ly/HairsmarketYouTuBe
Twitter: http://bit.ly/hairsmarket-twitter
TikTok: http://bit.ly/hairsmarket-tiktok
#wigreview #humanhairreviews #hairsmarket #bodywave #laceclosurewig #straighthair #4*4wig #naturalcolor #hairstyle #blackhair #longhairwig #humanhairwig #wigs #virginhair #cheaphair #brazilianhair #hairfactory
Contact Us: Hairsmarket Manager
Seller: + 86 189 0374 7228
Email: [email protected]
Service: Drop Shipping, Private Label For Wholesaler
Hey y'all ! I hope you guys enjoyed this video! If anyone has any questions|comments|suggestions leave them down below! Thanks for watching! Give this video a big thumbs up & subscribe pleaseeeeeee ! xoxo
If you actually made it down here comment:
"...."
Are you a YouTuber or Business Owner?
Would you like for me to create a something for your channel? I make banners , logos, intros, outros, you name it I can help! Email Me! We can talk about it !
#humanhairwigs #closures #frontalwig #bundledeals #straighthair #sewin #fulllacewigs #closurewig #closuresewin #lacewig #atlantahairstylist #frontalwigs #wiglife #bodywave #closurewigs #explore #hdlace #hairstyle #lacefrontwig #alopecia #hairgoals #haircolor #fashion #rawhair #weave #blackgirlmagic #hairloss #blondehair #frontalinstall #hairbundles
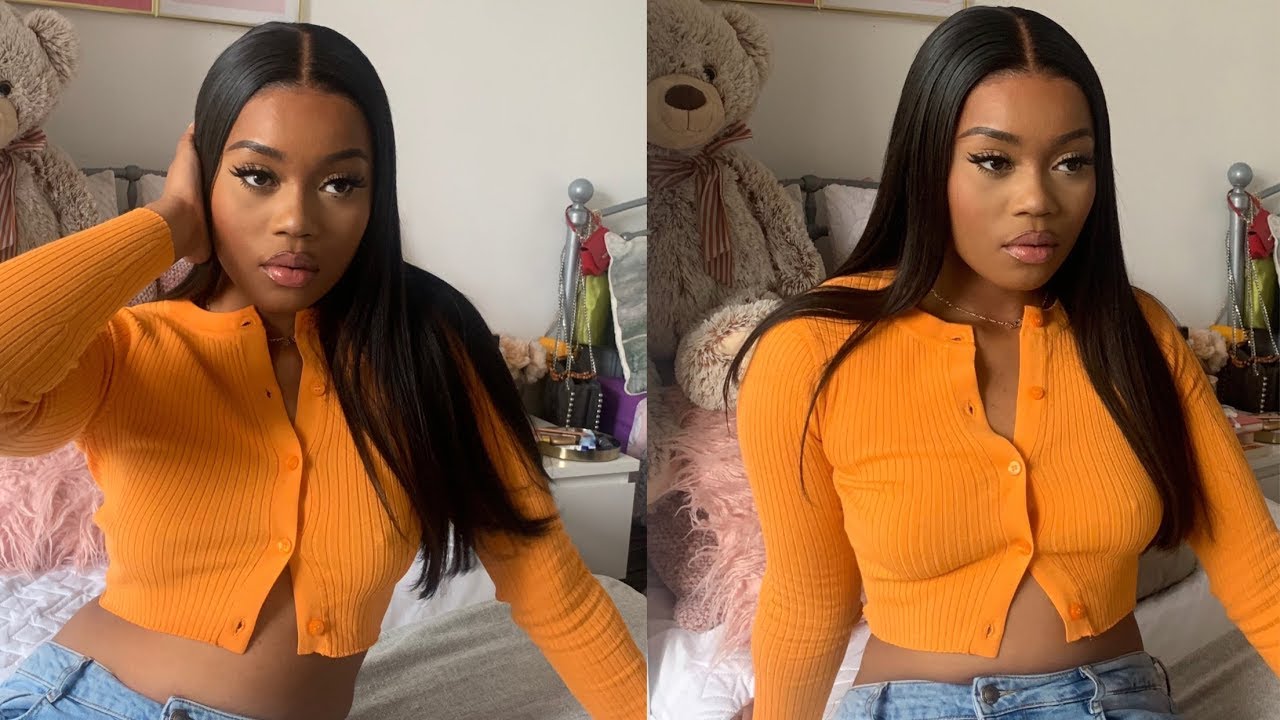
Hey y'all, it's nini welcome back to my channel. Today'S video is going to be a coloring and styling tutorial on this wig. It was sent to me by hairs market um. It'S a 4x4 lace closure wig, it's 24 inches um. It came in the natural brown black color, it had three combs on the inside and it also had the adjustable straps the knots weren't bleached, but it is pre-plucked um. So that's. What i'm going to do right here is go ahead and boost the knot. So i took this 40 volume developer and the quick blue bleach all the products i used in this video came from the beauty, supply store or walmart. So yeah i took a scoop of the bleach and a scoop of the um developer and just made like a really thick paste and just applied it with a knife, one of the little plastic knives or whatever. I didn't go um far enough into the lace to like bleach the top of the knots, because i was scared because i never want to like over bleach it, but um yeah. I might. I might just go back and do it over again, but it was fine for me. I never really lose my my knots like that, anyway, okay, so what i did was started at the bottom, because i wanted to be lighter than the middle section um. All i did was just mix up the developer like normal and um started, painting it and i moved i stopped where i wanted it to end, where i wanted that like lightness to end, i guess and i let that sit on there for about 25 minutes and Then i went back in with some more bleach up to where i wanted it um for like the middle section and let that sit on there for about 25 more minutes, and then i also added like the little curtain bang pieces, so it'll be light in the Front like around my face so after i washed that out, i did go ahead and start plucking. The wig i'm not poking plucking the closure because it was pretty blocked, but i did want it to look a little bit more natural. So what i did was paint paint it. I took a um a paper towel and placed it underneath the wig i haven't seen a lot of like erika, tays um air contain inspired installs or whatever, and everybody saying that you should pluck on a white surface. So you can see um exactly what's coming out and i didn't want to put a towel, so i just put a regular purple towel and that seemed to work fine for me and then i'm going to take this um, smoothing serum it's by the generic brand. That came from sally's and i'm just going to apply that on the hair before i blow dry it and speaking of blow dryer, because i did go past that part um. I took my blow dryer, while the bleach was on just to kind of speed up the process of the bleaching all right. So the next thing i'm going to do is take this edge. Booster white stick and um put it all on like the edges of the wig and then the part just to define the part and lay it down some more and to like um hot comb, the edges back the heart comb. I also got that at the beauty supply store, it was like 19 and it gets super hot like it goes like 500 degrees, or something like that. I messed up one of my wigs with that thing, but um i did go ahead and take out some little hairs in the front for like baby hairs, um and yeah, because i i'll be trying to do the baby hairs y'all to see if they work or Whatever see, if i can do it um, then i'm gon na go ahead and start waving. The hair um i haven't, wiped my hair in so long literally since my very first video on youtube um. I haven't done my hair like this, and that was like five years ago, but yeah this waiver. I got it at walmart. It was like 25 dollars just by bed head um, it's pretty nice, but it gives like really really pretty waves. So yeah. That'S all! I'M doing this is basically like the last part of the styling. All i did was like take my hot comb and like how come that section together, so to make it smaller or flatter or whatever, and then i just went ahead and braided. It put two little braids in the front. I don't know i just wanted to try something. I'Ve never done my hair like this before um so yeah and i just put a rubber band around it, and then i went ahead and waved up that little section and that was it um the baby hairs. I did go in and cut those um and i curled them with my little my mini flat iron, because on all those little air contain videos that i've been watching, everybody is saying that the trick to getting like nice baby hairs is curling them with a flat Iron before you lay them so yeah this was it um, that's all i did as far as um styling and coloring um. I am going to include some clips at the very end of what it looks like on my head and the next video that i post will be the install of this wig, so yeah um. You can check that out if you'd like but um. I think that's it. I hope you guys enjoyed this video, as always, don't forget to like comment and subscribe and while you edit go ahead and follow me on instagram and tick tock and pin up some pearls and i'll see you guys in my next one bye. You
Comments
Drucilla Johnson: Wow that is awesome...
Drucilla Johnson: Beautiful
Lil Lindsoo: Ok friend w the come through
Rachel Alexander: Hey Granddaughter’❤️❤️❤️❤️❤️❤️