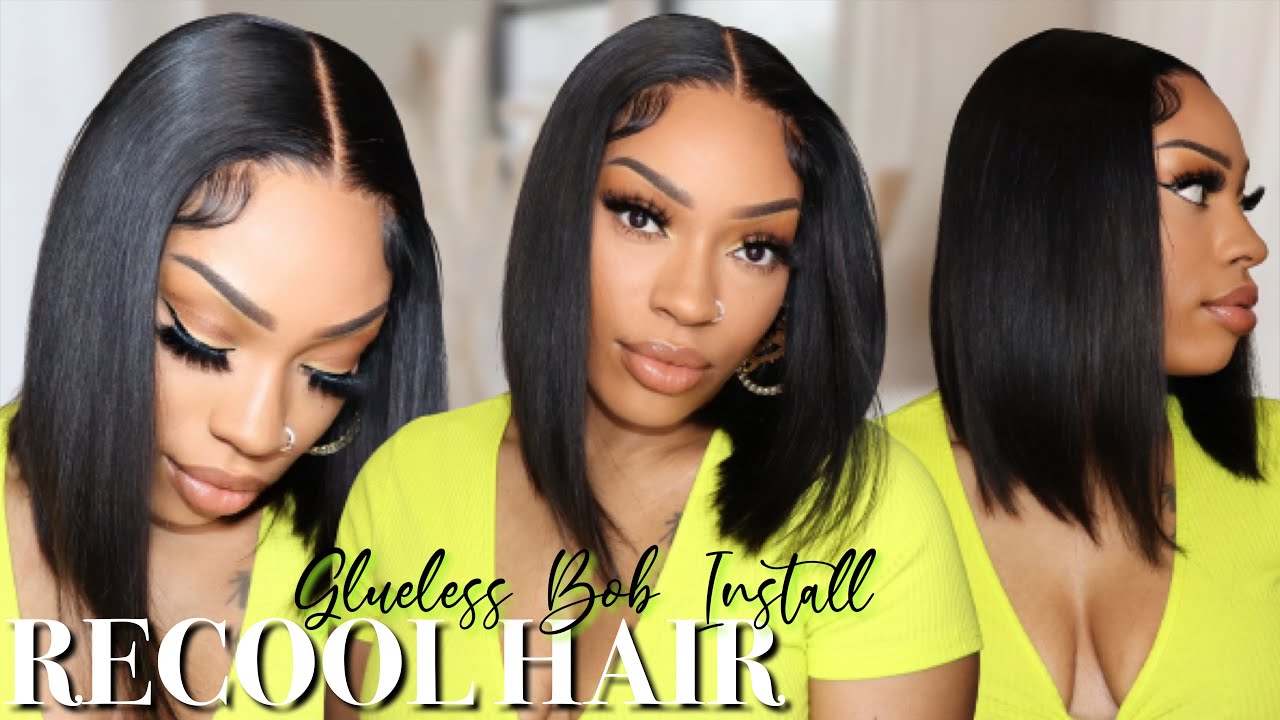
Film Hd Lace Wig Revealed! | Wiggins Hair 24 Inch Loose Deep Wave Frontal Wig Review
- Posted on 12 February, 2022
- HD Lace Wig
- By Anonymous
Instagram: Pessiexo
════════დ #WigginsHair დ═══════
Get $10 off with coupon code“wiggins”!!
❤Direct Link➤https://bit.ly/338TW2D
More coupons please join our Facebook group➤https://bit.ly/3pzwi8e
Hair details:#Loosedeepwave #lacefrontalwig 200% density 24 inches
Hot selling #lacefrontalwig➤https://bit.ly/3zM2GIh
You may also like:
1. Premade colored wig➤https://bit.ly/3G38YFJ
2. Invisible skin melt #hdlacewig➤https://bit.ly/3G2j9dC
3. More Lazy girl approved #headbandwig➤https://bit.ly/3FXQW7D
Follow @wigginshair on instagram:https://bit.ly/3q0tJfm
Tiktok@wigginshairbest
Facebook @wigginshair:https://bit.ly/338TW2D
Email: [email protected]
WhatsApp Wholesale: 0086 18339906150
Jordan, harrison hey guys, welcome back to my channel today, i'm going to show you guys how i achieved this. Look if you're new, don't forget to subscribe to my channel. Definitely like this video. If you like these type of videos and subscribe to my channel of course, comment below, if you have any questions about this hair that i may not have mentioned in the video and let's get straight into the install okay. So the first thing i like to do is cut the ear tabs on this stocking cap. I really love doing this method because it helps you know the wig kind of just stay in the position that i want it to it's. Just this just makes it a lot easier, so i'm using ghost bond glue to help you know, keep the wig on and in place. This helps a lot with you know, helping the wig stay on and it helps the wig not like slide off or anything also guys. If you hear like a fan sound it's my laptop as i'm doing this voiceover. It just keeps like the fan on the laptop keeps going off. So just please try to ignore that sound okay. So when the glue dries, i spray got to be spray on top and then, when the got to be spray dries, i cut the lace me. Okay, so you cut the lace and now it's time to blend the stocking cap still looks like a bald head and i use a shade. That'S like two shades darker and i just think it looks more natural when i do it this way. Okay, so this is the wig all the details of the wig will be in the description box below, but now i'm gon na put the wig on. I always like to put the wig on and just position it exactly how i want it and where i want the wig to sit, and i just find this method extremely helpful when it comes to applying my wigs now we are going to cut three slits. This is another helpful method, especially because when you don't want your wig to lay off sloppy, this is just the easiest method and then now i'm going to flip it back and apply my glue. So once the glue dries out and then you're gon na place, the wig but you're not gon na press, it, okay, you're just gon na place the wig exactly where you want it to sit and then after it like you know it's where you want it to Sit or whatever then you'll press it afterwards, but right now we're just gon na position it to where we want it to sit so okay, so i like where the wig is sitting, it looks. It looks pretty good. It looks pretty good where, where where? Where is sin? Okay and then i use the mirror low handheld mirror to just double check. Everything make sure everything is gucci. Now we're going to cut the lace i cut from the ear first and then i just keep going up. I say this in every video, but when you're cutting your lace make sure you're cutting in like a zigzag motion, so that way it just looks more natural. The key to these wigs is to make it look natural, not to look like a wig. So when you cut the lace, it should look like this. You know nice and sleek and you know clean or whatever. Okay. So now i'm doing a middle part, and i like to do the middle part when i'm trying to figure out where i want my edges to be. I'Ve been doing this for years, and it's worked for me. So when i do my edges, i've learned a few things. One is to basically figure out which piece of hair you want to cut right, and then we cut the hair, of course, and then you know i'm doing the arrogance, hey method where i'm curling the baby hairs with a little mini. You know hair straightener, and this has made doing my edges very, very easy and i also cut it a little too long, but i i'm gon na cut it in the end, but i use this spray. This got to be spray, helped my edges stay in place. All day, long literally - and i learned it from tay joining - oh jordan, harrison! Oh okay! So this is the edges. We are done. Okay, i always like one side more than the other, which side do you guys like so now we spray some water to get the corals popping world. Okay, this install was very smooth and very quick. We love that for me and i also like to add some melting spray, just to add a little pizzazz to the edges. Okay, so it can melt even more and then i'm gon na tie it up with you know this little scarf thingymajigger. So now we can just brush the hair untangle it get the little crevices and everything period and, as i'm brushing too, i also like to like scrunch my hair. So that way you know when the hair dries, the curls would just pop out even more. Okay, guys, are you guys ready for the review? Let'S see how the edges look. Oh looks good okay, so this is the overall look of my hair. This is how it looks when it's wet and i'm also going to show you guys how it looks like when it's dry and also do like you know a little outro. But this is the final look, so i hope you guys enjoyed this install. So you, oh all right guys. This is the final look. I hope you guys enjoyed this install and, of course, if you're new don't forget to subscribe. Thank you guys so much for your support. Thank you for 15k subscribers, alright guys. I will see you guys on my next video thank you for watching bye, guys,


Comments
Lee Moore: I love this dude. This channel needs P-R-O-M-O-S-M!