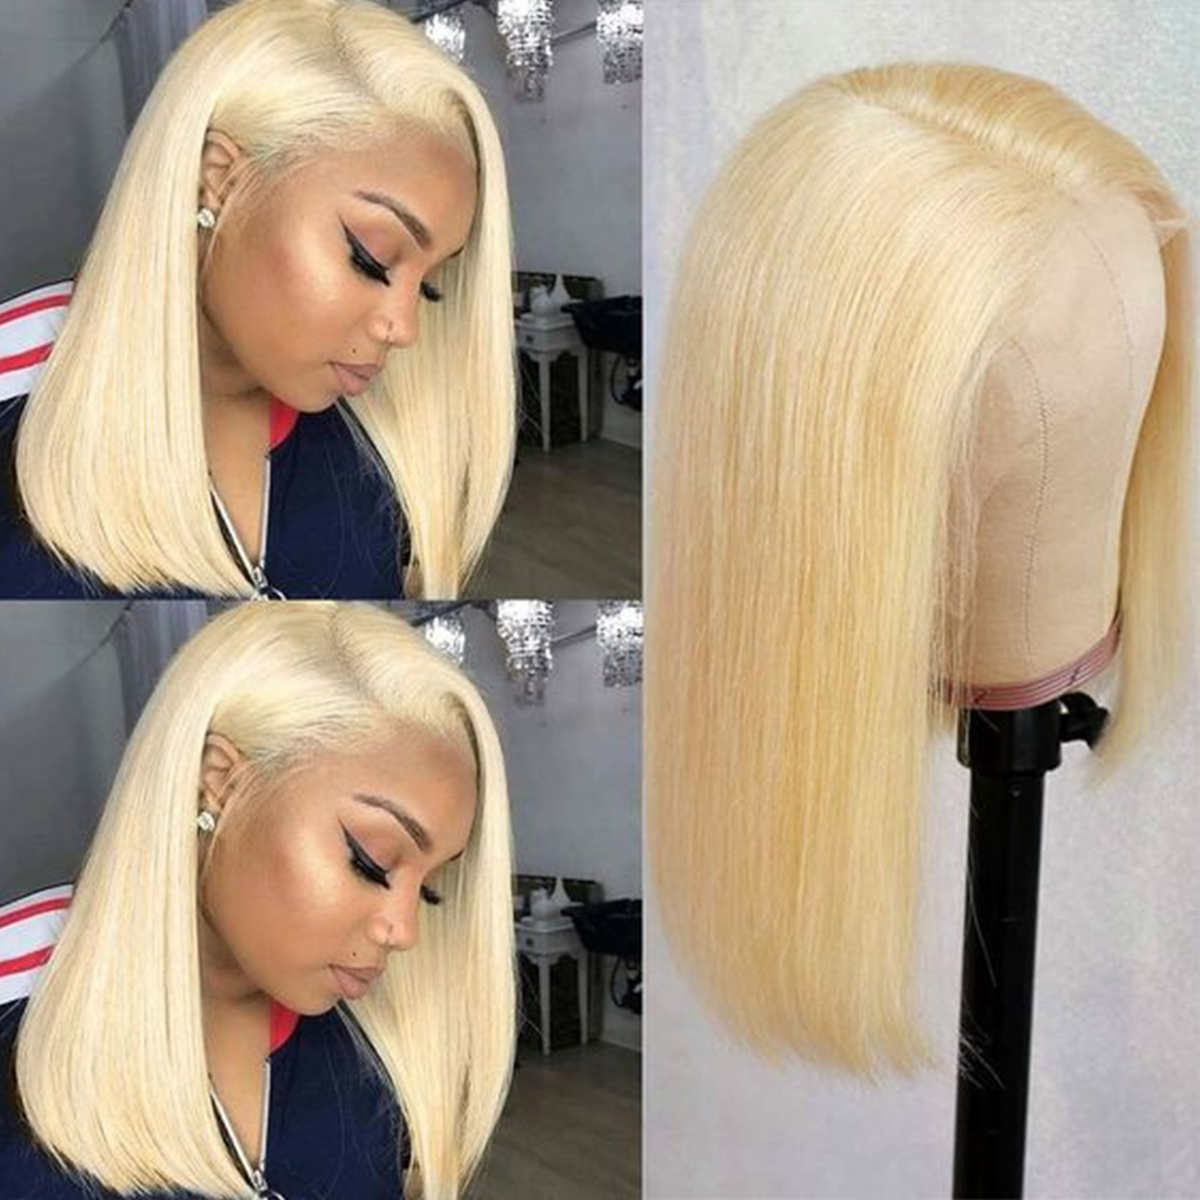
5X5 Deep Wave Undetectable Invisible Lace Glueless Closure Lace Wig Ft. Luvmehair
- Posted on 13 April, 2022
- HD Lace Wig
- By Anonymous
Direct link of the wig: https://bit.ly/35YgJQf
Length: 20inch
Check luvmehair website: https://shop.luvmehair.com
-------------------------------------------------------------------
BUSINESS INQUIRES ONLY (NO personal emails!)
⇣ ⇣ ⇣ ⇣ ⇣ ⇣ ⇣ ⇣ ⇣
Connect With Me ⇣
Instagram ⇢ http://instagram.com/ko_glamour
TikTok ⇢ https://www.tiktok.com/@ko_glamour?lan...
Twitter ⇢ http://twitter.com/ko_glamour
Pinterest ⇢ https://www.pinterest.com/ko_glamour/_...
--------------------------------------------------------------------
Kya's AmazonStore Front (Affiliate)
https://www.amazon.com/shop/koglamour
Shop my Most Used & Favorite Products
►Got2b Spray: https://amzn.to/38He2Ok
►Electric Hot Comb (Temp Control): https://amzn.to/38BCQHC
►Got2b Glue: https://amzn.to/3aKV5vv
►Electric Hot Comb (Non-Temp Control):https://amzn.to/2wNO1jj
►Hair Clips: https://amzn.to/2TH6LK7
►Ors Olive Oil Fix-It Grip Gel: https://amzn.to/39UEsNS
►Abody 5 in 1 Curling Iron: https://amzn.to/2TJVLM9
►KIPOZI Flat Iron 1 Inch: https://amzn.to/38HRKft
►Neutrogena Face Wipes: https://amzn.to/38HRKft
►Esha Glue: https://amzn.to/2TWzt8W
►Got2b High Hold Hair Spray: https://amzn.to/2YCqkop
►Got2B Flex Insta Hold Hair Spray: https://amzn.to/2MYsnh6
►Garnier Fructis Style Sky-Hi Volume Mousse: https://amzn.to/2ACyYv1
►HairDryer: https://amzn.to/3hnyeKK
⇣ ⇣ ⇣ ⇣ ⇣ ⇣ ⇣ ⇣ ⇣ ⇣
The links above are affiliate links. If you do choose to use them, I will earn a small commission. I appreciate your support. I am so glad you are here!
--------------------------------------------------------------------
CHECK OUT MY PLAYLISTS :)
►SYNTHETIC WIG REVIEWS: https://www.youtube.com/playlist?list=...
►HUMAN HAIR REVIEWS: https://www.youtube.com/playlist?list=...
►PONYTAILS: https://www.youtube.com/playlist?list=...
►UPART WIG REVIEWS: https://www.youtube.com/playlist?list=...
►CLOTHING TRY ON HAULS: https://www.youtube.com/playlist?list=...
►VLOGGING WITH KYA: https://www.youtube.com/playlist?list=...
►GLASSES COLLAB:https://www.youtube.com/playlist?list=...
►3-IN-1 GRWM: https://www.youtube.com/playlist?list=...
--------------------------------------------------------------------
CAMERA EQUIPMENT USED:
►Canon T6i: https://amzn.to/2Q7K0gu
►ESDDI Softbox: https://amzn.to/2TYZAfq
►Ringlight: https://amzn.to/2vaGMBk
--------------------------------------------------------------------
Some products are provided to me review purposes. I will indicate above if the products being used/reviews has been sent to me for promotion. All opinions are my own, TRUST and BELIEVE. We giving straight honesty over here. Haha! Love you guys!
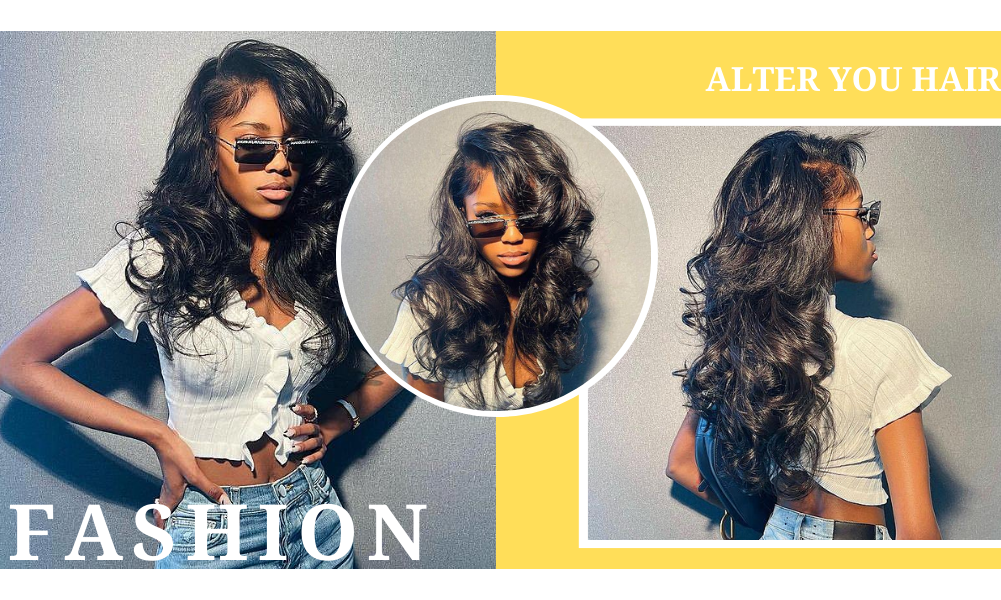
Hey guys welcome back to my channel today, i'm installing a unit sent over from love me hair. They sent over this beautiful closure, curly wig and i'm excited to show you guys my installation process. So i bleach the lace off camera and i'm also going to add some tent spray, as well as a little bit of powder to that lace, so that when i install it, it is completely blended into my skin. When you use lace, tint spray, i always recommend using a blow dryer just to dry it down a little bit, so it doesn't transfer onto your skin or your face. I'M going to use a wig cap today. This one is already a little bit pre-tinted because i've worn it already. This is what the unit is looking like, after a wash, so i'm just trying to place my unit where i want it to be. I am obsessed with closures to be honest, y'all. I prefer a closure over a frontal any day. Um, you just got to know how to work them and you can make them look very realistic and natural um without having to attach that lace near your ear. I don't know about you guys, but i always struggle with that. So to get my closure laid installed and you know just staying in place, i'm going to use some ebb and spray today, but first i'm going to just get the closure molded. So i am using one of my edge. Pomade sticks that i picked up from a local beauty, supply store and i'm going to push that hair back, and i will use my hot comb to just flatten the roots out and it also just helps with molding it. Making it go in the direction that you want it to like make the hair fall in place and also i did pluck the frontal it did come pre-plugged, but i plucked it some more. So now i'm going to use my ebbin wonderlace bond spray, this one's in the yellow. Can it's the extra mega hold it's the original adhesive spray and i'm going to spray that underneath the lace today. So i'm just going to flip that lace back and i'm just going to spray all the way around where i want the lace to lay and then i'm going to blow dry that spray down just a little bit. So it's not completely wet and then we'll just stick the wig down and it is going to hold you guys. This is going to hold so good. So if you have not tried this ebbing spray before, please pick it up, you can find a link below. In my description bar to purchase it and save some money on your purchase or you can just go to your local beauty, supply store as well and pick up a can, and i also think it's available on amazon if i'm not mistaken. So now i put the lace down i'm using my comb to kind of push the hair in and push the lace in, so it'll stay in place, so we are serving scalp for sure. Like that looks so realistic. I love how that plucking technique came out today. Now i'm going to move on to cutting this lace off, i cut like little snippet pieces so that way it doesn't give like that straight cut across type of look, it'll just be all nice and blended, and i'm going to take some powder as well. Just to put it around the edge areas where it might be any places that you know the lace is trying to lift or show, and we just want it all to blend in. So i did spray a little bit more product on top of the lace, which is why i'm using my blow dryer and the rat tail end of the comb to just push that lace in it looks really good. So i was going back and forth. Of course, like i always do in case, i was going to do a middle part or side part, and i decided side part today because i feel like i serve you guys with the middle part quite often so i'm going to do a side parting space. This is on my right side and i'm going to use my hot comb to kind of mold that in the direction i want it to go in you'll see that shortly so, since the top of the hair is a little bit more dry compared to the bottom, I'M just going to add some water and most to the hair so that everything will blend and be like the same texture and i'm also taking my wig brush and brushing through that hair. And you know this hair was really good quality like i wasn't dealing with any shedding with this wig. You see how those curls just bounce back to life and they look so juicy and curly. It'S really good quality hair. So once i have pretty much saturated the hair with water, i'm going to move on to just perfecting my parting space first and then i'm going to move on to adding some mousse. The thing is with side parts. I never know where i want that side part to sit. It'S always a struggle for me, i'm figuring out where exactly i want it to sit at. I don't know. If that happens to you guys, i think that's probably why i go for a middle part, often as well, because it's just easier, you know where a middle part sits versus trying to figure out where you want your side, part to sit once we added that nice Mousse, on top, do y'all see the comparison from the right side to the left like that mousse, just oh it just like it hydrated the hair. It just makes it look so voluptuous, like i just really love how those curls came back to life, and then you can see what the back of the hair looks like as well. It looks so so good wow, i don't know i used to be a body wave girl y'all, but now i loves me a good curly wig. I love me a good curly wig, alright, so now that i've added all my products - and i got my parting space where i wanted to sit at that - is pretty much it y'all with the installation like that. Wasn'T too many steps um? I definitely think it takes a little bit of practice just to get it. You know get your wigs, how you want them to look, but as far as like adding the products and stuff to your hair, that's pretty simple um closures. Also, i feel, like that's a great way to start with wigs versus um the frontals, so i think it would be a great beginner method for you. If you're, just now considering trying a wig and, like i stated earlier, the quality of this hair is really really good. Y'All, like i was really impressed with how well it took all the products i put in it as well as how well the knots bleached, how good that lace just melted into the skin. It was like a thin lace, so i feel like thin. Lace is a little bit more easier to install. It also helps make it look a little more realistic as well. So i really appreciate that i did also install my wig today, of course, no baby hairs. I just prefer my wigs like that, but you can add some if you would like, but overall you guys, this unit definitely gets a 10 out of 10. For me, if you're interested in the unit, the link will be in my description bar below. Thank you again to love me here for senate over today's unit. Thank you guys for watching and i'll see you in my next one bye, y'all


Comments
Blackberry- Rose: This is Gorgeous. ♥️ the curls and how natural it looks. Tyfs
L B: looks really good. I'm over frontals. do you know how to make a frontal into a closure? I have alot of frontals
Just Jeenie: So nice
Just Jeenie: Do you sell your units ?
Sammy Da Goat: Fourth Comment Lovely Hair Stunning Thumbnail Orange Looks Fantastic On You