Quick 5X5 Hd Lace Closure Wig Install Tutorial | Short Bodywave Ft.Yolissa Hair
- Posted on 31 December, 2021
- HD Lace Wig
- By Anonymous
Hi everyone! Thank you for being apart of my family! Subscribe and hit the bell for more amazing videos!
♡ ♡ ♡ ♡ ♡ ♡ ♡ ♡ ♡ ♡ ♡ ♡ ♡ ♡ ♡
Business inquiries email [email protected]
▷ CONNECT WITH ME!
TWITTER ‣ https://mobile.twitter.com/xeel__?lang...
INSTAGRAM ‣ https://www.instagram.com/xeel__/
Shop /Book me Www.Alexissjay.com
Follow My hair page : @Alexissjayy
Product Page: @AlexisJaycollection
●▬▬▬▬▬▬▬▬▬♛Yolissa Hair♛▬▬▬▬▬▬▬▬●
Direct Hair Link:➤https://bit.ly/3FBq397
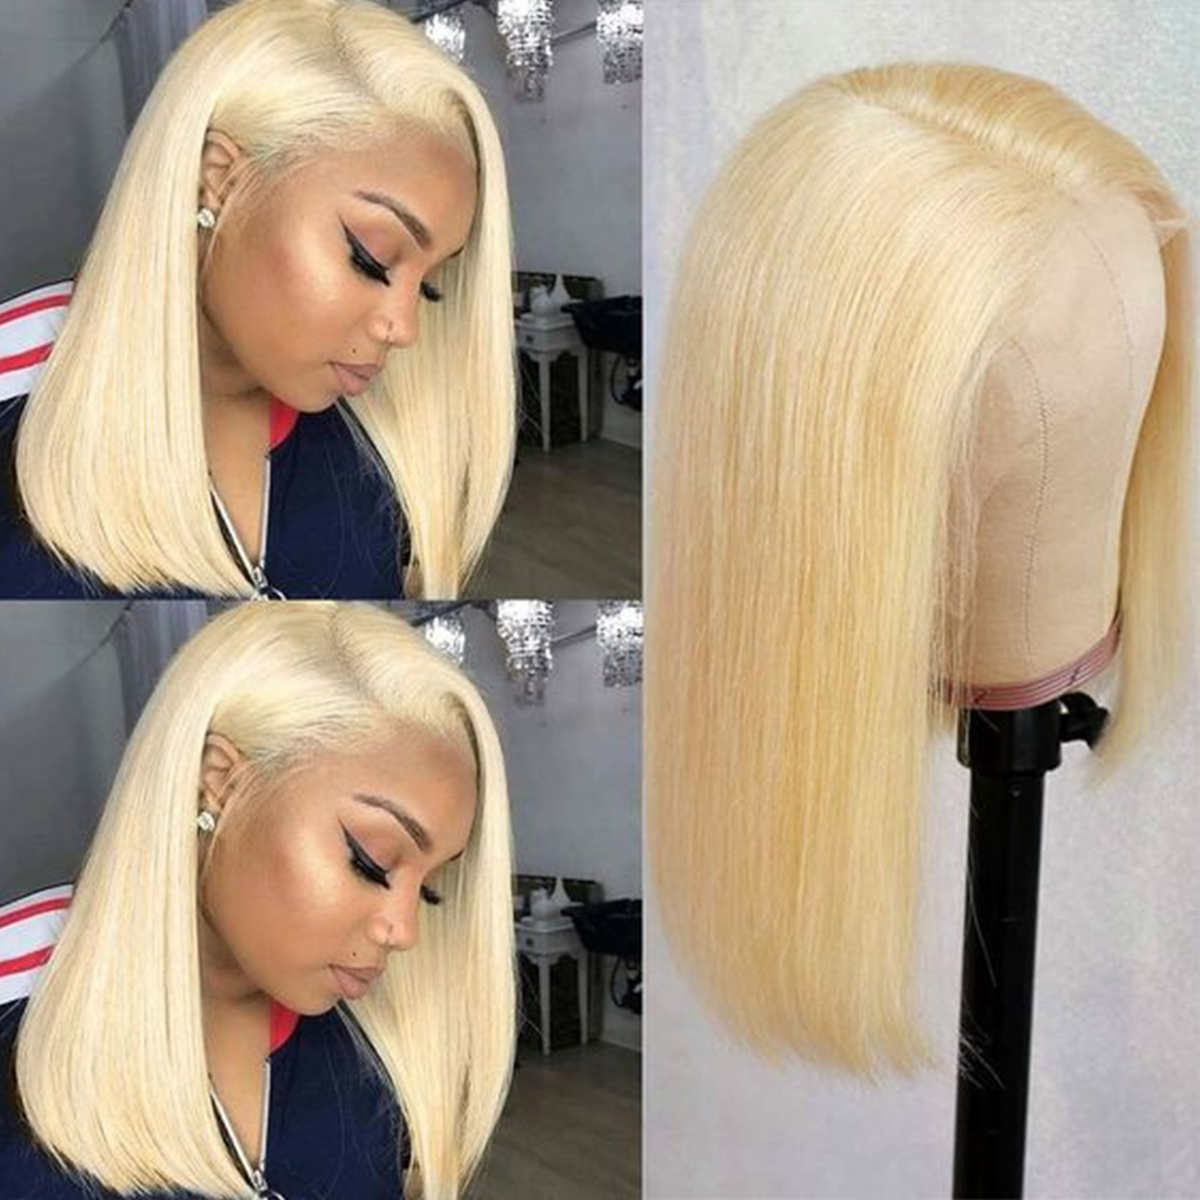
Hair Info:Short Body Wave 5x5 HD Lace Closure Wig 20inches 180% density
❤ #yolissahair Official Website:➤https://bit.ly/3kTY3Wh
HD Lace Wigs BUY 1 GET 1 FREE:➤https://bit.ly/32ikuhm
►Use code “yolissawig”, wig order Get 6%OFF
Yolissa Latest Hair Get Extra 8% Off:➤https://bit.ly/3oHPcIm
Best #yolissa613wigs :➤https://bit.ly/3FwXMk0
Follow Yolissa Hair On Social Media
Instagram: https://www.instagram.com/yolissa_hair...
Facebook: https://www.facebook.com/yolissa_hair/...
✔Wholesale Contact +86 15803834514
Best Regards,
Anna❤
Website: www.yolissahair.com
Ins: @yolissa_hair
Facebook: @yolissahair
Youtube: Yolissa Hair
Hey guys back with another video partnering with your lissa's hair, we are doing a 5x5 hd lace, closure wig installed today, guys it is going to be glueless, of course, and let's just get into how this wig came straight out of the box. It is super curly and it has so much jump to it. Like you see how bouncy that is, this is the goodies that came with the wig. It came with a cute little baggie, also a little instruction manual of how to keep the hair up, how to brush the hair, etc and also a little card. This is a card explaining what type of wig it is. This wig is a 20 inch. I believe i said hd lace closure unit 5x5. Here it is on her head, no makeup or anything added to it, and you can see it's completely blending with her skin, like so good and that's before even melting it, but before we get into it, we're going to cut off these excess little tabs because it's Going to have your you know your your install look, a little more seamless, i'm going to get her to hold this, because i'm going to part her middle part out, and i'm also going to part her edges out before i spray the hairspray on and tie her Down this is really my favorite hairspray for, like you know, glueless installs. I did find out that they have a black cane y'all and it says 20 times more the whole. This one is 10 times, so i'm going to use that one in my next set of videos just to see how i like it better and i'll, do the comparing and contrasting you know comparing and contrasting next time, but i'm just going to take and comb out Those baby hairs because they are a little hard due to the hairspray being on it and yes, i did notice, i put a lot of hairspray. I didn't mean for it to drip down like that, so you don't have to be like me. Okay, don't have to be like me at all, and here we're gon na just take and use some gorilla snot. I really love this technique because it's it really molds it down really flat to me and then, on top of that, once it's fully dry, i take a hot comb and press it out and i feel like it leaves the install looking very seamless and very flat Because that's the goal you want it to be very flat: okay, going in and cutting her baby hairs, i'm going to take my small flat iron and curl upward because i like to get the little layer type of um edge when i'm doing it. It'Ll look kind of curl you'll see once i start to swoop them. So now, if you don't have a hot comb, you need to invest in one, because it's like your best friend when you're doing lace installs that hair was kind of bumpy. That'S why you see me going through and keep doing it with the hot comb, because i needed to lay all the way down. We'Re also going to take this ruby, kisses makeup and a lighter shade in her and i'm going down and defining her part just to make the part more crispier, and then i'm going to take this spray, the black spray and spray it on the part just to Make the part again more defined and crispy, so here i'm just adding on the finishing touches. This wig were super easy to install and it was glueless. I installed this wig under 15 minutes with the install, not including the curls, but i'm talking about install, but the curls were done with flexi rods. If you guys would like a more in-depth tutorial on how to do these curls comment below and i'll be sure to do one, but thank you all for tuning in. I really hope you guys enjoyed this video. I love y'all and i'll, see y'all in the next one.


Comments
Zarria Greene: Definitely want that flexi rod tutorial
Yolissa Hair: Flawless Install! Love your video~
Kaliyah Ware: Yessss, give us the flexi rod tutorial
Prettygirl Dee:
Courtney Moore: ! Are we getting a vlog soon ?
Pretty Tay: Flexi rod tutorial pleaaasseee