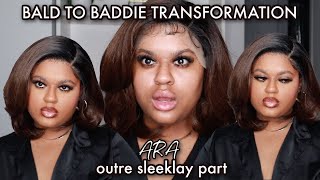
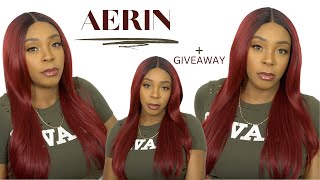
Diy Synthetic Headband Wig || Super Easy And Cheap To Make! || South African Youtuber
- Posted on 04 June, 2022
- Headband Wig
- By Anonymous
Heyyy lovies thank you for watching please do not forget to like comment, subscribe and share with your friends and family
If you’re interested in getting your own headband wigcontact us on instagram @kblacks_diary
Hey lovelies, thank you so much for tuning in welcome back to the channel um. If you are returning here, please do subscribe guys. Today'S video, we are gon na, be doing a headband week. Okay, the easiest way to do it at home. This is what i will be using i'll, be using a wig cap and also um a headband, so you can use any headband of your choice or any piece of cloth that you have. You can always use that. So what you're gon na need you're gon na need this needle it's a c-shaped needle. I got it from this cam. Not to forget your synthetic hair. I got it from cosmetic connection. I will not be using frontal in this video. I only used those three bundles to make this weave so that one will see next time when you renew another week so yeah. Firstly, you are gon na tie your hairpin on your statue or manicure. I don't know what they call it. I'M sorry um yeah, as you can see there, okay buffalo on that thingy on your recap like that, tie a knot like that and then now we are going to sew the front part so that evs davey is going over. So i will show you guys the the part that we're gon na do so you're gon na start on your side of the head going that way. Ah, so this is how it looks so far. You can just do that and make sure that it is tight. It doesn't move um, so after you are done all sides, you must repeat the same process so that you can make sure that it is stiff. As you can see, i am done with the frontal part um, it's crazy, and now our next step is to put our hair or the girl. So i'm trying to show you guys why you, you start on the side of the head, going to the other side of the of the ear. Sorry, so that it gives you spacey, as you can see there, or how much of a performance sitting where you can. Also, do it your own way, so what i do i always um section my hair, so i could draw my line three lines so that i can have a clue, happy saga. It'S amazing how my panels are gon na be laid up on this hair, so that so i have parted that in three parts, so it means for three persons so um. Before i sew in the the middle um, i paint it up first to see how it will look. So this is how it will look before. Oh, the other part is missing guys. So this is the end almost the end of the video, when i'm done doing everything i'm using the hair food and also this olive oil. Black with black, castor oil and coconut oil beverage is for braids and protective natural hairstyles. So this one will help to detangle the weave. This is how it looks how the finished product of this hair looks guys so guys yeah. This is the end of the video. Thank you so much for tuning in. Please do not forget to like comment and subscribe. Um to the channel to get more diys like this ones, easy diys that you can do at home with low budget this hair. I only got it for 160 if i'm not mistaken at cosmetic. Thank you. So much bye,


Comments
GOLDY VALENTIA: Hey love it you got our self a new subscriber,❣️