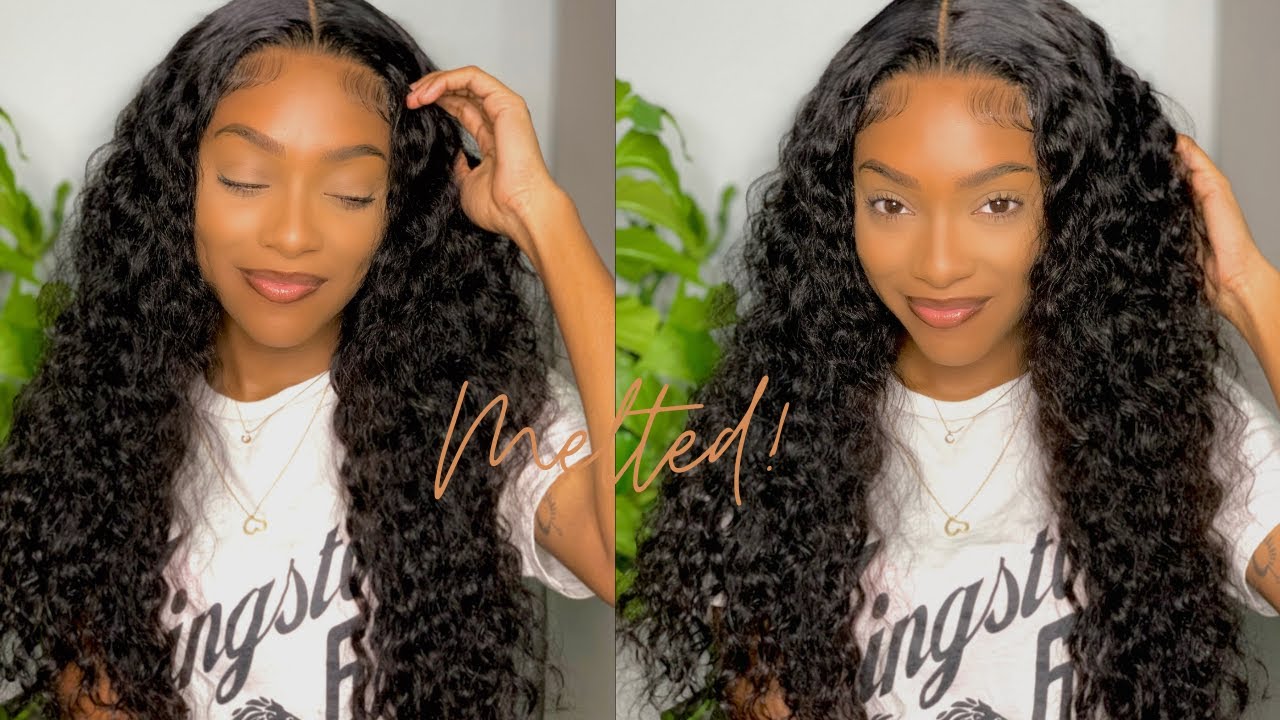
Must Watch | Very Detailed Glueless Lace Frontal Wig Tutorial | Part 1 | Omoni Got Curls
- Posted on 07 October, 2021
- Lace Front Wig
- By Anonymous
Hey Beauties! Thank you once again for all your support! I love you guys!!!
HERE IS THE PART 2 OF THIS VIDEO.
GLUELESS LACE FRONTAL WIG TUTORIAL | PART 2
Shop from my website.
Let's be friends
Instagram @shes_omoni
business IG @shesOMONI_collection
Tictok @shesomoni_collection
Hey guys welcome back to my channel and thanks for tuning in, i hope you all are well if you are visiting for the first time my name is omani and you're. Welcome to my channel. It'S been a while i posted here because a lot has been going on, but i'm back and in today's video i'm going to be making a blueless lace, frontal wig for my client. I'Ve made wigs for her before so this time around. She wants a glueless lace, frontal wig, and this is the lace that i'll be using. I already bleached the frontal to the color that she wants and i also tinted the lace to match her skin complexion. So, as you know, in order to make a blue less lace, frontal wig, it is very important to know the circumference of your head. So, in order to take the measurement of your circumference, you need a tape, a measuring tape and you're, going to take the tape around your head and also you want to make sure that your hair is braided into a tiny cornrow. So this is the circumference of my head, so i'm going to take it off, so i'm going to take it over and show you guys the circumference of my head. So, as you can see, mine is a size 22.. Another measurement i'll be taking is my ear to ear so my ear to ear right here. You drop it here like this. I don't know if you guys can see it, and then you go like this to the other side of your ear. So that is the measurement mine is 12 inches, so for this client that i'm doing her wig her circumference is 22, which is a size medium and her ear to ear is 11 inches, so those measurements are very important. There are other measurements that you need that you um you need to take, but these two are very very important. So when making a closure, we really don't need the ear to ear measurements, but you definitely need the circumference and also the circumference, which is around your head, is very important to know the cup size that you should buy and also the converse head that you should Buy so for a size 22, the converse head is, of course the converse head is 22 and the cap size is medium. As you guys know, lace frontal comes as 13 inches, but in some cases it comes as 13 and half sometimes 14 inches. So before you resize your lace frontal, it is very important to take the measurements from here to here, just to make sure you have the 13 inches. So, if you're cutting, if you're resizing it to 12 inches, you already know you're taking out half an inch on both side and if you're, for example, this particular one i'm resizing it to a size, 11 inches right, so i'll be cutting out one inch here and One inch here so i'm going to turn my camera to my table, to show you guys exactly what i'll be doing so guys. This is the frontal. So i'm going to take the measurement like i said before, just to make sure it's 13 inches. So this is it i told you, i told you this is very important. As you can see, this one is not even up to it's, not 13 inches, but let's see so. This is actually 12 inches instead of 13 inches. I don't know if you guys can see that so it's supposed to be 13 inches, but what i have right here is 12.2. So if i didn't take this measurement before cutting the lace, i would have ended up having less than 11 inches of lace. So what i'm going to do - let's just say this - is 12 inches and i need 11 inches. So i'm going to cut out half an inch on both sides. So this is how you do it. No i'm going to put it like this half an inch. Is this particular place right here, so this is half an inch, so this is half an inch here to here is half an inch, and that is what i'll be measuring. So i have my half an inch. That'S it right there. So what you want to do is to so what you want to do is to take your marker and just mark it half an inch. So this is half an inch right here. I'M going to repeat the same thing on this side: half an inch don't have to be in a hurry when doing this. Just take your time, so you get it right. So half an inch is right here. Then, if you guys see what i'm doing so, that's basically the measurement for half an inch. So the next thing you're going to need, is your comb or whatever you like to do so, i'm going to just separate that half an inch. I i have my hot comb. You really don't need this ball. This is how i like to do it. I just use it to put this hair aside. Okay, so i already separated my half an inch on this side. I'Ll repeat the same thing on this other side as well, you don't know batman, so the last thing you want to do is to cut so i'm going to use my scissors to cut so this is half an inch that we just cut out from the lace. I'M going to repeat the same thing on this side, and this is the other half an inch on the other side of the lace. So that's basically it if this was to be a 13 inches, then i would have cut out one inch on both sides, but because it's it's 12 inches, i cut out half an inch on both sides, so this is 11 inches. We are going to take the measurement of this one more time, just to make sure we have 11 inches. It'S also very important. I know there is barely anything we can do at this point, but let's just be sure that we have 11 inches. So, as you can see um so, as you can see, we have 11 inches 11 inches. So that's basically how to cut or resize the lace to match your to match your head. So guys this is a cup size, medium and also the canvas head is medium. So if your circumference is 22, the convex head that you should use should also be a size 22, and the cap size should be a size medium, just to make sure that you get it right. So you don't end up making the wig and it's too big or too small. So i already took out the extra um cup i resized the cup to fit the convex head. As you can see, there are no wrinkles, nothing that the cap is really fitted into the canvas head because i resized it. So if you want to see a detailed video on how to resize your cap to fit your head properly, then i'm definitely going to be doing a video on that. Just make sure you let me know in the comment section below so that is it and now i'm going to place the frontal i need pins for this. I think i'm going to have to take all these pins down because they are interrupting okay. So what you want to do is to fold the frontal into half fold it into half make sure it is really into half like this and then you're going to take one pin and put it in the middle like so so once you have that you're going To bring you see this line on the canvas head, it is there for a reason. This line actually tells you that this is the middle of the head. So what you want to do is to take this pin and bring it down to three inches. So you're going to measure how to know is three inches from the hairline. I actually have actually have some stains right here. I actually used a marker to put points here so from here. Let me do it like this so from here from the neck of this canvas head to the hairline is nine inches, so, as you can see from here to here is nine inches. Let me show you guys, so you know what i'm talking about where's my tape. Okay, so this is the hairline and from this hairline to the neck, is nine inches. So i have. I have a marker point right here to remind me that this is the hairline. So you just measure in order to make the hairline just measure nine inches from the neck of the canvas that will tell you where your nine inches is and from there you measure three inches down. So, as you can see, i also have a point right here to tell me: this is three inches from the hairline, so what i'm going to do now is to i'll pull the lace all the way to three inches. Okay. So now that i have the lace like that and it's on so this is the back of the this - is the back of the of the head, so you're going to use another pin to hold it down at the middle of, of course, and you're going to Position each side after placing the pin right in the middle of the lace at the back, so what you want to do next is to position each side lay really flat on the cap, and another thing you want to do is: to put you see this list Right here here to here so you're going to put half into the cup and half outside of the cup. I don't know if that make any sense, so half of it should go into the cup and the other half outside of the cup like. So so we're also going to pin down this part. So i'm going to pin it down just to make sure it doesn't move so, as you can see half outside of the cup half inside of the cup. I repeat the same thing: i want to make sure that it's laying flat as well as you can see mine is laying really flat so i'll repeat the same thing on this side. So now that the frontal is laying really flat on the canvas head or on the head, because this is a head okay, so we're going to sew it from one end to the other starting from the middle. So i don't know how you plan on making your wig if you're going to be hand stitching or using a sewing machine, i will be using a sewing machine, but it doesn't really matter how you choose to make your wig. The method is still the same anyway. So guys, i'm done sewing both sides down, and this is what it looks like it's laying really flat and all that so the next thing i'm going to do is to draw my guidelines. So, in order to draw my guidelines, i'm also going to be using the tape once more. So what you want to do, if you are doing if you are sewing this on a sewing machine, what you want to do is to draw one inch on is to draw one inch on each side. So if you are doing it on a sewing machine, so you want to draw one inch on the cap. But if you are going to be hand stitching, if you are going to be hand, stitching and doubling your weft or if you're going to be doubling your wefts in general, so you can draw one inch on the cap. But if you want to do single track, i recommend that you draw half an inch instead of one inch. So this is it you don't know. Batman is foreign said, i'm in love with you follow me baby, and the next thing you want to do is to sew. So if you want to hand stitch, you know what to do. You just lay your tracks, make sure the track is laying really flat, and then you sew and if you're, using a sewing machine. You already know what to do as well. Take off the cap and so down so guys. As you can see, the wig is glueless. So see how tight it is. You can wear this without any glue or spray okay, as long as you have your right measurement and you attach your elastic band, then you should be fine, so that's basically it for this video and, like i said this, video is divided into two parts. The first part is when i took the measurement the adjusting of the did. They adjust the cup. I can't remember if we adjusted the couple the measurements the guidelines um sewing down of the frontal. I think that was the first part and the second part is sewing. It down on the sewing machine and also attaching an elastic band so yeah i'm going to link each of the videos in my description box below in case you guys are interested. Thank you guys so much for watching this video. I love you guys and i'll see you all in my next one bye guys you


Comments
Vera Kamara: This has been the most helpful video! I feel confident to now redo my wig. Thank you for making it simple
HDsignatures: Welcome back mama, you did an amazing job with this wig, and to be honest, I never knew about all you just mentioned in this video about circumference and ear-to-ear measurement and all. Thank you, this was detailed
Debo Yeboah: This was really painful helpful. Looking forward to the part 2. And yes kindly show a video on how to adjust the cap. Thank you
Willeneful: You deserve all you ask for customed wigs..love you much. Thanks for always sharing
Michelle Witter: We have the exact size head you and I. I love your tutorials....
Orlunwor Adelline: Can I also move the frontal 3” away from the cap when remaking an old frontal wig?
Jennifer ehenomen: This the best glueless frontal tutorial I've watched,thank u and God bless you..... please can u do a tutorial on how to ventilate frontal?
May Legacy Handsome: Good evening omoni. Thanks for the tutorial.i have learned but pls can you do a detailed tutorial on how to reshape the cap to a definite size. It will really help. God bless you for all you do for us beginners. Ciao
Jewel: How long does it take you to use the machine to make a whole head compared to sewing?
Janet Kalu: Can I ask why you moved it 3 inches away. I don’t understand that concept pls. Why do we have to move it 3 inches and in what scenario is it applicable to move it 3inches. Is it with All frontal sizes,glued frontal etc. Can u pls explain
Wigbydebbie: Very detailed video thank you please can you make a video on how to wig an old frontal
Felishia White: Very helpful video
Adobea papabi: Hello dear so when do you have to leave 3” or 1” above the cap the front am a bit confused
Gemini Beauté: You’re doing the Lord’s work
Rose Nkambule: I'm so afraid afraid of down sizing my lace I feel like once I cut it it will be messed up
Venessa Hairr: Beautiful what’s the name of the scissors you are using. Thank you
dupe ekpokhai: Amazing . Please when using a 13 by 6 frontal do you still move it by 3 inches forwards and still put half of it at the edges?
Wigbydebbie: Very detailed video thank you please can you make a video on how to wig an old frontal
philipa agyekum: Hello dear, im here again so pls when there is no excess lace for the frontal should i still pull the hair down to the 3”
LUKMAN JAMES: Nice work omoni
Exclusively Shanique: Good night Omoni,can this method be used on a adjustable wig cap?
Exclusively Shanique: hi, can you explain why tge frontal should be brought 3 inches please... not understanding why
ADEYEMI ADEJOJU AZEEZAT: God bless u ma
Jewel: Could you also make a video to how you cut your lace. ??
SHALOM ABE: Good afternoon ma ..please why 3 inches downwards for the frontal ma??
Jewel: Could you dye a wig on camera please and thanks
Oooh Lala: Automatically liked
vanessa Magne: Please how do you call that pen you use to mark the cap?
SHALOM ABE: Most classes I joined they don't do that....ms
Diana Asantewaa: Please why do you put it 3 inch lower the hairline
Promise Breezy: Welcome back
Funmilayo Popoola: hiya where are you based
Willeneful: Welcome back...