How I Customize My Lace Front Wigs (Dye It Red, Bleach Knots, Hot Comb Etc.)
- Posted on 30 December, 2018
- Lace Front Wig
- By Anonymous
open for more!
tutorial starts @ 2:10
order the wig here: http://www.dyhair777.com/product_360-L...
hair dye:
-Garnier Nutrisse- LB2 Ultra Light Blonde
-Revlon- 54 Light Golden Brown
-Revlon- 48 Burgundy
-Creme of Nature- 7.64 Bronze Copper
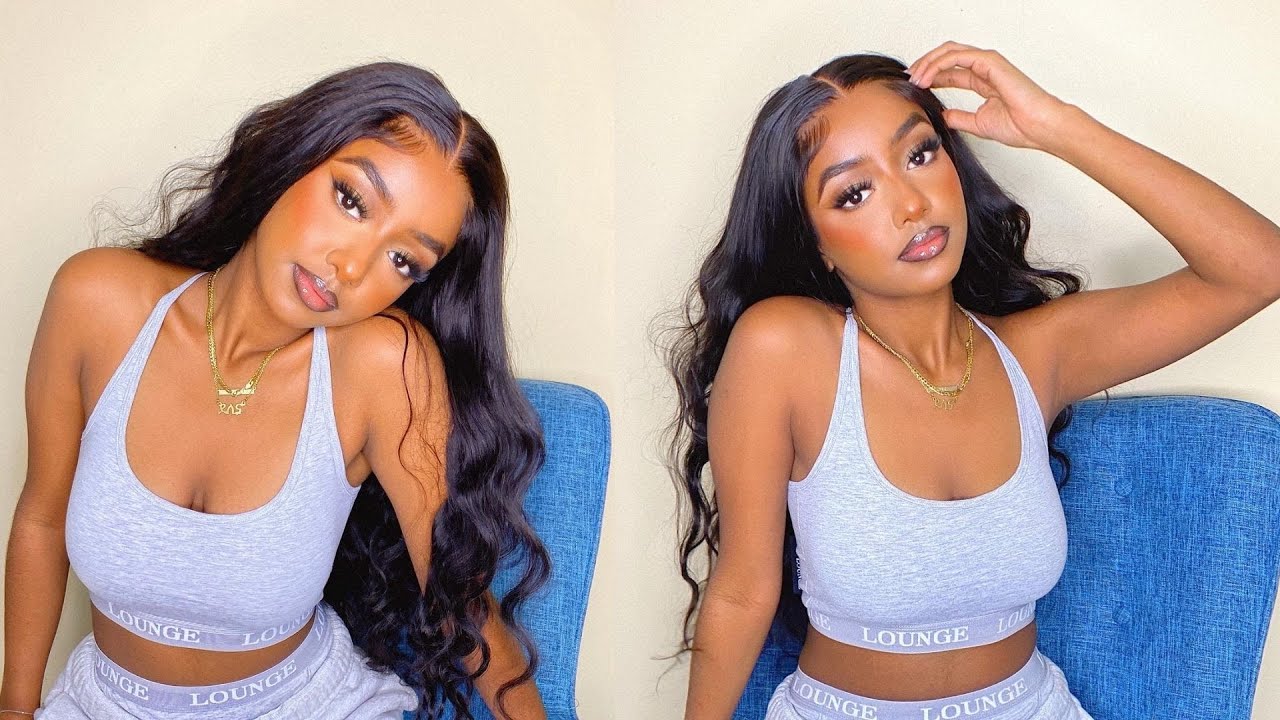
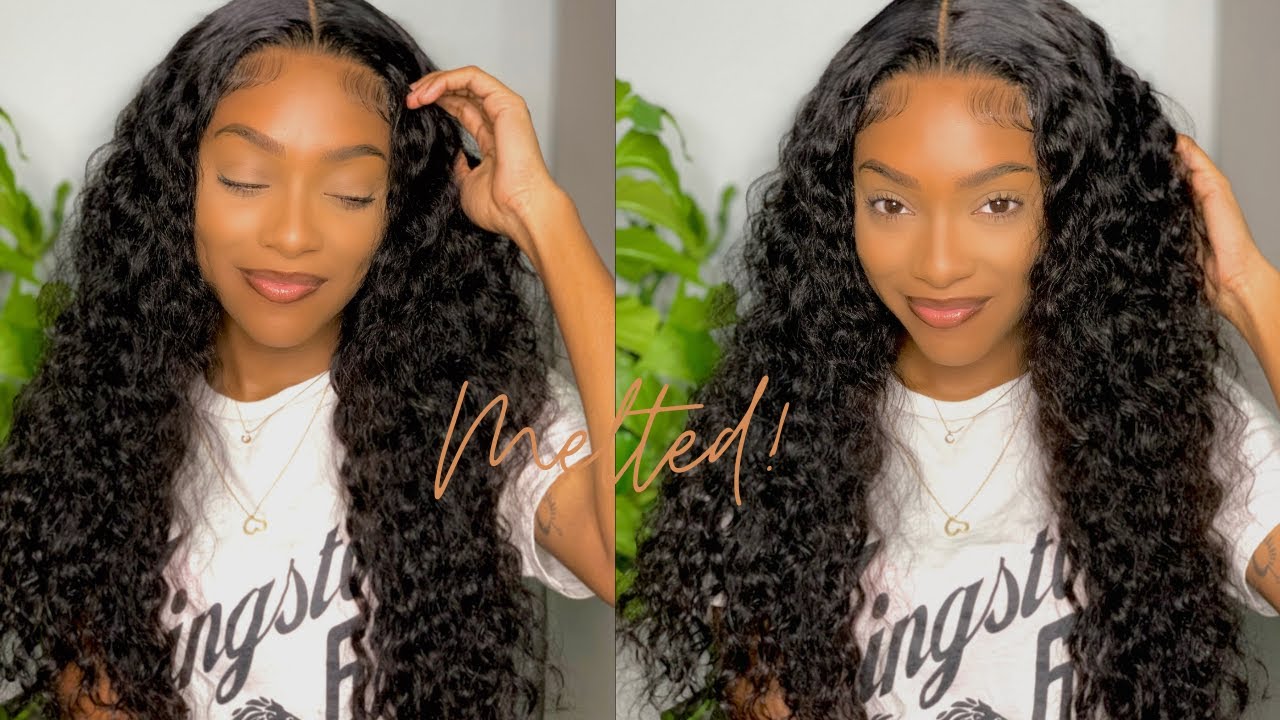
hey love! this is a video of me showing you how to customize your lace front wig. I plucked the hair, bleached the knots, hot combed the hair, dyed the weave and I've been through the workssss okay!
Anyways, you guys have really been wanting this so here it finally is. I hope it's helpful! part 2 is on the way.
Let me know if you have any questions :)
xoxo, Ima
MY INSTAGRAM:
http://www.instagram.com/imaslife
my twin sister! (Idarajoy) : https://www.youtube.com/user/laurensbe...
my twin sister & I have a channel! (go subscribe) : https://www.youtube.com/channel/UC5sCr...
ftc: not sponsored
Hey guys today me doing my highly highly highly requested wig customization video it so many of you guys have requested it between YouTube between Instagram and person. So many people have had questions so today, I'm finally bringing you guys my I guess tutorial the reason why it took me so long to bring this to you is because I first of all feel like my technique. Just isn't the greatest. Obviously my wig looks good. You know what I'm saying, and obviously people love the way it looks, but I felt like sometimes I can be kind of hard on myself because I'm like oh, I don't really want to give up tips if they're not the greatest, but I decided you know what It is what it is. This is what I do, and this is what works for me and maybe it could work for someone else. I'Ve been doing wigs for at least a little over a year now, and I absolutely love it, and this time I actually decided to dye my wig for the very first time as far as like color kind of like a reddish brown, and I absolutely love it. It did take some trial and error. What you guys will see, but if you are new to my channel, definitely make sure to hit the subscribe button, because this is a part 1 and part 2 video. This is part 1, which is showing you guys how I customized my wig bleaching. My knots dyeing my hair and cutting the lace. Part 2 is going to be all about applying the way so using the ball cap method, using Ghost bond glue and just securing my wig. That will be part 2. If you guys would like to see part 2 ASAP, definitely like this video and it will be up very very soon, but I'm not gon na talk your ear off. I love you guys so much. This is the wig itself, the wig in its flesh. I am just obviously feeling myself: I also will link the wig down below so that you guys can purchase it the way these are the close-up detail. This is the list of items that you need. You obviously need your wig I like to get mine from. Do. I hear 77, you need bleach, you need a styrofoam mannequin head, you need combs, you need tweezers, you need pins. You need hair ties. Shampoo! I like to use the shimmer light shampoo, just because it's good for color and bleaching, and then you also need a 30 volume developer next. What I like to do is take my wig out. D-Y, hair 77 sends you a pair of lashes with each wig perches, which i think is great. I'Ve been ordering from DIY hair 77 for a really long time now, and the quality of their wigs is super high and also, I must admit their shipping is superfast. Like I'll order, a wig on Monday - and I Wednesday afternoon I'll have a wig, their shipping is no joke, so that's pretty cool and then basically, what I do is put my wig onto my styrofoam mannequin head and I use the pins to keep it on top. You can get those pins from the beauty supply store. What I'm doing is I'm preparing to pluck a lot of people asking me how I get my wig so natural looking, and I really think it's my technique when it comes to plucking. So what I do is, I just part a little bit of the baby hair and then in between that baby hair line the rest of the wig I like to just pluck - and this takes a little bit of time. So definitely take your time with this. I don't do it in a specific, like order. I just kind of go crazy and start plucking. This is also going to make your wig look more natural. No one really has a full hairline anyway, so this is what's gon na make. Yours look like it's actually growing out of your scalp hair will shed in this process, so do not be alarmed you're, literally taking the hair out of the wig. I just go crazy with that, and it takes me about 15 to 30 minutes. So I usually watch a video or something, but I just go ahead and pluck pluck pluck and then I just keep combing it out from time to time. Then you can take different sections and just keep plucking. You can see how natural the hairline is starting to look, and I'm gon na compare this side with the other side of the wig. So you guys can kind of see exactly what I'm talking about. So I just took a thicker piece and started parting, and then I just decided to go ahead and pluck away continue. Plucking, like I said you will get a lot of hair to shed, so I'm not gon na show you guys this whole process of me plucking, but you can already tell how, like it looks more natural. You see the different like swoops and you can see how realistic it looks, so I just did that for about five more minutes. This is a lot of the hair that shed. This is the side that I've plucked and I'm just running a comb through it. So you guys can see how nice and just natural it looks and then the other side I have not plucked yet. But it's looking crazy, it's just looking super Wiggy and in 2019 we are letting go of the Wiggy looks, and so I'm gon na go ahead and plug the other side which to me really isn't that much. But yes, so now I finished plucking the other side and it just looks a lot more realistic, so I'm just gon na take a comb and comb it through. Like I said this is a wig that is a 360 wig, so it has lace all around it. But now I'm about to bleach my knots, a lot of people, don't know what bleaching your knots means, but if you notice there's black dots on the wig, which kind of make it look more Wiggy. So we are going to bleach those knots so that then you have a more realistic scalp and then I like to use the blue bleach and then I just use a 30 volume developer, just because it's not too strong, but it's also strong enough to do the Job, so you want to make this as thickest toothpaste a little bit thicker just so that it doesn't leak through the lace and dye your roots blond, because we don't want blond roots. But in the event that that happens, I will show you guys how to fix that all over my lace. I usually leave the bleach on for about 15 to 20 minutes, and then I rinse it out with water. First, by following up with the shimmer light shampoo like I said, it makes sure that your color is where it needs to be and that the bleach doesn't completely damage the color and the lace. So, as you can see, this is the finished look. It looks so realistic and obviously there are still some knots that are not fully bleached, but what can we do so I like how this looks. I don't need to bleach the knocks again, but some people feel like they need to bleach it again. This looks real enough to me so go ahead, and do it like that and then I just let it air dry for the day, alright guys. So this is basically the next day. This is exactly what the wig looks like after you know, the nuts have been bleached and it's been washed. I conditioned it as well. This is kind of like the natural curl pattern, so what I'm actually going to do is diet red. I really want to go for like kind of a reddish brown look, I am going to attempt to just use box dye instead of having to bleach all of the wig, because, first of all, that's really damaging and, second of all, I think it can be done With just the back style, so I'm gon na take this Guarnere blonde and just start mixing this. So I had seen a lot of videos on YouTube regarding hair dye and things like that. So I decided to go ahead and give it a go and try using the box dye, put it all over the kind of end of the hair made sure not to get the roots. Obviously, because I wanted more of like an ombre effect, so I decided to go ahead and start putting the bleach on first, just so that the red and brown color that I eventually put on will come through shades of the dye and the earrings will be linked Below, if you guys want to know which colors I use exactly just because I do feel like this turned out really nicely, so I will have that link below. But then what I started to do was take the brown hair dye and the red hair dye and just kind of just interchangeably mix those onto the hair. I started off at the top just so that I could have like a faded, brown and red at the very top, and then it kind of fades into like a more vibrant reddish brown. I don't know y'all. This was just an experiment and it just so happened to turn out good, so it is currently the next day - and I know I'm looking crazy because I just put my wig on and I have not cut the lacy yet we're gon na. I will show you guys what this color is. Looking like. Honestly, I'm loving the color, but hopefully you guys can see a little bit better dark brown at the roots and then it like fades into like this red color. So I don't know if the camera is like really picking it up. We are almost there. I bought this new hair dye, which I'm gon na try on my wig today. I know all this hair dyeing is very damaging to this wig, but hopefully this week is gon na still pull through so, but we want to go more red, oh my gosh, that is so pretty so make sure you guys just stay tuned. If you guys are loving this vlog so far, I'm gon na give me a huge thumbs up. If you guys have faith in this process, definitely give me a huge thumbs up, because you guys this week, I don't want to slay this wig like I am so pumped okay, so this was the next day after I had done being this show dyeing session and For me, I just felt like it wasn't red enough, so I got this cream of nature hair dye. It took me a minute in the store to figure out which one I wanted to go with, but I ended up going with like this copper brown red and, as you can see, it comes out kind of purple looking, but it definitely is not purple hair dye. So I just wish I decided to put that on top of the initial hair dye that I had done the day before, and it just really so in the event that you accidentally did bleach some of your roots. What I like to do is take like an old mascara or an ode, eyebrow brush and just dip that in the hair dye and carefully brush that, through the roots, just to make sure that we don't get hair dye on the lace, but that we are getting. As close to the roots as possible, so this obviously has been sped up, but I usually take my time with this and it really gets all the detail. Okay, so after I've washed out all that hair dye and let it air dry, this is exactly what it looks like. This is the color that I needed and this color gave me life. So what I like to do is hot comb. My wig, before I put it on just to make sure that I get it really flat. I also take my time with this just to lay it flat. I'Ve plucked the part just to make sure that the part is precise, and then I also take a flat iron after that, just a flat iron all of the hair. Just because I was going for like a bone straight look, and so this is just me flat. Ironing it so now we have come to the part where we cut off the lace. I don't cut off all of the lace, but I just kind of like frame it, so I just start cutting off a lot of the excess lace, because once I put the wig on my head, then I'll kind of size it see what other lace needs to Come off and stuff like that to do next is I like to put my wig on you guys just saw me take some of the lace off, like literally cut the lace off while I was on the mannequin head, and then I like to when I do That I always like to not take off all the lace, because I don't want to cut off too much lace and I want to make sure that it fits my head properly. So what I just did was I put the wig on. It is obviously not glued on. I just put it on and I actually just get some close-ups and try to take off more lace that I feel like needs to be taken off, but I give me the more natural look you guys. I am totally filling this color everything about this. Look, I'm filling to get a little bit more precise. Literally, you just take the wig, and then you take your scissors and then any extra lace that you have that you would like to take off like this right here on the side. I definitely want to chop just take my scissors and you want to be careful because you don't want to cut the hair or any of your real hair. Okay, so, like I said, I didn't do most of this on camera, because I'm trying to make sure that I have a good view of us. Let'S go so I'm going to continue to do that off-camera, but then what I also like to do is just make sure that the part is nice just because sometimes when you're making the part on the mannequin, it comes up a little bit different on your hair. The part looks like I don't really want anything ooh. My wig is something back because I haven't glued it down yet I don't really want anything too precise, so I just take my hot comb as well just to flatten it down. That is the major key to get a wig. That'S flat, y'all have to hot comb it down, because that is the only way that it's going to look like it's literally growing out of your scalp. So I just take the hot comb and run it through there. Sometimes I just sit it on top of there and then, like I said it just looks like it's going out of your scalps. No one can tell me anything about this wig this color. This is all about me customizing, my wig, how I got this color? How I get my wigs flat and all of that, if you guys want us to see how I install my wig and like glue down my wig and all of that definitely give this video a huge thumbs up. Hope you guys have really enjoyed this video and I will get back to you.


Comments
Ilona: I’m here for this ♀️
Deborah M: Turned out dammmm good girl!!
Samaria: YESSSS!