How To: Install Lace Closure Middle Part Sew In - No Glue , Beginner Friendly
- Posted on 05 April, 2018
- Lace Closure
- By Anonymous
HOW TO: Install Lace Closure Middle Part Sew In - NO GLUE , Beginner Friendly
Hey Ladies,
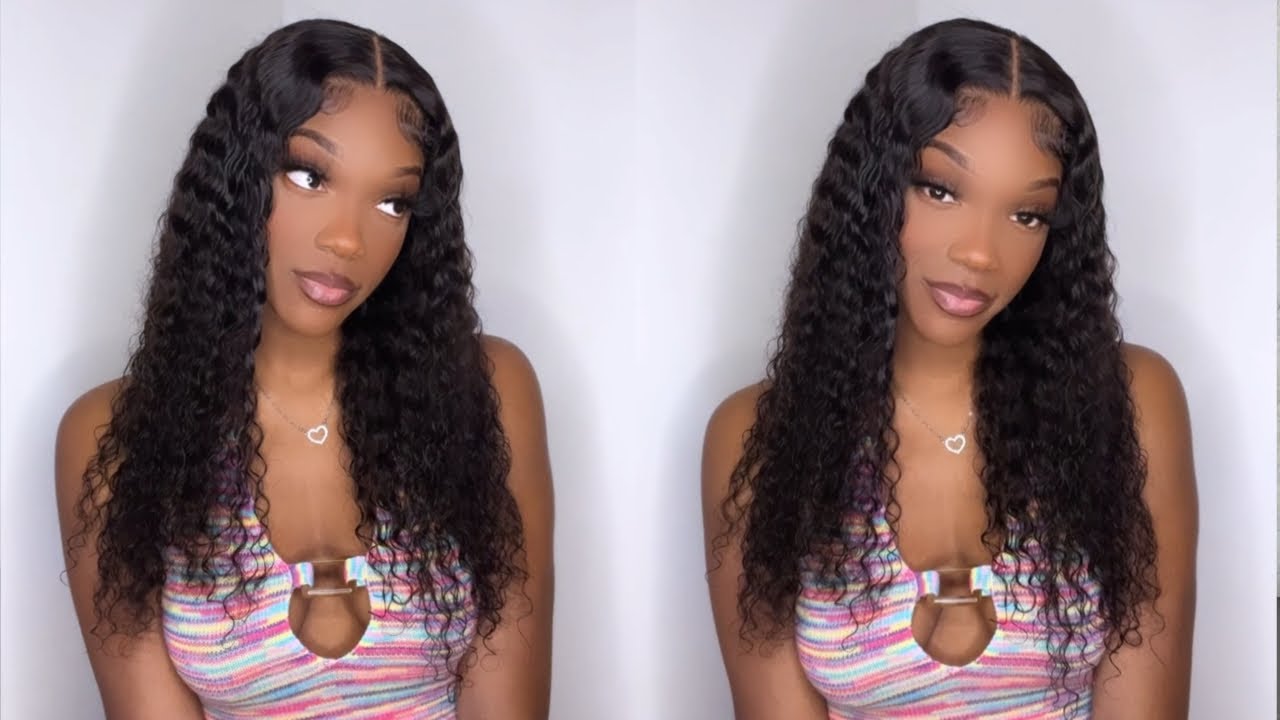
In this video I will show you how I install a 4x4 Lace Closure .
I learned this method from TT WELLS. She is super BOMB. You can check out her Lace Closure Install video here:
goo.gl/bteVuD
In this DIY Lace Closure install video , I hope that I conveyed how easy it is to get a natural looking closure. I didn't include how I customized the lace closure but if you would like to see then leave a comment down below or leave a thumbs up.
The braid pattern for this middle part sew in is super straight forward.
To achieve this look, you have to keep the lace closure in place while you are sewing . Hold the lace closure in the middle (or where the part is) and make sure you have tension as you are installing. REMEMBER tension is key.
Make sure you hit the subscribe button : ( hit the bell for notifications)
goo.gl/g68z8E
Follow me on Instagram:
goo.gl/f5HQtQ
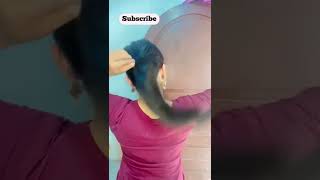
Hey, ladies, so in this video, I'm going to show you all how I achieved this super super flat, natural-looking lace, closure install I've included a photo of the closure before I installed it just this was just customized. Hopefully, we all know how to do that, and I've also included a photo of the very pattern she just wanted. A simple middle part, so the braid pattern wrote easy, straightforward, nothing, real, spectacular and just stay tuned. If you want to figure out how I did the soldier pairing to kids disclosure as loud as possible, so I like to use two needles one for each side. I learned this method from titi was I'm going to include her video down in the description box? Shout out the u TT or you help me with my little clientele for real, so guys. This is my first time recording a video like this, so just bear with me. Hopefully you guys can see what I'm talking about. I want you to start at the beginning. Braid at the end of the closure, also keep your finger down in the middle part. So that way you are creating that tension that way the lace isn't moving, and then you just sew down the first side of the closure. Now this is like a side part. For instance, you want to start on the side with the least amount of grades or the shortest amount of braids or like where there's less hairy. I think I understand what I'm saying, but now I'm just gon na go on the side and I am placing the the needle and thread more or less like vertically, and that holds on to it when I am reading these. So I'm just gon na play through each side making sure that the closer didn't I'm going to start the other side. You don't want to go too far as far as the back, because your closure is going to naturally chips back from. So when you are place and close it down and you're beginning to leave right, we sit like a center. You know like extra blue, so that we have some living room. If it does it's like that, okay, so you just see me pretty much securing these stitches. I like to do them kind of close together, like each braid, had a stitch in it and I'm flipping the hair back and forth, because I want to make sure that this closure isn't moving in order to get these closures flat. The main thing you want to do is you want to have enough tension so making sure you keep in that closure flat as you're sewing, making sure that nothing is moving around as you're sewing is literally. The key all is so simple and a lot of you think it requires a lot garlic. Don'T it's all needle and thread, I didn't use any glue products. All neo work just make sure you're creating enough tension so that way at least wet. Here you can see me just coming through the closure, I'm making sure I don't have any knots or anything making sure everything is nice and flat which it is, and I'm just coming through my guys making sure that I'm satisfied making sure that it looks good even And oh okay, so I attempted to show you guys this up close as you can see like each braid has a stitch in it, because you want this closure to be super flat. A lot of tension again tension into the key and again I'm showing you both sides. Everything looks good, nice and snug, and I didn't want to really do too much cuz. You know I kind of like my hair and I miss a video, so I want to do too much so just bear with me. I was satisfied with the look and how flat it was supernatural. Looking so they're sewing in her tracks. I'M obviously not gon na show you all that. That'S real easy, I just doubled up her webs and she actually her closure was from another install. So I had to curl the quote in order for it to match the hair, but in the end it came out. Looking super cute, she was satisfied with the look. I was satisfied with the closure, so all in all, it was a win and she you guys give this video thumbs up. If you want to see more videos like this, don't forget to subscribe, see a girl is free. Alright, so I'll see you in the next video peace


Comments
SHÁE SHAKUR: flawless✨
PrettyRed259: You need to come here and do my hair please !