Detailed How To Make A Closure Wig | Machine Made Wig
- Posted on 20 November, 2020
- Lace Closure
- By Anonymous
Follow My IG @Shay_Designs
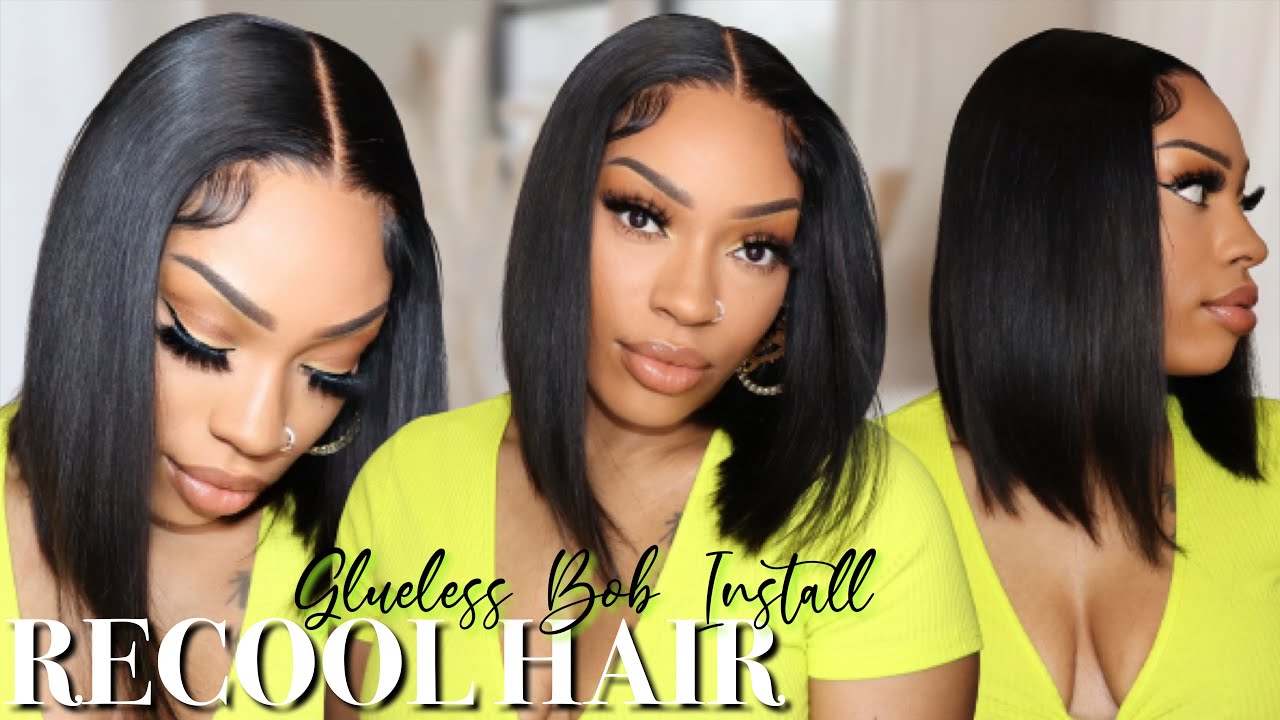
#wig #closurewig #wigtutorial #sewingmachinewig #hair
Okay, so we're making a closure wig. This is my wig cap, i'm showing you now. I am using this extra large mesh cap for my client and i'm just showing you the style number so that you can purchase it. You can purchase it at a beauty. Supply store or on amazon, and i'm also showing you that i'm using pins to keep the cap in place you can use whatever marker you want, you can use a white or yellow marker is up to you. You can also use a silver sharpie as well or go, and i'm just placing my cap onto my mannequin and you see me pin it down. This is my closure. It'S a 4x4 closure and i'm going to also use these smaller pins. To pin my closure down. You want to pin it down flat on all of the corners as you see, that is what i'm doing here, making it flat i'm going to sew my clothes down by hand. I will go back over it with my sewing machine, as you can see, i'm just using basic needle and thread, there's not much special to this. Just so you close it down. However, you decide to sew it down. You can sew close together or far apart um, because you will be going back over this with your sewing machine. The goal is to just make sure that it is flat so that, when your client installs, the wig there's no lumps or bumps in the closure or whatever lace, piece that you're using you can also save this step for later in the wig making process. I know some people they will trace out the shape of the closure and proceed to putting the tracks on the wig and coming back and adding the closure. It is completely up to you. I normally like to do it first. So here's my measuring tape. You are going to make marks for um, where you want your tracks to go. You want to do them an intro part, which is what i'm doing here. So wherever there's a mark at, i will draw a line so that when i am inside of my tracks, i can keep them straight and in the correct place. So this is me doubling my tracks so to double your tracks. You basically just want to make them even pinch them together, like i'm doing here and you're going to hold them together, while you just sew them side by side depending on the type of sewing machine you have, you probably don't have to hold them in place like I am doing, but with my sewing machine i feel well, i was basically taught to hold it in place now. This is me adding it on to my cap and what you want to do is you don't want to really pull or tug on anything during this process. You want to just make sure that the cap is flat and you want to just follow the lines that you made when you get to the end. You just cut the track you're going to go back and forth. I would say, maybe three to five times when you are going forward, you want to come off of the cap and then you want to go back on the cap and you want to go forward again to create a knot. If i need to explain this or show this to you better or closer or with more detail, just leave me a comment down below, and i will do that for you and you just want to pop off the string like i am doing here so you're. Basically, starting in the same way forward backward forward backward, you want to get your knot in there and then you just want to make your cap flat by not tugging too much. It is mesh, it is stretchy, but you don't want to really create tension. You just want to hold your wig down, keep your cap flat and just sew it down, and just know that, if you're not used to making machines with the sewing machine practice is what will get you there. If you just learn the basics on how to use the sewing machine that you purchase and you continue to practice, you will get better. You can purchase cheap bundles, of course, at your local beauty supply store. You can then try amazon aliexpress. You can find a vendor. You know just work your way up from there. I have a brother's project. Runway sewing machine, you can buy a singer, sewing machine, there's so many options um this one that i have is refurbished. So it was cheaper. So you know just work your way up to where you want to be. The first wig i made was with um beauty, supply, store, hair, um and the more you do it. The faster you'll get the easier it'll be for you. Just keep going keep plant keep on trying keep watching videos. If you have any questions, there's me that you can ask and there's so many other people, that you can ask for assistance or help if you try making a wig and it's just really not clicking for you and i would suggest taking a class and with that You should really have all the resources, all the knowledge to go ahead and start making wigs with the sewing machine. This is me just curling the hair. I thought that it would look better curl. I also do not know where this hair is from the client provided this hair, and i felt that it would look better if it was curled compared to it being straight. So that's why i just put these curls in there, and i appreciate you for watching this. Video please subscribe like and comment.


Comments
Margarida Figueiredo Vieira: Não mandei vir à venda por
Margarida Figueiredo Vieira: Está bem assim mahulqui