Diy Natural Kinky Hair Lace Closure Wig
- Posted on 22 November, 2017
- Lace Closure
- By Anonymous
Watch to see how I construct a wig with a lace closure for my clients in 1 hr. This is a beginner friendly DIY video for those interested in a kinky curly natural hair wig design. Wigs are an awesome protective style! Fell back in love with them due to requests from my clients!
PLEASE LIKE, COMMENT +SUBSCRIBE!
Hair Detail:
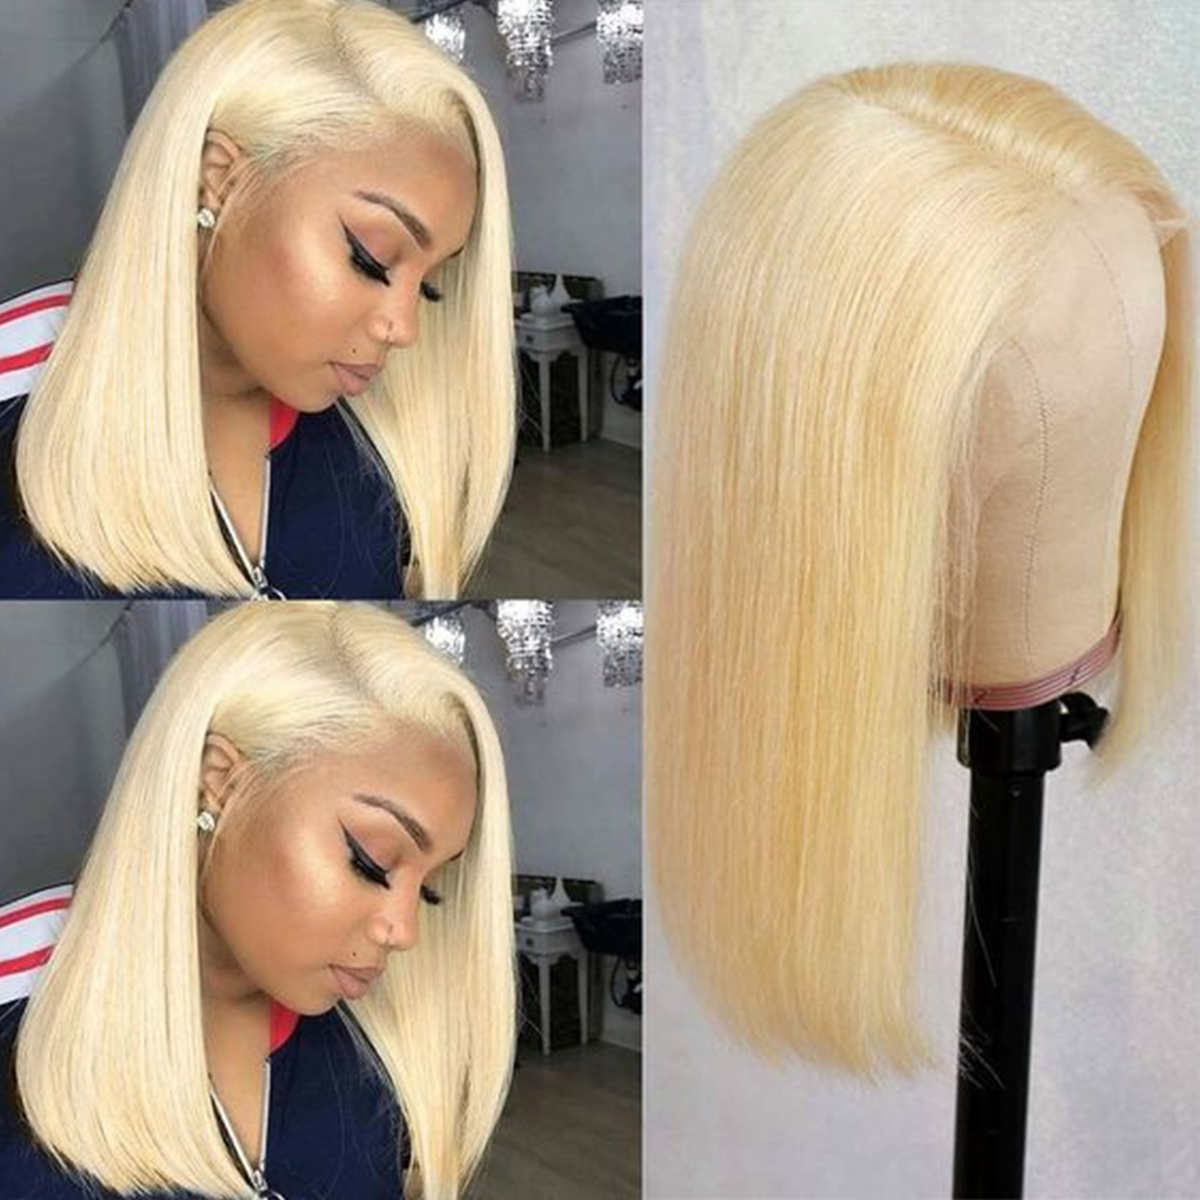
*Embrace Bohemian Afro Curl (3c/4a textured hair) – 14 in 4x4 Lace Closure, Bundles (14 in and 16 in) - http://www.embracethenaturalyou.com/st...
*Hair Used in Wig Construction – unknown and provided by client
Tools:
*Canvas Block Head Or Mannequin Head
*Wig Pins
*Dome Cap
*Scissors
*Nylon Thread or Weaving Thread
I am Licensed Cosmetologist in the State of Michigan, if you would like to book with me please do so online at http://www.embracehairart.com
Keep in Touch! Instagram - http://www.instagram.com/genevieveanyi... AND http://www.instagram.com/embracehairar...
Facebook - http://www.facebook.com/embracehairart...
Web – http://www.embracehairart.com
Shop – https://www.embracethenaturalyou.com
Blog - https://www.embraceyourtresses.com
Music Intro – The Bread Is Hard As Crackers by Velella Velella (Free Music Archive)
Other – Fleslit – Only One, Money Problems, Iced Out, Scandalized
Hey welcome back. This is Ginny with embrace I'm going to be using the bohemian afro curl from embrace the natural you and I leave hair information below to construct a lace wig with a lace closure. First things: first, you have to go wash the extensions you can shampoo them lightly, with the light, shampoo or co-wash or deep condition the extensions kind of mixed up here, but this is actually a different closure provided by a client, and this is kind of how I Bleach the knots on the lace closure, I'm using a Paul Mitchell, 40 volume developer, as well as their synchro lift, and that's the texture of the mix that you should have you don't want it to be too soupy, because it'll kind of bleed through the knots, which Is what you'll kind of see happen on this? Like I said this, closure is for a client and the actual construction of the lace wig that you'll see in this video is actually for a client, but at the end I will also show you video of how I use the embrace embrace the natural hair to Construct a similar, wig I'll mention all of the supplies that you will need below, but essentially what you see me doing right here is sewing on that lace, closure to this dome cap and you need to secure it first with the wig pins, which you also see. I have about six weak pins around the perimeter of the closure, but what you see here is me starting my stitch and then you'll also see that, with this stitch, I'm kind of doing them a little far apart, because what you'll see later on in this video You'Re going when you sew on the web, as you work your way in a uu pattern, pretty much up to the top. What you're going to do is so that last left over the lace, so you don't need to do really close stitches right here. So here you can see what I'm talking about now, it's time to start sewing on that bottom weft. So and like I said, this, wig was for a client and I was provided a 14 inch left which I'm putting on the bottom as well as a 16 inch width, which I would actually layer on the top. And the purpose of that is to kind of give it a different shape, as opposed to starting with the longest wefts on the bottom, and the closure, I believe, is 12 inches. And what you'll also notice in this video is that the closure does not match the hair, the bundles. I did tell my client this, but she said that she didn't mind because she could blend it, but yeah, because I know people might be posted about that below. My preferred method of stitching is to do the lock-in method. Some people, just you, know, stitch over. I like to lock in each stitch into place and that's because it's just a habit over time. I just like the neatness of it. It just looks really neat and another kind of tip is to place your weft finger. Width apart, I do not like to double the bundles because I feel like it makes the weight look bulky like say if you decided to straighten this. So I like to space all of my webs apart about finger width and they start to kind of get closer as I get closer to the top. But again you see me doing that block and stitch Here. I am at the end of a track or not the end of a track, but I'm on the end of the cap - and I have you know: excess whiffed, left and a lope. That makes any sense, but what you'll see me do here is I'm actually going to do pull the needle through and then do a wrap a thread around the needle a few times and do a loop nut and then I will flip the track over and the Reason for this is because sometimes with a lot of webs, whether they're double stitched or whatever, when you start to cut them a loosens, the whole width and you see a lot more shedding. So I don't like to cut the web at all, and here you also see that I am NOT sewing into the truck I'm actually sewing under the tray. That is the best way to do it. If you are sewing through the tray, you are doing it wrong. That will take you all day. Another thing you'll see here is that when I get to the end of a track, I'll actually stitch back over the end of the truck and then do that same process of a loop not again to secure the track in place. At the end of our bundles - and you see that I'm laying those bundles over the lace, here's what I talked about earlier in the video so you're, just gon na sew all the way up and that you shape over the lace and then you're gon na cut Out the dome cap that is under or over the lace, so sorry, I kind of pulled it off camera. I don't know why. I did that and, like I said this actual wig construction is for a client and you'll see that her lace, closure is actually just a middle part. Lace closure. Now the embrace hair that I showed you earlier is actually a free part closure, which I'll show you later on now. All that I have to do what this particular wig is to dye that closure, a darker color, so that it matches with the rest of the hair as well as kind of shape it up before. I you know presented to the client here. You see that I've actually dyed that lace, closure actually washed the hair again and I'm just kind of using just a leave-in spray. I don't want to use anything too heavy and I'm just gon na sprained it and I'm gon na comb through you know all the curls and then leave it out to dry. Actually all dry, I didn't die. The closure need a bit darker than it should have been, but actually did go back and fix that, but I did not record that so here is the final wig for my client. Here you will see the wig that I constructed on a dog cap using the Bohemia actual curl hair from embrace de mettre. You so actually did the same exact method, but again you saw that this was a free part closure and my hair is really sick. So I don't really have a need for like the elastic bands or anything else. My wigs do not move. I just have a lot of hair and I also have a big head. So here I'm just kind of demonstrating how I use my foundation to kind of blend the part, as well as the front of the lace which I cut in the front. You saw me cut that earlier on the other week, I'm just kind of blending it in and then I also like to use a light leave and sprayed either the bracelet after you transfer, freshness or the cream of nature. Leave-In conditioner, just something really light. You don't want to wait a hair down a 14 inch closure, as well as the 14 inch and 16 inch bundles. I did not use the shorter bundle that you saw in the very beginning of the video and I actually did cut the hair so that it's kind of shoulder length. I just wanted it to look. You know like my everyday natural hair. So here are some pictures. This was when it was a little bit longer and then here you'll see that I cut it, which I loved it. I wasn't blessed with a lot of baby hairs, but you know thank you guys for watching. Please make sure you comment like the video and please subscribe to the channel and check me out on Instagram and Facebook.


Comments
Jeriesha Crutchfield: Ok I see you