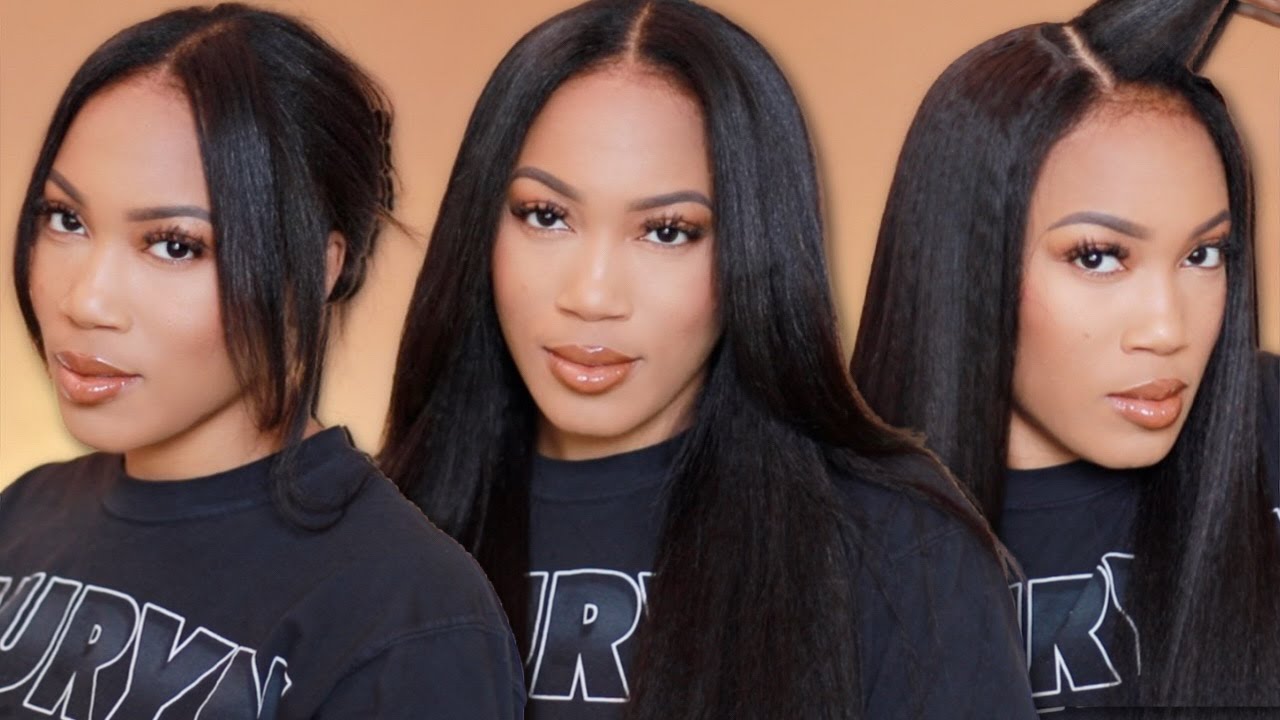
Detailed How To Pluck Frontal And Bleach Knots!!! With Megalook Hair
- Posted on 28 July, 2020
- Lace Frontal
- By Anonymous
Thank you for watching!! Like and subscribe!!
Instagram: Skye_dior
Materials used:
Bw 2 powder
40 volume developer
Tweezers
Link to hair : US $47.03 48% Off | 30Inch Water Wave Lace Front Human Hair Wigs 13x4 13x6 Lace Front Wig 360 Lace Frontal Wig 4x4 Lace Closure Wig Lemoda Hair Wigs
https://a.aliexpress.com/_d8YC69N
What I shot this with:
Iphone SE
iMovie
Ring light
Link to ring light:
10.2" LED Ring Light, ANDSTON Selfie Ring Light with Tripod Stand & Phone Holder, 10 Brightness Level & 3 Light Modes for YouTube Video/TikTok/Live Stream/Makeup/Photography for iPhone Android
Hey y'all, it's your girl skye and i'm back with another tutorial now telling by the name of this video today i will be showing you guys how to bleach the knots and plunk the frontal on your wigs. This process is important because you want your wig to look as natural as possible, so let's get started first, i'm going to go in with some bw powder and some 40 volume developer and we're going to mix that in a bowl. I'M going to show you guys how the consistency of the bleach should be. You do not want it runny, because then it will get through the lace and it will get onto the hair. Remember you guys do not want it on the hair. This is just for the lace and then we're just gon na mix it up. You see, you see how none of it is like falling off of the brush and it's thick is going to stay in place. This is exactly how you want your bleach to look like now before putting the wig on a mannequin you're just going to want to take some water or, if that doesn't work, take some hairspray and just brush the baby hairs back. This will make sure that none of your flyaways is going to get damaged by any of the bleach and just be careful how you place the t-pins on the wig. You do not want to create so many holes on this wig and you want every part of that lace to get bleach on it. You'Re going to want to have to move that band back you're just going to want to have to play around with the wig. Just in case now, this is not for every wig. This is just for a wig if it has on that band. Now you saw me taking my rat tail comb and just you know, putting the rest of my little fly. Aways out now, i'm just taking one t-pin in particular, and i'm going to make it like a slingshot just so that it has something to hold on to, and then i just outline um the lace with the bleach and that's pretty much it. You have your your little foundation and now you're, just gon na outline. It'S just like coloring just stay inside the lines now you're gon na to lightly tap the bleach on. You don't want to brush it so hard and when you're done just leave it you know go, but you know do something go wash. Some dishes go. Do something. I left it on for like 25 30 minutes, and then i went ahead and rinsed it out with some shimmer light, shampoo, the shampoo and conditioner that's um, specifically for blonde um. And yes, you see that scalp, yes, y'all and next i'll be showing you guys how to plug my front tool. Um you're just going to want to part the hair into three parts um to make it more easier for yourself and yeah. I just do a part in the middle, and then that's just how i separate my three. You can part it. Whichever way you feel like it, but mostly like towards the front. So once you do that part you're going to do a horizontal part across the hairline and you're going to want to take a tweezer and you're just going to start plucking just pluck plug plug. This is going to be a workout. My arm was hurting, i'm going to i'm not going to lie. Mom was hurting, i'm just showing you guys, i'm just taking off hair so that it looks way more natural and yeah. That'S how i do i just brush it and part brush part plug park. Oh i was trying to like. I was trying to do like a sequence, but it didn't work out, but yeah spray, some water, if it working with wet hair anyway, is easier, so you're going to want to have like a water bottle. Something to you know, keep wetting your hair, so that it'll be easier for you to pluck and just part the hair slowly brush it back, as i continue to do and just repeat those steps yo, that is all the hair from one section i didn't even do The other two that's from one side - and you see like look at the left side and look at the right side like the left side, is like. Oh, she got a wig and her left side like all right all right. I see you, i see the scalp, you know what i'm saying so yeah, that's what i just did and i just did that to the whole frontal, the whole frontal. So you know you, ain't have a workout today, you're gon na do arms and it's gon na. Be on you plucking that wig and that's what i um that's what i ended with after i plucked all that hair. It looks so pretty i'm so jealous. I wish i could keep this wig for myself, but it's reclining, so yeah, i'm just showing you guys that now you can part it either way. Whichever way you part it, if you want to run your fingers through a child - and you know put your head to the side, you can do whatever you want. You want to do half a pat down. You can do whatever you want, and after drying and styling the hair um. This is how it came out and now it's ready for application. Thank you guys for watching make sure you like and subscribe. Thank you.


Comments
tayesha delvoit: How long did you leave the bleach on there?